
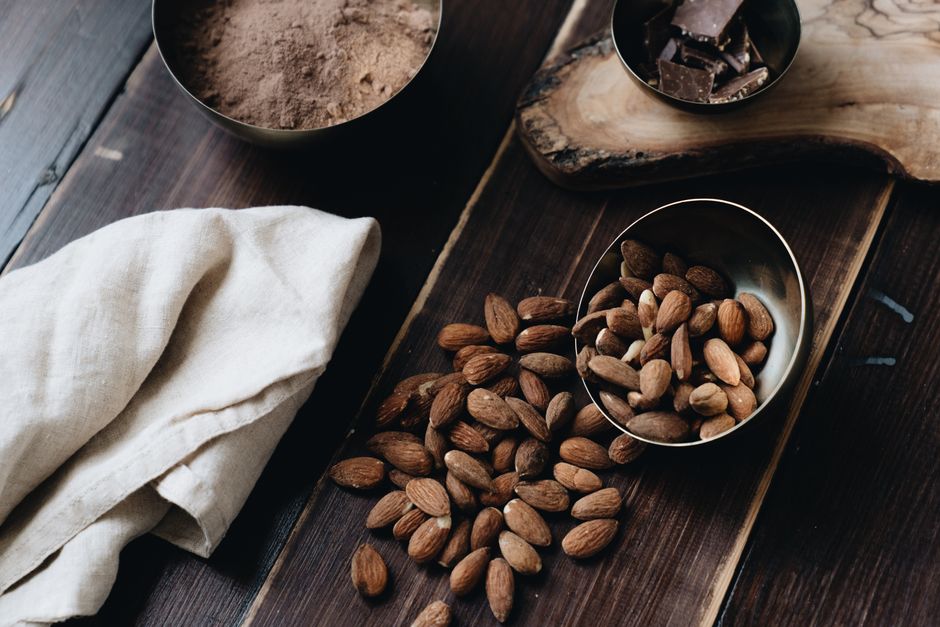
Making chocolate from cacao powder at home is simpler than you might think. You combine cacao powder with a fat source like cocoa butter or coconut oil, a sweetener, and a little patience. The basic process involves melting the fat, mixing in the powder and sweetener, then tempering or simply chilling the mixture until it sets. This gives you control over ingredients and flavor, something store-bought bars rarely offer.
What Ingredients Do You Need to Make Chocolate at Home?
The short list is cacao powder and a fat. Cacao powder is the raw, less processed version of cocoa powder. It has a stronger, more bitter taste and more antioxidants. The fat is what gives chocolate its melt-in-your-mouth texture. Cocoa butter is the traditional choice because it behaves like real chocolate. Coconut oil is a common substitute that is cheaper and easier to find, though it melts at a lower temperature.
You also need a sweetener. Powdered sugar dissolves best and avoids a gritty texture. Maple syrup or honey work but can make the mixture seize if not added carefully. A pinch of salt balances bitterness. Vanilla extract or a little cinnamon can add depth, but neither is necessary. That is the full ingredient list. No lecithin, no milk powder unless you want milk chocolate.
One common mistake is using only cacao powder and a liquid oil like olive oil. That will not set into a solid bar. It will remain a paste or sauce. You need a fat that is solid at room temperature, like cocoa butter or coconut oil, for the chocolate to harden properly.
What Is the Step-by-Step Process for Making Chocolate?
Start by chopping your cocoa butter into small pieces if you are using it. Melt it gently using a double boiler or a heatproof bowl over simmering water. Do not let the bowl touch the water. Cocoa butter melts around 93-97°F (34-36°C). Overheating can ruin the texture and flavor. Coconut oil melts even lower, so a warm water bath is enough.
Once the fat is fully liquid, remove it from the heat. Sift your cacao powder into the bowl to avoid lumps. Start with a ratio of roughly 1 part cacao powder to 2 parts fat by weight. Stir slowly and thoroughly. A silicone spatula works well. The mixture should look like thick, glossy sauce. Add your sweetener a little at a time, tasting as you go. Most people need about 1 to 2 tablespoons of powdered sugar per 100 grams of finished chocolate.
Pour the mixture into silicone molds. Silicone is best because the chocolate releases easily. Tap the mold gently on the counter to release air bubbles. Place the mold in the refrigerator for at least 30 minutes. If you used cocoa butter, the chocolate will be firm but may have a slightly soft snap. If you used coconut oil, it will be softer and melt faster in your hand.
Does Tempering Matter for Homemade Chocolate?
Tempering is the process of heating and cooling chocolate to stabilize the cocoa butter crystals. It gives chocolate a shiny finish and a clean snap when you break it. Untempered chocolate can look streaky or dull and may feel soft at room temperature.
For most home cooks, tempering is optional. If you are making chocolate for yourself or family, the flavor is the same either way. The untempered chocolate will still taste good. It just will not look as polished. If you plan to give it as a gift or want professional results, tempering is worth the extra effort.
The simplest method for home tempering is the seeding method. Melt about two-thirds of your cocoa butter to around 110°F (43°C). Remove from heat and add the remaining one-third of unmelted cocoa butter. Stir constantly until the temperature drops to about 88°F (31°C). The added cocoa butter pieces introduce stable crystals that spread through the mixture. Then pour and set as usual. This method works reliably and does not require a marble slab or special equipment.





How Does Homemade Chocolate Compare to Store-Bought?
Homemade chocolate has a different texture than commercial bars. It is often grainier because home grinding cannot match industrial conching machines that refine chocolate for hours. The flavor is purer and more intense. You taste the cacao itself rather than sugar and additives.
Store-bought chocolate contains emulsifiers like soy lecithin to keep fat and solids from separating. It also often includes milk solids, artificial flavors, and preservatives. Homemade chocolate has none of that. You decide what goes in. That is the main advantage.
There is a trade-off in shelf life. Homemade chocolate without preservatives lasts about two to three months in a cool, dark place. Refrigeration extends this but can cause condensation that ruins the surface. Store-bought bars last up to a year on the shelf.
| Feature | Homemade Chocolate | Store-Bought Chocolate |
|---|---|---|
| Ingredient control | Complete | None |
| Texture | Grainier, softer snap | Smooth, consistent snap |
| Shelf life | 2-3 months | Up to 12 months |
| Cost per bar | Higher (bulk cocoa butter is expensive) | Lower |
| Additives | None | Emulsifiers, preservatives, often sugar |
What Common Problems Happen When Making Chocolate at Home?
The most frequent issue is seizing. This happens when a tiny amount of water gets into the melted fat. Chocolate and water do not mix. The mixture turns into a thick, clumpy paste that cannot be saved. Always make sure your bowl and utensils are completely dry. Do not let steam from the double boiler reach the chocolate.
Another problem is a grainy or sandy texture. This usually means the sweetener did not dissolve fully. Powdered sugar or confectioners sugar dissolves better than granulated sugar. If you use honey or maple syrup, warm it slightly before adding so it blends more evenly.
Some people get chocolate that never hardens. That happens when the fat-to-powder ratio is off. Too much fat or oil that is liquid at room temperature will not set. Stick to cocoa butter or coconut oil and measure by weight, not volume. A kitchen scale solves most consistency problems.
- Seizing: Caused by water. Keep everything bone-dry.
- Graininess: Caused by undissolved sweetener. Use powdered sugar.
- Soft chocolate: Caused by wrong fat or ratio. Use cocoa butter or coconut oil and measure by weight.
- Bloom: White streaks on the surface from temperature changes. Store in a stable cool place.
Is Homemade Chocolate Healthier Than Store-Bought?
That depends entirely on what you put in it. Cacao powder is rich in flavonoids, which research has linked to improved blood flow and lower blood pressure. These compounds are often reduced in commercial chocolate because of processing and alkalization. Homemade chocolate made with raw cacao powder retains more of these compounds.
You also control the sugar. Many dark chocolate bars still contain significant added sugar. You can make a 90% cacao bar at home with very little sweetener. Some people even use stevia or monk fruit, though these can leave an aftertaste.
Current research suggests that moderate consumption of dark chocolate with high cacao content may support heart health. But that does not mean eating unlimited homemade chocolate is a health food. It is still calorie-dense and high in fat. The advantage is that you know exactly what is in it and can adjust it to fit your diet. Some people report better digestion and fewer cravings when they switch to homemade chocolate because it lacks the emulsifiers and stabilizers found in commercial products.
Frequently Asked Questions
Can I use cocoa powder instead of cacao powder?
Yes, but the flavor will be milder and less bitter because cocoa powder is processed at higher temperatures. The texture will be similar.
Do I need a chocolate tempering machine?
No. The seeding method described above works well at home without any special equipment. You just need a thermometer.
How long does homemade chocolate last?
It lasts two to three months in a cool, dark pantry or up to six months in the refrigerator if sealed properly to prevent moisture.
Why did my chocolate turn white after setting?
That is called fat bloom. It happens when the chocolate gets too warm and the fat rises to the surface. It is safe to eat but looks unappealing.
