
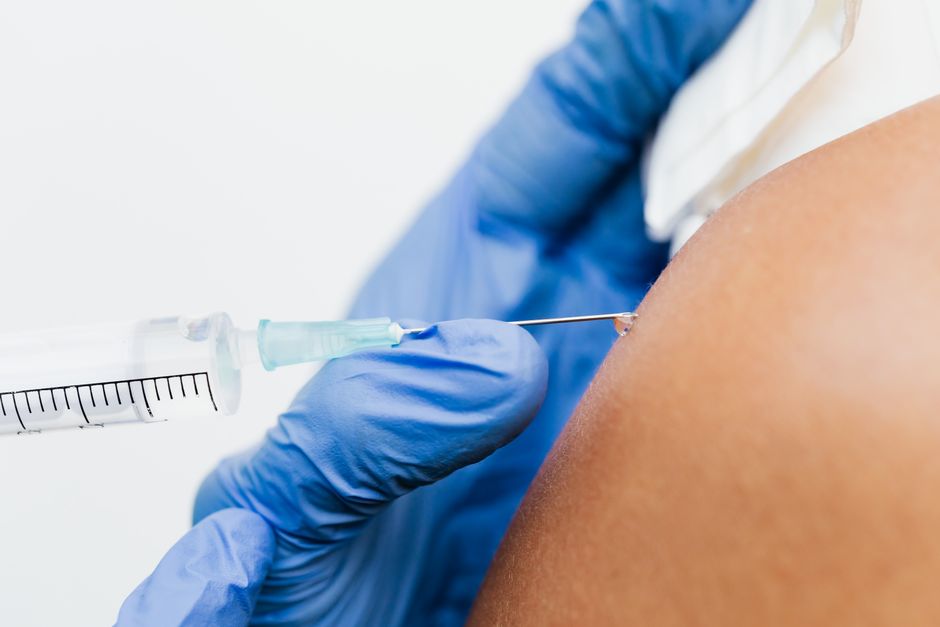
Giving a subcutaneous injection in the thigh means placing medication into the fatty layer just under the skin, not into muscle. You pinch a fold of skin, insert a short, thin needle at a 45- to 90-degree angle, push the plunger slowly, and withdraw. The outer thigh is one of the most common sites for this because it is easy to reach and has a reliable layer of fat.
This guide covers the steps, the right spot on the thigh, and the mistakes that cause pain or bruising. It is written for people who have been prescribed an injectable medication by a clinician — not as a reason to start injecting anything on your own.
What Makes the Thigh a Good Site for a Subcutaneous Injection?
The thigh works well because it offers a large, accessible area of subcutaneous fat that most people can reach without help. Subcutaneous tissue sits between the skin and the muscle. It has fewer blood vessels and nerve endings than muscle, so a correctly placed injection usually causes less discomfort than an intramuscular shot.
Medications given this way are absorbed more slowly than into muscle. That slower absorption is the point for drugs like insulin, where a steady release matters. It also means the injection has to actually land in the fat layer. If it goes too deep into muscle, absorption changes.
The outer thigh, specifically the area between the top of the knee and the hip, is the standard target. The front and inner thigh sit closer to major blood vessels and nerves, so they are not the preferred zone. If you have very little body fat, the thigh may not have enough subcutaneous tissue for a comfortable injection, and another site may suit you better.
How To Give A Subcutaneous Injection In The Thigh Step by Step?
Gather everything first: the medication, the syringe or pen, an alcohol wipe, a sharps container, and a clean cotton ball or gauze. Wash your hands with soap and water and dry them.
If your medication is stored in the refrigerator, some drugs need to come to room temperature before injecting. Cold medication can sting more. Check the instructions that came with your prescription, because not every drug should sit out.
Then follow these steps:
- Check the medication. Look at the liquid for color changes or particles. Confirm the dose and the expiration date.
- Wipe the injection site on your outer thigh with an alcohol swab. Let it air dry completely. Injecting into wet alcohol stings.
- Pinch a fold of skin between your thumb and fingers. This lifts the fat away from the muscle underneath.
- Hold the syringe like a dart. Insert the needle straight in at 90 degrees, or at 45 degrees if you have little fat under the skin or a longer needle.
- Let go of the pinch once the needle is in. Keeping the skin pinched can push medication into the muscle.
- Pull back slightly on the plunger only if your clinician told you to. For most modern self-injected medications this step is no longer recommended.
- Push the plunger slowly and steadily. Rushing causes pain and can bruise the tissue.
- Withdraw the needle at the same angle you inserted it.
- Press gauze gently on the spot. Do not rub.
- Drop the needle into a sharps container right away. Never recap it.
The angle question matters more than most people realize. A 90-degree angle is standard for a short needle. The 45-degree angle is used when the needle is longer or the fat layer is thin, because it keeps the tip in the fat instead of the muscle.
Where Exactly on the Thigh Should You Inject?
Picture the outer side of your thigh, halfway between the knee and the top of the hip. That band of tissue is the target. Stay at least a hand’s width away from the knee joint and away from the groin.
Rotating the exact spot matters. If you inject the same pinpoint every time, the tissue can develop hard lumps called lipohypertrophy. Those lumps change how medication absorbs, which can make your levels unpredictable. Move each injection about a finger’s width from the last one, and work your way around the available area before returning to a spot.
Some people keep a simple rotation pattern — left thigh one day, right thigh the next, or moving in a circle. The method matters less than not reusing the same point.





What Are the Common Mistakes and How Do You Avoid Them?
Most problems with thigh injections come down to a handful of avoidable errors.
Injecting into muscle is the big one. It happens when the needle is too long, the angle is wrong, or the skin is not pinched. Signs include sharper pain during the injection and faster-than-expected effects from the medication. If this keeps happening, ask your clinician or pharmacist to check your needle length and technique.
Reusing needles is another. A used needle is duller and can carry bacteria. It also hurts more going in. Needles and syringes are single-use.
Injecting into a bruised, scarred, or lumpy area is a third. Those areas absorb medication differently and are more likely to bleed.
Finally, skipping the air-dry step after the alcohol wipe. Wet alcohol carried into the tissue on the needle causes a sharp sting that people often mistake for a problem with the medication.
What Side Effects and Risks Should You Expect?
Minor reactions at the injection site are common and usually fade within a day or two. These include a small amount of bleeding, mild bruising, a little redness, or a temporary bump under the skin.
More serious problems are rare but worth knowing. Signs of infection include increasing redness, warmth, swelling, pus, or fever. A hard lump that does not go away over weeks may be lipohypertrophy. A reaction that spreads beyond the injection site, or any trouble breathing, swelling of the face or throat, or widespread rash, needs emergency care.
Bleeding risk is higher if you take blood thinners. If that applies to you, ask your clinician about the best technique and whether to apply pressure longer after the injection.
One clarification worth making: a small drop of blood or clear fluid after withdrawing the needle is normal and does not mean the dose was lost. Do not inject a second time to make up for it.
When Should You Ask for Help With Your Technique?
Ask for a hands-on check if you feel sharp pain every time, if you see blood or medication leaking back out, if you keep getting bruises, or if the medication does not seem to be working as expected. A pharmacist or nurse can watch you inject and correct your angle, pinch, or needle choice in a single visit.
Also ask before switching injection sites on your own. The thigh, abdomen, and upper arm absorb medication at different rates, and some prescriptions specify where to inject for that reason. Changing sites without guidance can shift how your medication behaves.
If you have limited hand strength, vision problems, or trouble reaching your thigh, there are devices and alternative sites that can help. This is a common issue and worth raising rather than struggling through.
Frequently Asked Questions
How deep does a subcutaneous injection go?
It goes into the fatty tissue just below the skin, not into muscle. The needle only needs to be long enough to reach that layer, which is why short, thin needles are used.
Should I pinch the skin during a thigh injection?
Yes, pinch a fold of skin before inserting the needle to lift the fat away from the muscle. Release the pinch once the needle is in, so the medication stays in the fat layer.
What angle should I use for a subcutaneous injection in the thigh?
Use a 90-degree angle with a short needle, or a 45-degree angle if you have little fat under the skin or are using a longer needle. Your clinician can confirm which is right for your needle and body type.
Can I reuse the same spot on my thigh each time?
No. Reusing the same pinpoint can cause hard lumps that change how medication absorbs. Move each injection about a finger’s width from the last one.
