
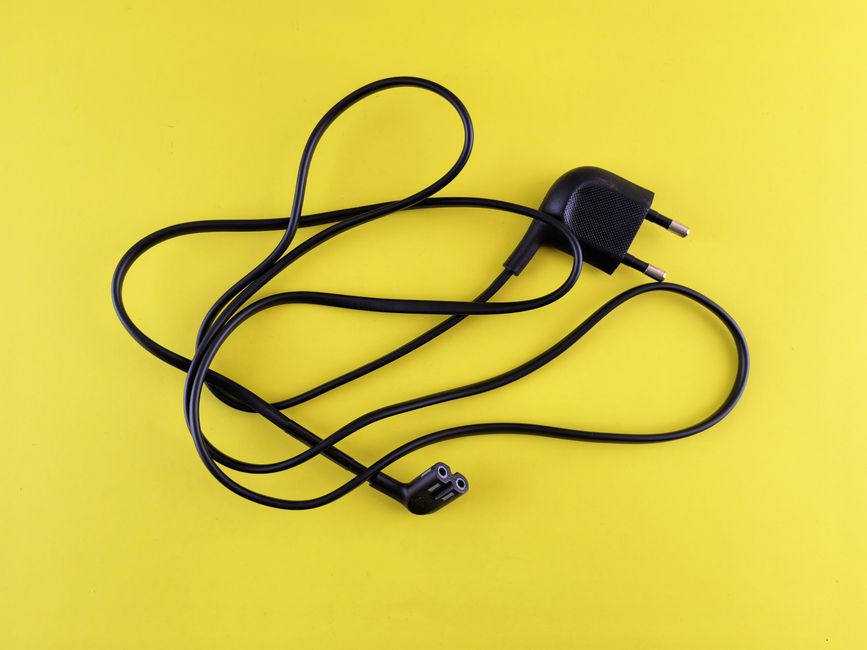
Testing a power cord with a multimeter is a straightforward way to check if electricity can flow through it properly. You set the multimeter to measure resistance (ohms), touch one probe to each end of the same wire inside the cord, and look for a reading near zero ohms. If the meter shows “OL” or a very high number, the wire is broken and the cord needs replacing. This method works for extension cords, appliance cords, and lamp cords, and it takes about two minutes once you know the steps.
What Exactly Does a Multimeter Tell You About a Power Cord?
A multimeter measures electrical properties. When you test a power cord, you are checking for continuity. Continuity simply means there is an unbroken path for electricity to travel from one end of the cord to the other.
If the wire inside the cord is snapped, corroded, or burnt, the path is broken. The multimeter will detect this break. It cannot tell you if the cord is safe from electrical shock or if its insulation is damaged. That is a separate visual check. The multimeter only tells you about the internal conductor.
Most household power cords contain two or three wires inside the outer jacket. A standard two-prong cord has a hot wire and a neutral wire. A three-prong cord adds a ground wire. You test each wire individually by probing its specific contact points at each end of the cord.
What Settings Do You Use on the Multimeter?
Set the dial to the resistance setting. It is marked with the Greek letter omega (Ω). If your meter has a specific continuity mode that beeps, use that instead. It is often marked with a symbol that looks like a sound wave or a diode.
If you use the resistance setting, choose the lowest range available. On most digital multimeters, that is the 200 ohm setting or the auto-ranging mode. You want to see numbers in the single digits or low tens when testing a good cord. A reading of 0.2 to 2.0 ohms is typical for a short cord under ten feet. Longer cords will read slightly higher but still under 10 ohms.
Before touching the cord, touch the two meter probes together. You should see a reading near zero. This confirms your meter and leads are working. If you see a reading of 0.5 ohms when the probes are shorted, subtract that number from your cord reading for a more accurate result.
How To Test a Two-Prong Power Cord Step by Step
Unplug the cord from any wall outlet. This is not optional. Testing a live cord can damage your meter and injure you. Make sure the cord is completely disconnected from power.
Look at the plug end. You will see two flat metal prongs. One prong is wider than the other. The wider prong is the neutral. The narrower prong is the hot. On the other end of the cord, look at the connector or the bare wires. There will be two corresponding terminals or wire ends.
Place one probe on the narrow hot prong. Place the other probe on the hot terminal at the opposite end. The meter should show a low resistance reading. If it shows “OL” or a very high number, that wire is broken. Repeat the same test for the wide neutral prong and its corresponding terminal.
If both wires show continuity, the cord is electrically functional. If either wire shows an open circuit, the cord is damaged and should be discarded. Do not attempt to repair a broken internal wire inside a molded cord. It is safer and easier to replace the entire cord.




How To Test a Three-Prong Power Cord
Three-prong cords have a hot, a neutral, and a ground wire. The ground wire connects to the round or U-shaped prong at the plug end. On the other end, it connects to the green or bare copper wire or the round terminal.
Test the hot wire first. Place one probe on the narrow flat prong and the other on the hot terminal at the opposite end. Expect a low resistance reading. Then test the neutral wire. Place one probe on the wide flat prong and the other on the neutral terminal. Again, look for a low reading.
Finally, test the ground wire. Place one probe on the round or U-shaped prong and the other on the ground terminal or green wire. The reading should be the same as the other two wires. Many appliance cords fail at the ground wire first because it is thinner or more prone to corrosion.
If the ground wire shows an open circuit, the cord will still power a device. But the device will not be properly grounded. This creates a safety hazard. The cord should be replaced even if the device still turns on.
What Results Mean and When To Replace the Cord
| Meter Reading | What It Means | What To Do |
|---|---|---|
| 0.0 to 2.0 ohms | Wire is intact and conducting well | Cord is electrically good |
| 2.1 to 15.0 ohms | Wire is intact but may have some resistance from length or mild corrosion | Cord is likely usable but inspect for damage |
| Over 15 ohms or fluctuating | Partial break or severe corrosion inside the wire | Replace the cord |
| “OL” or “1” on display | Complete break in the wire | Replace the cord immediately |
A cord that shows continuity on all wires is not necessarily safe. The outer insulation may be cracked or melted. Always combine the electrical test with a visual inspection. Run your fingers along the entire length of the cord feeling for soft spots, cuts, or bulges. Check the plug for bent or burnt prongs.
Some people report that a cord works intermittently. This often means there is a partial break inside the wire. When you bend the cord a certain way, the broken ends touch and complete the circuit. When you move it, they separate. A multimeter can catch this if you wiggle the cord gently while testing. If the reading jumps or goes to “OL” during wiggling, the cord has an internal break and must be replaced.
Common Mistakes People Make When Testing Power Cords
The most common mistake is testing a cord that is still plugged in. Even if the device is turned off, the cord can still carry voltage. This can damage the multimeter or cause a shock. Always unplug first.
Another frequent error is testing only one wire and assuming the whole cord is good. A cord can have a broken ground wire while the hot and neutral are fine. You must test each wire separately. If you only test the hot wire, you will miss a broken neutral or ground.
Some people also test the cord by probing the prongs and the outer metal casing of the connector. This is incorrect. You are testing between the prong and the metal shell, not the actual terminal. For a three-prong cord, the ground prong connects to the metal casing. But for a two-prong cord, there is no ground. Probing a prong to the casing will always show an open circuit and falsely suggest a bad cord.
Using the wrong meter setting is another issue. Setting the meter to measure voltage instead of resistance will not give you useful information. The meter may read zero volts even on a broken cord because there is no power source connected. Always use the ohms or continuity setting.
Frequently Asked Questions
Frequently Asked Questions
Can I test a power cord without a multimeter?
You can do a basic check by plugging the cord into a working device. If the device does not power on, the cord may be bad. But a multimeter is far more reliable and can detect a broken ground wire that a device test would miss.
What does OL mean on a multimeter when testing a cord?
OL stands for open loop or overload. It means the meter cannot measure any resistance because the circuit is broken. This indicates the wire inside the cord is not conducting electricity.
Do I need to remove the cord from the device to test it?
No. You can test the cord while it is still attached to the appliance. Just unplug the appliance from the wall. Probe the prongs at the plug end and the terminals inside the appliance connector at the other end.
Is it safe to test a power cord that looks damaged?
It is safe to test a damaged cord as long as it is unplugged. Do not plug in a cord with visible cracks or exposed wires to test it. Replace visibly damaged cords immediately without testing.
