
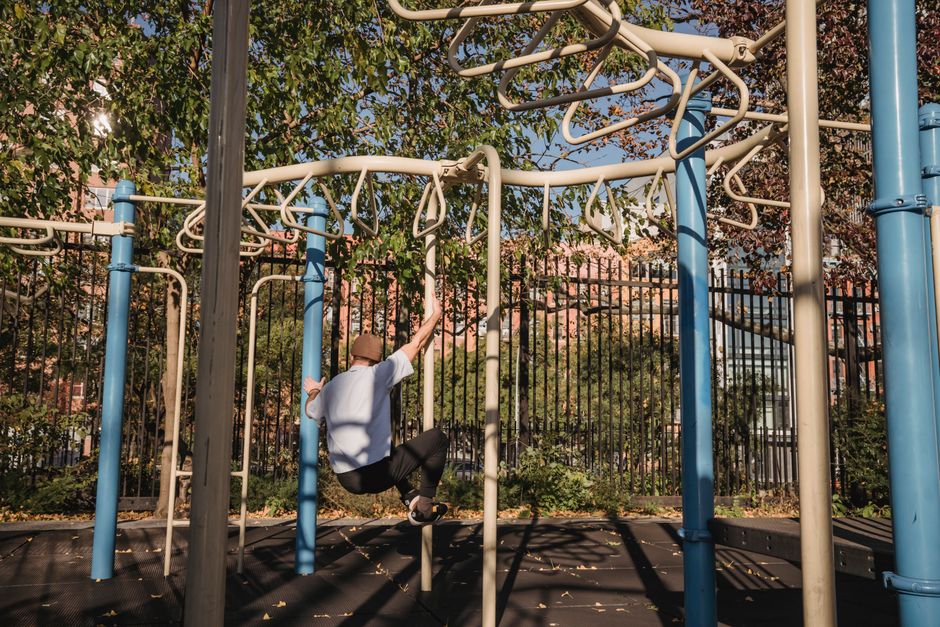
The parkour roll is the first real skill most traceurs learn, and for good reason. It is the safest way to land from a drop and keep moving without injuring your knees or spine. The goal is to convert forward momentum into a diagonal roll across your back, from one shoulder to the opposite hip. For a beginner, the core steps are: start in a low crouch, tuck your chin to your chest, place one hand on the ground, and roll diagonally from your shoulder to the opposite hip before returning to your feet.
Why Do Traceurs Roll Instead of Falling?
When you land from a jump, your legs absorb the initial impact. But if the drop is high or you are moving fast, your knees and ankles take a massive load. The roll spreads that remaining energy across a larger surface area of your body. Instead of slamming into a single joint, the force travels through muscle and bone along a curved path.
This is not about looking cool. It is a practical method of impact dissipation. A proper roll turns a hard landing into a smooth, continuous motion. Without it, parkour practitioners would suffer far more knee and spinal injuries. The roll essentially converts your body into a wheel for a fraction of a second.
It is crucial to understand that this is a diagonal roll, not a forward somersault. A forward somersault over the top of your head can compress your cervical spine. The parkour roll crosses your back from one shoulder blade to the opposite hip, keeping your head and neck completely off the ground.
How To Parkour Roll Step By Step For Beginners
Mastering the roll requires breaking it into distinct phases. Do not attempt the full movement at speed until each part feels natural. The sequence below is the standard progression taught in parkour gyms.
Step 1: The Crouch and the Hand. Start in a low squat with your feet shoulder-width apart. Place one hand flat on the ground in front of you, slightly to the outside of your opposite foot. If you are rolling over your right shoulder, your right hand reaches down and across toward the left side of your body. This hand guides you into the diagonal path.
Step 2: Tuck the Chin. This is the most critical safety element. Press your chin firmly against your chest. You must look at your own belly button. If you look forward or up, your head will hit the ground. The tucked chin ensures the roll passes over your shoulder muscle, not your skull or neck.
Step 3: Push and Roll. Push off the balls of your feet to drive your body forward. Your shoulder should contact the ground first, right where your deltoid muscle meets your upper back. The contact point is the meaty part of the shoulder, not the shoulder joint itself.
Step 4: The Diagonal Path. Let the roll travel across your back in a straight diagonal line. It goes from your right shoulder, across your upper back, and exits at your left hip. Keep your body curled into a tight ball. Your knees should be bent, and your feet should stay close to your body.
Step 5: Exit and Stand. As the roll reaches your opposite hip, your legs should be coming around underneath you. Your foot will touch the ground, and you immediately push back up to a standing position. The standing motion is not a separate step. It is the natural end of the roll’s momentum.
Practice this slowly on a soft surface like grass or a gymnastics mat. Speed will come later. If you cannot do it slowly without pain, you are doing it wrong.
What Is the Most Common Beginner Mistake?
The most frequent error is rolling straight over the spine. Beginners often roll directly down the middle of their back. This is painful and can cause bruising along the vertebrae. The entire point of the diagonal path is to avoid the bony spine.
The second most common mistake is looking sideways or forward during the roll. This breaks the chin tuck and puts your neck at risk. If your neck is not protected, the roll becomes dangerous. The chin must stay glued to the chest from the moment you start until you are back on your feet.
Another issue is using the arm incorrectly. The guiding hand is for balance, not for supporting your body weight. If you try to push yourself over with your arm, you will collapse or twist awkwardly. The arm simply touches the ground to show your shoulder where to go.
Finally, many beginners try to roll from a standing height immediately. They skip the crouch. The crouch lowers your center of gravity, making the roll smoother and safer. If you stand tall and try to roll, you will slam your back into the ground.





How Do You Progress Safely From a Standstill?
Do not start by running and jumping into a roll. The progression must be gradual. Begin on a soft mat or grass in a deep squat. Perform the roll from this static position. Get comfortable with the shoulder contact and the diagonal path.
Once the static roll feels smooth, add a small forward step. Take one step, then immediately drop into the crouch and roll. This introduces a small amount of momentum. It teaches you how to convert forward movement into the rolling motion.
After the single step feels natural, try a slow jog. The roll should feel like a fluid continuation of your movement. You should not stop, roll, and then stand. The roll happens in the middle of your stride. You step, roll, and come up still moving forward.
Only after this progression should you attempt rolling after a jump. Start with a small drop, like a curb or a low bench. Land on both feet, absorb the impact with your legs, and immediately transition into the roll. This is the full application of the skill.
What Surfaces Are Safe to Roll On?
Surface choice matters more than most beginners realize. The roll involves impact with your back, so hard surfaces like concrete are risky until your technique is excellent. Even with perfect form, concrete is unforgiving.
Good beginner surfaces include gymnastics mats, thick grass, and sand. These surfaces cushion the impact and allow you to make mistakes without injury. As your technique improves, you can move to harder surfaces, but you should always inspect the ground first.
Avoid surfaces with debris, sharp rocks, or glass. A single piece of gravel can cause a painful bruise or cut on your back. Also avoid uneven ground. A dip in the surface can cause your roll to veer off course and put pressure on the wrong part of your body.
When you do progress to harder surfaces, start with a very slow roll. Keep your body tight and your chin tucked. If you feel any pain in your spine or shoulder joint, stop and go back to a softer surface. Pain is a sign that your technique has a flaw.
Should You Wear Protective Gear?
Most parkour practitioners do not wear protective gear for rolling. The roll is designed to be a natural movement that requires no equipment. However, beginners often benefit from wearing a long-sleeved shirt to protect the skin on their forearms and shoulders from friction burns.
Some practitioners use padded gloves during early practice. The guiding hand drags across the ground, and beginners often put too much weight on it. Gloves can prevent scrapes while you learn to use the hand only for balance.
Knee pads are generally not recommended for the roll itself. The knees should not touch the ground during a proper roll. If your knees are hitting the ground, your form is incorrect, and knee pads will simply hide the problem.
No evidence suggests that wearing a back brace or neck brace is helpful. These devices restrict movement and prevent you from learning the proper tuck and curl. The best protection is correct technique, not equipment.
How Long Does It Take To Learn?
There is no fixed timeline for learning the parkour roll. It depends on your coordination, body awareness, and practice frequency. Some people pick it up in a single session. Others need several weeks of consistent practice.
Most beginners can achieve a basic, functional roll within a few practice sessions if they focus on the chin tuck and the diagonal path. The roll will not be pretty at first. It will be slow, awkward, and possibly a little painful. That is normal.
Do not rush the process. A flawed roll that you practice repeatedly becomes a deeply ingrained bad habit. It is much harder to unlearn a bad roll than to learn a good one slowly. Spend extra time on the static roll before adding speed.
If you experience sharp pain in your shoulder, neck, or spine, stop immediately. The roll should feel like a smooth glide, not a painful impact. Persistent pain is a sign that you are hitting the wrong anatomical structures, and you should seek guidance from an experienced practitioner or coach.
Frequently Asked Questions
Does the parkour roll hurt?
No, a properly executed parkour roll does not hurt. Pain usually means you are rolling over your spine or failing to tuck your chin.
Can you learn the parkour roll without a coach?
Yes, many people learn it from video tutorials and careful practice on soft surfaces. However, a coach can spot errors in your form that you cannot see yourself.
Is the parkour roll the same as a somersault?
No, a somersault goes over the top of your head, while a parkour roll goes diagonally across your back from shoulder to opposite hip.
What muscle should touch the ground first?
The meaty part of your shoulder muscle, the deltoid, touches the ground first. Never let your spine or the bony point of your shoulder take the impact.
