
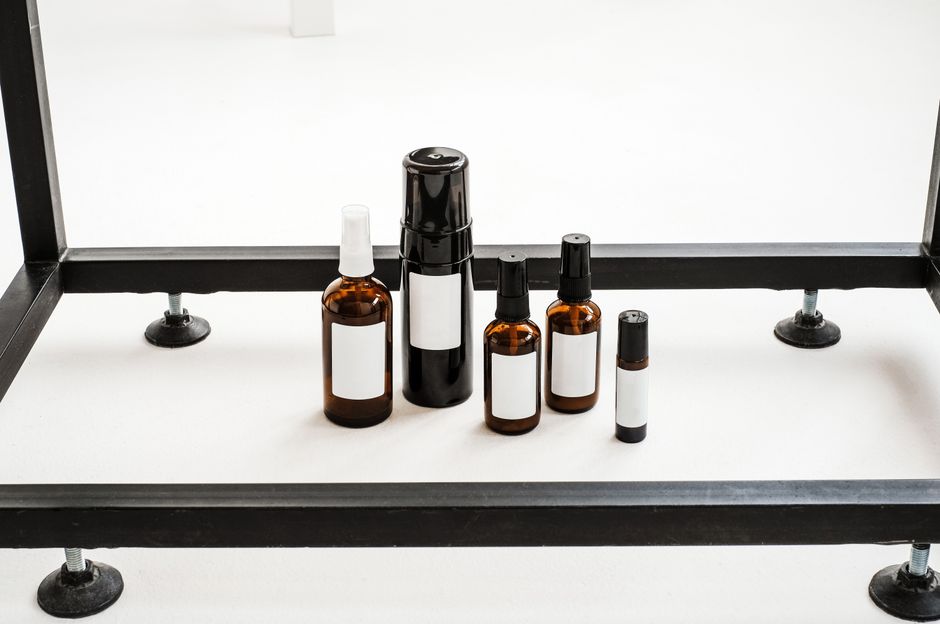
Keeping track of biological samples, lab specimens, or even home-collected materials comes down to three connected steps: consistent labeling, proper storage, and a reliable tracking system. The best systems use a single unique identifier for each sample from the moment it is collected. That identifier links the physical sample to a digital record. This approach works whether you manage a clinical lab, a research facility, or a small personal collection.
Why Do Samples Get Lost or Mixed Up?
Sample mix-ups rarely happen because someone is careless. They happen because the system has weak points. Labels fall off in freezers. Handwriting becomes unreadable. Someone reuses a barcode. A freezer gets reorganized and the map becomes outdated.
Most errors trace back to one of three causes. The first is inconsistent naming. One person writes “Patient A Blood” while another writes “A-Blood-01.” The second is poor label durability. Standard paper labels degrade in cold storage or liquid nitrogen. The third is a tracking log that lives in one person’s head or in a notebook nobody else can access.
Every one of these problems has a straightforward solution. You need a naming convention that everyone follows. You need labels designed for your storage conditions. And you need a tracking system that updates in real time.
What Is the Best Way to Label Samples?
The label is the single point of connection between the physical sample and its record. If the label fails, the sample becomes worthless. Even a perfectly preserved specimen has no value if you cannot confirm what it is or where it came from.
Every label should carry the same core information. The unique sample ID comes first. That ID must never be reused, even if the sample is discarded. Add the collection date and time. Include the sample type — serum, tissue, urine, or whatever applies. Add the patient or subject identifier if relevant, but keep it separate from the sample ID itself.
Use labels that are proven to survive your storage conditions. For freezers at -20°C or -80°C, choose cryogenic labels. These are designed to withstand extreme cold without peeling or cracking. For liquid nitrogen storage, you need labels rated for vapor-phase and liquid-phase conditions. Standard office labels will fail in these environments.
Write with permanent markers that resist moisture and alcohol. Some labs use label printers with thermal transfer technology because the print resists smudging and chemical exposure. If you handwrite labels, use a pen with solvent-resistant ink. Regular ballpoint ink runs and fades in cold storage.
How To Organize Samples Labels Storage And Tracking
The most effective organization combines a clear labeling system with a storage layout that matches your tracking software. The label on the tube is only half the system. The position of that tube in the freezer is the other half.
Assign every storage location a unique address. A typical address includes the freezer number, the shelf, the box, and the position in the box. For example, “F2-S3-B4-P12” means freezer 2, shelf 3, box 4, position 12. This address goes into the tracking system alongside the sample ID.
Group samples by project, study, or collection date. Keep related samples together in the same box. Do not mix sample types in one box unless your tracking system can handle the complexity. Clear, color-coded boxes help staff find the right area quickly, but the digital address remains the source of truth.
Leave empty positions in each box. This allows you to add samples without reshuffling everything. Reshuffling creates errors because the digital records must be updated for every moved sample. If you must rearrange, update the tracking system immediately before any physical move.
Keep an updated freezer map posted nearby. The map should show which boxes are where and what each box contains. This helps people find samples without opening every box. It also helps during inventory audits.





What Tracking Methods Actually Work?
Paper logs fail for most collections. They get lost, they get wet, and they only exist in one place. A spreadsheet is better but still limited. Multiple people can edit it, versions diverge, and errors go unnoticed.
A laboratory information management system, often called a LIMS, is the standard tool for clinical and research labs. These systems let you scan a barcode, see the sample record, and update its location in seconds. They also track freeze-thaw cycles, remaining volume, and expiration dates. Some systems send alerts when samples approach their stability limits.
For smaller collections, a well-structured spreadsheet can work. The key is discipline. One person should be responsible for updates. Every change gets logged with a date and the name of the person making the change. Never edit a record without noting what changed and why.
Barcode scanning reduces human error significantly. A scanner removes the chance of typing the wrong ID. It also speeds up routine tasks like inventory checks and location updates. Many labs use handheld scanners that connect wirelessly to the tracking system.
Radio-frequency identification, or RFID, is an emerging option. RFID tags can be read without direct line of sight, which means you can scan an entire box in seconds. The technology is more expensive than barcodes, and not all freezers are compatible with RFID readers. Most labs still use barcodes for this reason.
How Should You Handle Sample Storage Conditions?
Storage temperature depends entirely on the sample type and how long you need to keep it. There is no universal temperature that works for everything.
Short-term storage of many biological samples happens at refrigerator temperatures around 4°C. This works for a few days to a week for some specimens. For longer storage, most labs use -20°C freezers. DNA, RNA, and many proteins remain stable at this temperature for months.
Long-term storage typically requires -80°C. At this temperature, most biological materials remain stable for years. Some samples, particularly cells and certain microorganisms, require liquid nitrogen storage at temperatures below -150°C. These samples must be handled with extreme care because improper thawing can destroy them.
Freeze-thaw cycles damage samples. Each cycle degrades the material, especially for proteins and RNA. Plan your storage so samples are frozen and thawed as few times as possible. If you need multiple aliquots, divide the sample into smaller tubes before freezing. This way you thaw only what you need.
Monitor freezer temperatures continuously. A freezer that fails overnight can destroy years of work. Most labs use temperature monitoring systems that send alerts when temperatures drift outside the acceptable range. Check your samples after any power outage or equipment failure.
How Do You Audit and Maintain Your System?
An organization system degrades over time without regular checks. Samples get moved, labels get damaged, records get outdated. A quarterly audit catches these problems before they become serious.
During an audit, scan every sample and compare it to the digital record. Confirm the sample ID matches the label. Confirm the location matches what the system says. Check label condition and reprint any labels that are peeling or fading.
Document the audit results. Record how many samples were checked, how many discrepancies were found, and what corrections were made. This creates a record of system integrity that matters for quality control and regulatory compliance.
Train everyone who handles samples. New staff should learn the labeling convention, the storage layout, and the tracking system before they touch real samples. A supervised practice session works better than a written manual alone.
Review your system annually. Ask whether the naming convention still makes sense. Check whether the storage layout matches how samples are actually used. Adjust the system when it stops working, but always update the documentation when you change the process.
What Common Mistakes Should You Avoid?
One of the most common mistakes is using labels that are too small. A tiny label forces abbreviated handwriting that becomes unreadable. Choose labels large enough for the full sample ID and collection date in clear print.
Another mistake is storing samples in a way that hides the label. Tubes packed tightly in boxes make it hard to read labels without removing the tube. This increases handling time and the risk of accidental thawing. Leave enough space in boxes for easy access.
Some labs use color-coded caps to identify sample types. This works well as a visual aid, but it never replaces a proper label. Cap colors fade and people see colors differently. The label remains the only reliable identifier.
Do not rely on memory for sample locations. Even the most organized person forgets. The tracking system is the record, not your recollection. If a sample location is not in the system, it is lost.
Frequently Asked Questions
What information should be on every sample label?
Every label needs a unique sample ID, collection date, sample type, and patient or subject identifier. Keep the sample ID separate from any patient information to protect privacy.
How long can samples stay at room temperature?
Most biological samples degrade quickly at room temperature, often within hours. The exact time depends on the sample type, so follow the specific protocol for whatever you are storing.
Can I use regular paper labels in a -80°C freezer?
No, standard paper labels fail at extremely cold temperatures. Use cryogenic labels designed for low-temperature storage, or the labels will peel, crack, or become unreadable.
What is the best tracking method for a small sample collection?
A structured spreadsheet with strict update rules works for small collections. Once you exceed a few hundred samples or have multiple people handling them, a laboratory information management system becomes the better choice.
