
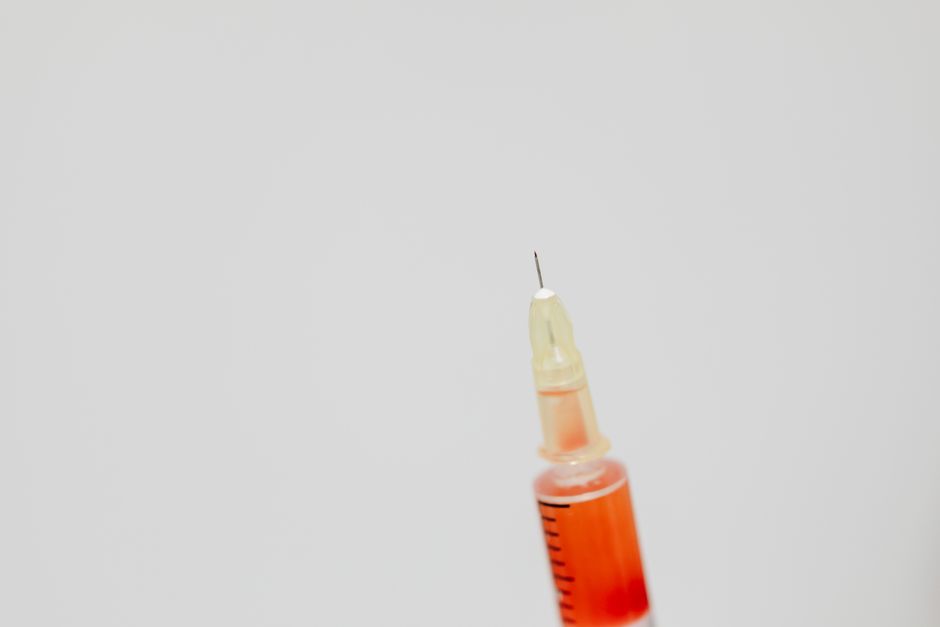
Microneedling at home is possible, but the depth you can safely use is far shallower than what a professional uses in a clinic. For home devices, the safe range is generally 0.25mm to 0.5mm, while professional treatments reach 1.0mm to 2.5mm. The technique matters just as much as the depth—sterilizing the skin and device, using a rolling or stamping motion, and following up with proper aftercare are all essential steps to avoid injury and infection.
What Depth Should You Use At Home?
Depth is the single most important factor in home microneedling. It determines both the results you can expect and the risks you take on.
Home devices are designed to stay in the 0.25mm to 0.5mm range. These depths primarily work on the epidermis, the top layer of skin. This is enough to improve product absorption and give a subtle texture refinement, but it will not dramatically remodel collagen like deeper professional treatments.
At 0.25mm, you are barely breaking the surface. This depth is often used to help serums absorb better. At 0.5mm, you begin to stimulate the upper dermis, which can help with mild fine lines and skin texture. Going deeper than 0.5mm at home increases the risk of scarring, hyperpigmentation, and infection because you do not have the same sterile environment or training as a professional.
If your skin concern is significant scarring or deep wrinkles, home microneedling will not deliver the results you want. Professional treatments at 1.0mm to 2.5mm are required for those issues, and those should only be performed by a licensed practitioner.
How To Choose A Home Microneedling Device
Two main types of home devices exist: derma rollers and derma stampers. Both have legitimate uses, but they are not interchangeable.
Derma rollers have a cylindrical head covered in micro-needles. You roll them across the skin in different directions. They cover larger areas quickly, which makes them efficient for the face. The downside is that the angled entry of the needles can create more micro-tearing in the skin compared to a straight puncture.
Derma stampers have a flat head with needles that puncture straight down. You press the device into the skin and lift it off, moving across the face in a stamping pattern. This is more precise and generally considered gentler on the skin because the needles enter vertically. Stamper devices are better for small, targeted areas like around the eyes or mouth.
For beginners, a stamper is often the safer choice. For covering a full face efficiently, a roller works well. Whichever you choose, look for devices with needles made of surgical-grade stainless steel or titanium. Avoid anything that feels flimsy or has needles that bend easily.
Step-By-Step Technique For Home Microneedling
Proper technique is what separates a helpful treatment from a harmful one. Follow these steps in order.
Step 1: Cleanse your skin. Wash your face with a gentle cleanser to remove dirt, oil, and makeup. Do not use harsh exfoliants or active ingredients like retinol for 24 to 48 hours before your session.
Step 2: Disinfect your device. Soak your microneedling device in 70% isopropyl alcohol for at least 10 minutes. Rinse it with sterile water or saline and let it air dry on a clean towel. Never use a device that has not been properly sterilized.
Step 3: Numb the area (optional). At depths of 0.25mm to 0.5mm, most people do not need numbing cream. If you are sensitive, you can apply a topical numbing cream for 20 minutes and then wipe it off completely before starting.
Step 4: Apply a serum. A hyaluronic acid serum is a good choice because it is hydrating and generally well tolerated. Do not use vitamin C, retinol, or acid-based products during the procedure—they will sting and can irritate the skin.
Step 5: Start microneedling. If using a roller, roll in one direction—up and down, then side to side, then diagonally. Apply light pressure. If using a stamper, press it into the skin, hold for one second, and lift. Move systematically across the face, covering each area 2 to 3 times maximum.
Step 6: Apply a soothing product. After the procedure, apply a gentle, fragrance-free moisturizer or a calming serum. Avoid active ingredients for the next 24 hours.
Step 7: Clean your device again. Repeat the alcohol soak and air dry before storing it in a clean, dry place.




How Often Should You Microneedle At Home?
Frequency depends on the depth you are using.
At 0.25mm, the skin recovers quickly, often within 24 hours. You can safely perform this shallow treatment every 2 to 3 days if you want to enhance product absorption, though many people only do it once a week.
At 0.5mm, the skin needs more time to repair. The general guidance is to wait at least 7 to 14 days between sessions. This gives the skin enough time to rebuild its barrier and avoids over-stressing the tissue.
Do not microneedle every day. The skin needs time to heal, and overdoing it can lead to inflammation, breakouts, and paradoxical aging—where you damage the skin instead of rejuvenating it.
Who Should Not Microneedle At Home
Microneedling is not safe for everyone. Certain conditions make the procedure risky.
Do not microneedle if you have active acne, particularly pustules or cysts. The needles can spread bacteria across your face and make the breakout worse. Wait until the skin is completely clear.
Avoid microneedling if you have a history of keloid scarring. The procedure can trigger the formation of new raised scars in susceptible people.
If you have eczema, psoriasis, or any open wound on the treatment area, do not microneedle until the skin is fully healed. The procedure will aggravate these conditions.
People with a bleeding disorder or those taking blood thinners should consult a doctor before attempting microneedling. The same applies to anyone with a compromised immune system, as the risk of infection is higher.
Pregnant women should avoid microneedling. No clinical evidence confirms it is safe during pregnancy, and the hormonal changes can affect how the skin heals.
Risks And Side Effects To Know Before You Start
Home microneedling is not risk-free. The most common side effects are temporary redness, mild swelling, and a sunburn-like sensation that lasts 24 to 48 hours. These are expected and usually resolve on their own.
More serious risks include infection, which can happen if the device is not properly sterilized or if you microneedle over unclean skin. Bacterial infections from microneedling can cause pustules, pain, and scarring that is worse than the original concern.
Hyperpigmentation is another risk, especially for people with darker skin tones. The needles can trigger excess melanin production, leading to dark spots that may take months to fade. If you have darker skin, consider starting at the lowest depth (0.25mm) and testing a small area first.
Scarring is possible if you press too hard or use a device with damaged needles. If the needles are bent or dull, they will tear the skin instead of puncturing it cleanly, which increases scar risk. Replace your device regularly—most manufacturers recommend replacing rollers every 1 to 3 months depending on use.
What Results Can You Realistically Expect?
Be honest with yourself about what home microneedling can achieve. It is not a substitute for professional treatments.
At 0.25mm to 0.5mm, you can expect improved absorption of skincare products and a subtle improvement in skin texture over time. Some people notice a mild glow or smoother feel after a few sessions. Results are gradual and cumulative—you will not see a dramatic difference after one treatment.
Home microneedling will not significantly reduce deep wrinkles, acne scars, or stretch marks. Those require deeper penetration into the dermis, which only professional devices can safely achieve. If these are your goals, save your money for a licensed professional.
Some research suggests that microneedling stimulates collagen production, but the depth of the needles correlates with the strength of that stimulus. A 0.25mm needle creates a very mild stimulus. A 2.0mm needle creates a much stronger one. You cannot get professional-level collagen remodeling with a home device.
Aftercare: What To Do And What To Avoid
Aftercare determines how well your skin heals and how much benefit you get from the treatment.
For the first 24 hours after microneedling, wash your face with lukewarm water and a gentle cleanser. Pat dry—do not rub. Apply a soothing moisturizer or a hyaluronic acid serum to keep the skin hydrated.
Avoid active ingredients for at least 24 to 48 hours. This includes retinol, vitamin C, alpha-hydroxy acids, and beta-hydroxy acids. These products can sting and cause irritation on freshly microneedled skin.
Avoid makeup for at least 12 to 24 hours. Your skin’s barrier is temporarily compromised, and makeup can introduce bacteria into the micro-channels.
Avoid direct sun exposure for at least 48 hours. If you must go outside, wear a broad-spectrum sunscreen with SPF 30 or higher. Your skin is more sensitive to UV damage after microneedling.
Do not pick at any flaking or peeling skin. Let it shed naturally. Picking can cause scarring and hyperpigmentation.
Frequently Asked Questions
Can I use a 1.0mm derma roller at home?
No, 1.0mm is too deep for safe home use. Depths above 0.5mm should only be handled by licensed professionals in a sterile clinical setting.
Does home microneedling hurt?
At 0.25mm to 0.5mm, most people feel mild discomfort or a light prickling sensation. Significant pain usually means you are pressing too hard or the needles are too long.
How long does redness last after home microneedling?
Redness typically lasts 24 to 48 hours at home depths. If redness persists longer or is accompanied by pain or pus, stop and consult a doctor.
Can I microneedle over acne scars at home?
Home depths are too shallow to meaningfully improve acne scars. Deeper professional treatments are required, but you should never microneedle over active acne.
