
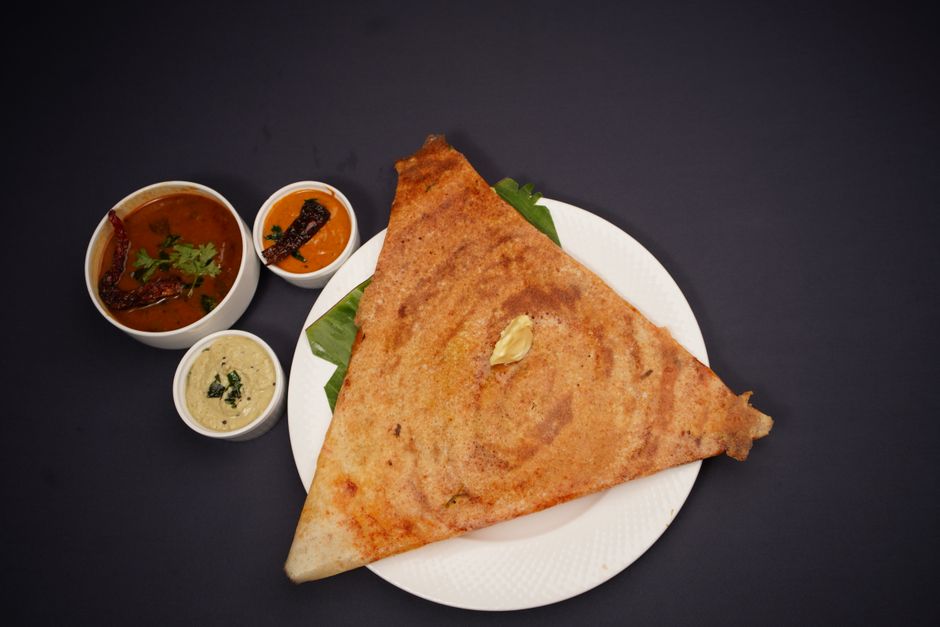
Crispy dosa comes down to three things: the right batter, the right pan temperature, and the right technique. A well-fermented batter with the correct consistency spreads thin and crisps up fast. The pan must be hot enough to sizzle on contact, and you need to spread the batter quickly into a thin, even circle. These are the key facts that separate a crisp, golden dosa from a soft, chewy one.
What Makes a Dosa Crispy vs. Soft?
Crispiness is a product of moisture removal and starch gelatinization. When the thin batter hits a hot pan, the water in it evaporates rapidly. That rapid steam escape is what creates the lacy, crispy texture.
A soft dosa happens when the batter is too thick, the pan is not hot enough, or the batter holds too much moisture. Thick batter traps water inside. A cooler pan cooks the dosa slowly, allowing it to steam rather than crisp. Both results are edible, but they are not crispy.
The type of rice also matters. Parboiled rice produces a softer dosa. Regular raw rice, like sona masuri or idli rice, produces a crisper result. Many home cooks blend the two to get a balance of soft interior and crisp exterior.
How To Make Dosa On A Pan Crispy Every Time: The Batter
The batter is the foundation. If the batter is wrong, no pan technique will save it.
The classic ratio is 3 parts rice to 1 part urad dal (split black gram). Some recipes use a 4:1 ratio for extra crispiness. The rice provides the structure and crispness. The urad dal provides the fermentation and the airy texture.
Soak the rice and dal separately for at least 4 to 6 hours. Grind them separately too. Grind the urad dal until it is light and fluffy — it should double in volume. Grind the rice to a slightly grainy texture, not a smooth paste. A completely smooth rice batter makes a softer dosa.
Mix them together with salt and let the batter ferment. Fermentation time depends on your climate. In warm weather, 8 to 12 hours is usually enough. In cooler weather, it may take 24 hours. The batter should rise and smell slightly sour. This fermentation is not optional. Unfermented batter makes dense, hard dosas that do not crisp well.
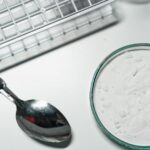
The consistency of the fermented batter is critical. It should be pourable but not watery. It should coat the back of a spoon thinly. If it is too thick, add a little water. If it is too thin, the dosa will stick and tear.
Pan Type and Temperature: The Science of the Sear
A cast iron pan or a seasoned carbon steel pan is the best choice for crispy dosas. These pans hold heat well and distribute it evenly. Non-stick pans work, but they do not produce the same deep browning that cast iron does.
The pan must be hot before you pour the batter. A common test is to sprinkle a few drops of water on the pan. If the water dances and evaporates immediately, the pan is ready. If it sits and sizzles slowly, the pan is not hot enough.
Medium-high to high heat is the right range. The first dosa on a pan is often not the best one. The pan needs to reach a stable temperature. Many cooks discard the first dosa or use it as a test piece.
Oil matters too. Use a neutral oil with a high smoke point, like vegetable oil, sunflower oil, or coconut oil. Ghee adds flavor but burns at lower temperatures. A thin drizzle of oil around the edges and a little in the center helps the dosa crisp and release from the pan.




The Spreading Technique: Thin and Even
The way you spread the batter determines the texture. A thick dosa will never be crispy all the way through. A thin dosa crisps quickly and evenly.
Pour a ladleful of batter into the center of the hot pan. Using the bottom of the ladle, spread the batter outward in a circular motion. Work quickly. The batter starts cooking the moment it touches the pan.
Do not press down hard. The goal is to spread the batter thin, not to smash it into the pan. One smooth, continuous spiral motion works best. If the batter sticks to the ladle, dip the ladle in cold water between dosas.
The edges should be slightly thinner than the center. This creates the crispy, lacy edge that many people love. The center will be slightly softer.
When to Flip: Timing the Cook
Let the dosa cook undisturbed for 1 to 2 minutes. The surface should look set and the edges should start to pull away from the pan. The bottom should be deep golden brown.
If the dosa is still pale after 2 minutes, the pan is not hot enough. If it is browning too fast and the center is still raw, the pan is too hot or the batter is too thick.
Drizzle a little oil or ghee around the edges and a few drops on top. This helps the bottom crisp further and adds flavor. Wait for the sizzle to slow down before flipping.
Flip the dosa only once. Flipping multiple times dries it out and makes it tough. Cook the second side for 30 to 60 seconds. The second side should be lightly browned, not dark.
Common Mistakes That Ruin Crispy Dosas
Several mistakes consistently produce soft or broken dosas. Here are the most common ones:
- Batter too thick. A thick batter cannot spread thin. It will cook unevenly and stay soft in the middle.
- Pan not hot enough. A lukewarm pan steams the batter instead of crisping it. Always preheat thoroughly.
- Too much oil in the pan. Excess oil makes the dosa greasy and soft, not crispy. Use a thin layer.
- Spreading too slowly. If you take too long to spread the batter, the first part cooks before the rest is spread. This creates uneven thickness.
- Flipping too early. The dosa needs time to develop a crisp crust. Flipping before the bottom is set will tear it.
- Using fresh batter without resting. Batter needs time to ferment. Fresh batter lacks the structure for crispness.
How To Keep Dosas Crispy Before Serving
Dosas crisp up when they cook and then soften as they sit. Stacking them traps steam and makes them soggy.
If you are making multiple dosas, keep them in a single layer on a wire rack in a warm oven. Do not stack them. Do not cover them with a towel while they are hot. The trapped steam will ruin the crispness.
Serve dosas immediately after cooking. They are at their best within a few minutes of leaving the pan. If you must hold them, keep them warm and uncovered for the shortest time possible.
Can You Get Crispy Dosas with a Non-Stick Pan?
Yes, but with some limitations. Non-stick pans do not retain heat as well as cast iron. The temperature drops more when you pour in the cold batter. This can lead to a softer dosa.
If you use a non-stick pan, preheat it on medium-high for a full 3 to 4 minutes. The pan needs to be thoroughly hot before the batter goes in. Use a thin layer of oil. Non-stick pans do not need as much oil as cast iron.
The result will be a lighter, less deeply browned dosa. It can still be crispy, but it will not have the same rustic texture as one made on cast iron.
What About Store-Bought Batter?
Store-bought dosa batter can work, but the results vary. Some brands are fermented well and produce good dosas. Others are too thick or too watery.
Check the consistency before using it. If it is too thick, add a little water. If it is too thin, you can add a spoonful of rice flour to thicken it. Let the batter sit at room temperature for 30 minutes before cooking. This allows it to come to temperature and relax.
Store-bought batter often needs a little more oil on the pan because it may have less natural fat than freshly ground batter.
Frequently Asked Questions
Why is my dosa not crispy?
Your pan is likely not hot enough or your batter is too thick. Preheat the pan thoroughly and thin the batter to a pourable consistency.
How long should I ferment dosa batter?
Ferment for 8 to 12 hours in warm weather and up to 24 hours in cooler conditions. The batter should rise and smell slightly sour.
What is the best pan for crispy dosa?
Cast iron or carbon steel pans produce the crispiest dosas because they hold heat well. Non-stick pans work but give a lighter result.
Should I flip dosa more than once?
No, flip only once. Flipping multiple times dries out the dosa and makes it tough.
