
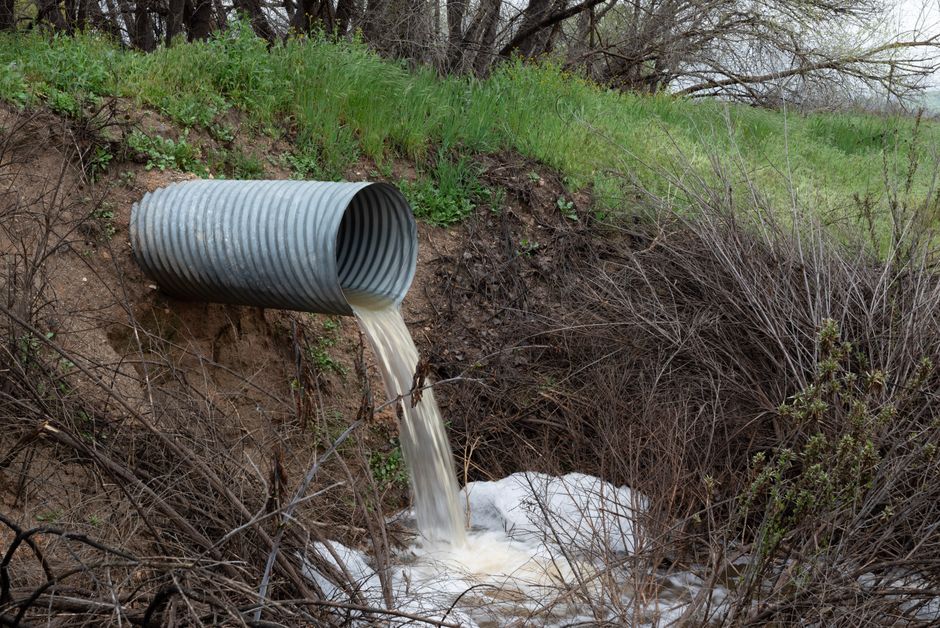
To install rip rap in a ditch for erosion control, you place a layer of graded stone on a prepared bed that has been lined with a filter fabric or granular filter blanket, then key the stone into the banks and terminate it with a proper toe. The stone absorbs the energy of flowing water so the soil underneath stays put. Rip rap is not a pile of rocks dumped into a channel. It is an engineered system, and it fails when the filter layer, the stone size, or the bank details are wrong.
This guide explains the mechanics behind each step. It covers how to size stone, how to build the filter layer, how to install the rock, and where rip rap is the wrong choice. The information here reflects general civil engineering and erosion control practice. For a specific ditch carrying significant flow, a local engineer or your state’s stormwater or conservation office should review the design.
Why Does a Ditch Need Rip Rap Instead of Bare Soil?
Flowing water carries energy, and that energy has to go somewhere. When water moves fast enough across bare soil, it lifts and carries particles away. The ditch widens, deepens, and cuts headward, sometimes undermining roads, driveways, and foundations.
Rip rap works by breaking up that energy. The irregular stone surface creates turbulence and drag. Water slows down, and slower water carries less sediment. The rock also holds the soil in place mechanically, like a heavy blanket over the channel bed.
The key concept is permissible velocity. Every soil and every lining material has a flow speed it can withstand without eroding. Grass tolerates low velocities, bare soil less, and properly sized rip rap much higher. If you install rip rap that is too small for the flow, the stone itself will move. If you install stone that is too large, you waste money and may create a harsh, unstable surface.
Rip rap is also not a fix for a ditch that is failing for a different reason. If the ditch is eroding because upstream flow is concentrated, because the slope is too steep, or because a culvert outlet is scouring, rock alone may not solve the problem. Fix the water first, then line the channel.
What Stone Size and Gradation Do You Need?
Rip rap is described by a size range, not a single size. A typical designation might be something like 6 to 18 inches, meaning individual stones fall somewhere in that span. The gradation, or the mix of sizes within that range, matters as much as the maximum size.
A well-graded rip rap has a blend of larger and smaller stones. The smaller stones fill the gaps between the larger ones, which locks the layer together and prevents individual rocks from being plucked out by flow. Uniform stone of one size is more vulnerable to movement.
Stone size is selected based on flow velocity and depth. Higher velocity and deeper flow require larger stone. There is no single correct size that works everywhere. This is one of the few places where a design chart or an engineer’s input genuinely matters, because guessing wrong means the installation fails during the next big storm.
Stone Type and Shape
Angular stone interlocks better than rounded river rock. Rounded stone rolls more easily under flow and is generally a poorer choice for erosion control, even though it may look nicer. Hard, durable stone that will not break down from freeze-thaw cycles is preferred. Soft stone that crumbles will lose its size over time and stop working.
The Filter Layer: The Step Most People Skip
Under the stone goes a filter. This is the part that homeowners most often omit, and it is the reason many DIY rip rap installations fail.
The filter has one job: let water pass through while holding the soil in place. Without it, water moving under the rock will wash fine soil particles up and out through the gaps. The soil beneath the stone disappears, the rock settles and shifts, and the ditch fails from underneath.
There are two common filter options:
- Nonwoven geotextile fabric. A manufactured filter fabric laid over the prepared soil. It must be the correct weight and permeability for the application, and it must be installed with overlapping seams and no gaps.
- Granular filter blanket. A graded layer of sand and gravel placed under the stone. It works on the same principle as a natural filter, with each layer coarser than the one below.
Fabric is faster and more common in residential work. A granular blanket is often used where fabric could be punctured or where the design calls for it. Neither is optional. If someone tells you to just dump rock on the dirt, that advice is wrong.
How To Install Rip Rap In A Ditch For Erosion Control
The sequence below is the standard order of operations. Skipping a step usually shows up as a failure within a season or two.
Step 1: Shape and Compact the Ditch
Grade the ditch to its final shape before anything else. The channel should have a defined bottom and stable side slopes. Remove soft, loose, or organic material. Compact the subgrade so it will not settle unevenly under the weight of the stone.
Side slopes matter. Steep banks are harder to stabilize and more likely to slough. Flatter slopes hold rock better. Where the ditch is deep, benching or terracing the bank can help, but that is a design decision.
Step 2: Install the Filter Layer
Lay the geotextile or place the granular blanket over the entire area that will receive stone. Extend it beyond the edges of the rock so soil cannot migrate in from the sides. Overlap fabric seams generously and anchor the fabric so it does not shift while you work.
Avoid stretching the fabric tight across uneven ground. It should follow the contour of the ditch. Punctures and wrinkles create weak points where soil can escape.
Step 3: Place the Stone
Place stone from the bottom of the ditch upward, working from one end to the other. Dumping from the top of the bank causes the stone to roll and can tear the fabric or create segregation, where large and small stones separate. Segregated stone does not interlock well.
Aim for a layer thick enough to be stable but not so thick that it becomes a wall. The stone should sit as a blanket, not a mound. Two stones deep is a common minimum for many channel applications, but the required thickness depends on the design.
Step 4: Key the Edges and Build the Toe
Rip rap that just ends at the edge of the channel will unravel. The edges need to be keyed in, meaning the stone is tucked into a trench or notch cut into the bank so it cannot slide. The downstream end needs a toe, a thickened band of stone that anchors the whole layer against the pull of flowing water.
This is the detail that separates a lining that lasts from one that peels up from the bottom edge during high flow.
Step 5: Inspect and Maintain
After installation, check for gaps, tears in the fabric, and any stone that looks loose. After the first significant storm, inspect again. Water finds weak spots fast. Replacing a few displaced stones early is far cheaper than rebuilding a failed section.





When Is Rip Rap the Wrong Choice?
Rock is not always the best answer, and installing it where it does not belong can cause problems elsewhere.
Rip rap increases flow velocity downstream because it creates a smooth, hard channel that water moves across quickly. That faster water hits whatever is downstream with more energy. If the outlet is not protected, you may simply move the erosion problem rather than solve it.
Hard linings also remove the filtering and habitat functions that a vegetated or natural channel provides. In some settings, a vegetated swale, a grass-lined channel, or a natural channel design is a better fit. These approaches are often preferred where flow is low to moderate and space allows.
Rip rap is generally the right tool when flow is too fast or too concentrated for vegetation to survive, when the channel must handle storm flows, or when a quick, durable fix is needed at a specific trouble spot. It is a poor tool for a long, gentle, low-flow ditch that grass could handle on its own.
Common Installation Mistakes to Avoid
Most failures trace back to a handful of errors:
- No filter layer, or a filter layer with gaps and tears.
- Stone that is too small for the flow, so the rock itself moves.
- Rounded stone instead of angular stone.
- Edges that are not keyed and a toe that is not built.
- Stone dumped from the top, causing segregation and fabric damage.
- Unstable or poorly compacted subgrade under the whole system.
Each of these is preventable, and each is a common reason a ditch erodes again after a repair.
Do You Need a Permit or an Engineer?
Possibly, and it depends on where you live and how the ditch functions. Ditches that carry stormwater, sit in a regulated floodplain, connect to a stream or wetland, or fall under a local drainage district often require a permit before you alter them.
Altering a drainage channel without permission can create liability if your changes cause flooding or erosion on a neighbor’s property. Check with your local building or public works department before you start. For anything beyond a small, low-flow residential ditch, having an engineer size the stone and design the filter is worth the cost. The material is the cheap part. Redoing the work is not.
Frequently Asked Questions
Can I install rip rap without filter fabric?
You can, but it usually fails. Without a filter layer, water moving under the stone washes soil away and the rock settles and shifts. A granular filter blanket is the alternative to fabric.
What size rip rap do I need for a ditch?
Size depends on flow velocity and depth, so there is no single answer. Faster, deeper flow requires larger stone, and an engineer or a design chart should determine the size for your specific ditch.
Does rip rap stop erosion permanently?
No lining is permanent. Rip rap manages erosion at the lined section, but it can increase flow speed downstream and shift the problem if the outlet is not protected. Regular inspection and maintenance are needed.
Is rounded river rock okay for erosion control?
Angular stone is generally preferred because it interlocks and resists movement. Rounded rock rolls more easily under flow and is usually a poorer choice for channel lining.
