
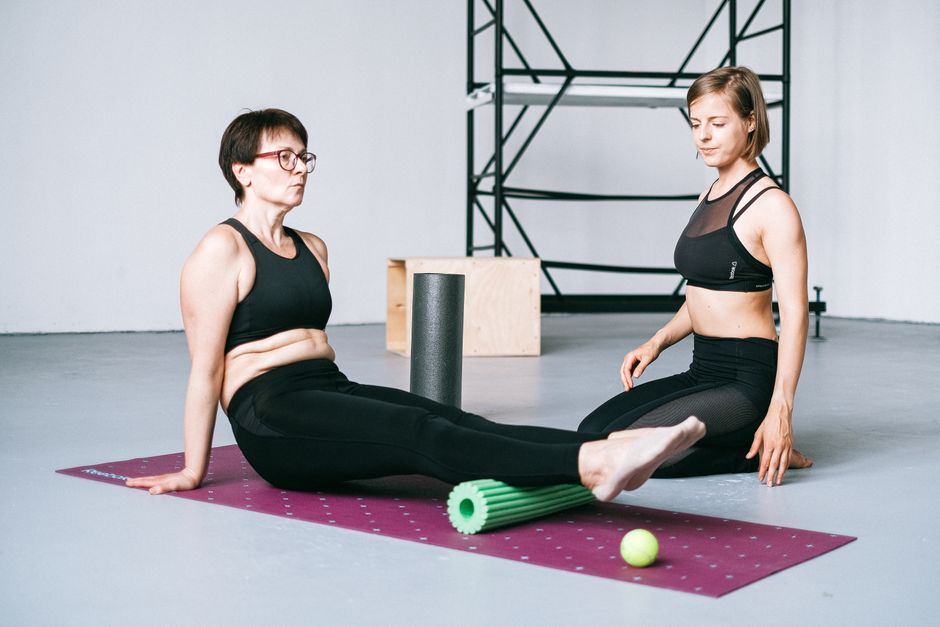
Foam rolling your hips targets the muscles that get tight from sitting too long, running, or sleeping in one position. To do it, place the foam roller under your hip, shift your weight onto it, and slowly roll over the tight spot for 30 to 60 seconds. This helps release tension in the glutes, piriformis, and hip flexors without needing a massage or stretching class.
Why Do Hips Get Tight in the First Place?
Your hips are a complex joint. They connect your upper body to your legs and handle a lot of movement every day. When you sit for hours at a desk or in a car, the muscles around your hips shorten and stiffen. This is not just uncomfortable. Over time, it can change how you walk and stand.
The main muscles involved are the gluteals, the piriformis deep in the buttock, and the hip flexors at the front of the hip. Research published in the Journal of Bodywork and Movement Therapies found that prolonged sitting reduces hip flexibility by up to 10 percent in just a few weeks. Foam rolling works by applying pressure to these tight muscles, which signals the nervous system to relax them.
Age also plays a role. As people get into their 40s and 50s, the hip joint naturally loses some range of motion. This is normal. But it does not mean you have to accept stiffness as permanent. Rolling can help maintain what you have.
Does Foam Rolling Your Hips Actually Work?
Yes, but the evidence is more specific than most articles admit. A 2019 study in the International Journal of Sports Physical Therapy looked at foam rolling the hip and thigh muscles. Participants who foam rolled for two minutes per muscle group increased their hip range of motion by about 8 percent immediately after. That is a real, measurable change.
However, the effect does not last forever. The same study found that after 30 minutes, most of the flexibility gains dropped back to normal. This means foam rolling is best used as a short-term relief tool or as a warm-up before stretching or exercise. It is not a permanent fix for chronically tight hips.
Some people claim foam rolling breaks up scar tissue or adhesions in the muscle. That is not accurate. The pressure from a foam roller is not strong enough to physically break down tissue. What it does do is stimulate mechanoreceptors in the muscle fibers, which tells your brain to reduce tension. That is why it feels good and why it works for tightness.
How To Foam Roll Your Hips To Relieve Tightness: Step by Step
There are three main areas to target. Each requires a slightly different position. Start with the glutes, then move to the piriformis, and finish with the hip flexors. Do not rush.
1. Glutes
Sit on the foam roller with it positioned under your right buttock. Your left foot stays flat on the floor. Your right ankle rests on your left knee. Lean your weight onto the right side and roll slowly from the top of the buttock down toward the sitting bone. Stop when you find a tender spot. Hold there for 30 seconds while breathing normally. Switch sides.
2. Piriformis
This muscle sits deep in the buttock. Many people mistake it for a glute issue. To reach it, sit on the roller again but cross your right ankle over your left knee. Shift your weight onto the right buttock and rotate your torso slightly to the right. Roll in small circles over the center of the buttock. You will know you found it when the tenderness feels deeper and sharper than the glute. Hold for 30 seconds.
3. Hip Flexors
Lie face down with the foam roller under your right hip, just below the belt line. Your left leg can stay straight or bend to the side for balance. Roll slowly forward and backward over the front of the hip. This area is often more sensitive. Start with your body weight partially supported by your arms. Increase pressure only if it feels tolerable.
Do this routine three to four times per week for the first two weeks. After that, once or twice a week is enough to maintain the benefit. Consistency matters more than intensity.





What Does the Research Say About Technique and Timing?
Most studies on foam rolling use a specific protocol. A 2015 review in the Journal of Strength and Conditioning Research recommended rolling each muscle group for 30 to 60 seconds at a slow pace. Faster rolling does not give the muscle enough time to respond. Slower is better.
The same review found that rolling for longer than two minutes on one spot did not add extra benefit. If a spot is extremely painful, do not force it. Back off the pressure and roll the area around it instead. The pain is a signal, not a goal.
One common mistake is rolling directly over the hip bone or the greater trochanter, the bony bump on the side of the hip. That area has no muscle to release and rolling on bone can cause bruising or irritation. Stick to the fleshy parts of the buttock and the front of the hip.
| Muscle Group | Rolling Time | Pressure Level | Frequency Per Week |
|---|---|---|---|
| Glutes | 30-60 seconds | Moderate | 3-4 times |
| Piriformis | 30-45 seconds | Moderate to firm | 3-4 times |
| Hip Flexors | 30 seconds | Light to moderate | 2-3 times |
What To Avoid When Foam Rolling Your Hips
Do not roll the lower back. The spine does not have the same muscle padding as the hips, and foam rolling the lumbar area can strain the discs. If your lower back feels tight, roll the glutes and hips instead. That often relieves the back tension indirectly.
Do not use a foam roller on an acute injury. If you have a pulled muscle, a hip strain, or a recent fall, wait at least 48 to 72 hours before rolling. Rolling too soon can increase inflammation and delay healing. The CDC recommends consulting a healthcare provider before starting self-treatment for any new pain.
Do not hold your breath. People naturally hold their breath when they hit a painful spot. That tightens the muscles further. Breathe slowly and deeply. Exhale as you roll over the tender area. This helps the muscle release more effectively.
Avoid using a roller that is too hard for your pain tolerance. Foam rollers come in different densities. A soft roller is better for beginners or people with sensitive hips. A harder roller can be used later once the muscles are less reactive. There is no benefit to suffering through the process.
Common Misconceptions About Foam Rolling Hips
One widespread claim is that foam rolling “lengthens” muscles. That is not what happens. Muscles do not stretch like rubber bands. They contract and relax. Foam rolling helps them relax, which makes them feel longer. But the actual fiber length does not change. The flexibility gain comes from the nervous system allowing a greater range of motion.
Another myth is that you need to hear popping or cracking sounds for it to work. Some joints will pop during rolling. That is usually just gas bubbles releasing. It is not a sign that the muscle released. Judge success by how the area feels afterward, not by the noise.
Some people also believe that foam rolling replaces stretching. It does not. Research from the Scandinavian Journal of Medicine and Science in Sports showed that combining foam rolling with static stretching produced better hip flexibility than either method alone. Use both. Roll first, then stretch. That sequence gives the best results.
Frequently Asked Questions
How long should I foam roll my hips each session?
Five to ten minutes total is enough. Spend 30 to 60 seconds on each tight spot and do not roll any one area for more than two minutes.
Can foam rolling make hip tightness worse?
Yes, if you roll too hard or over a bruise or strain. Use light pressure at first and stop if the pain feels sharp or lasts after rolling.
Should I foam roll my hips before or after exercise?
Both work but for different reasons. Before exercise it helps warm up the muscles. After exercise it helps reduce soreness by relaxing tightened fibers.
Is it safe to foam roll hips every day?
Yes for most people. But if you feel soreness that lasts more than a few hours, take a day off. Your muscles need time to recover from the pressure.
