
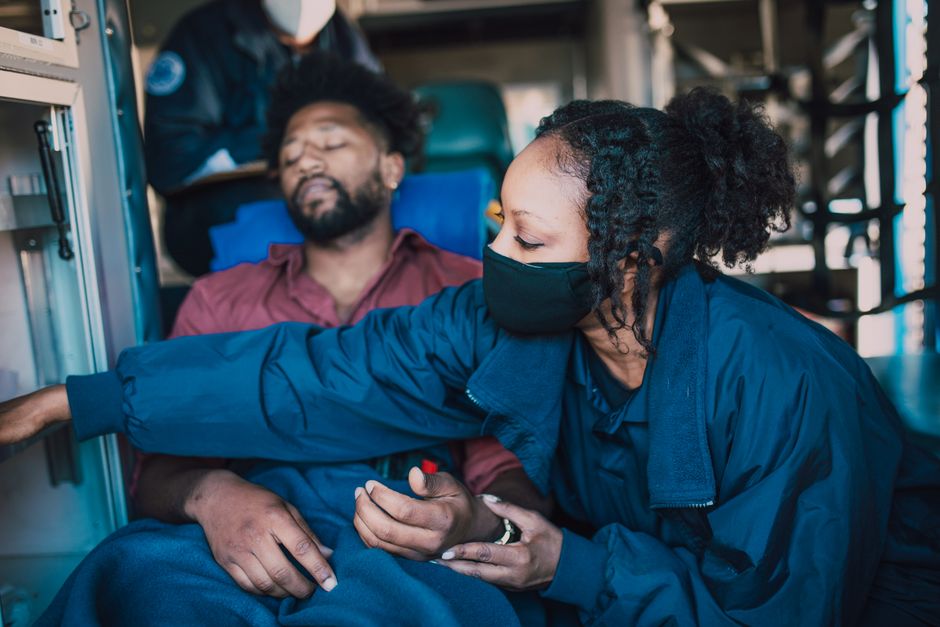
A pocket mask creates a barrier between you and the person you are helping. It lets you give rescue breaths without direct mouth-to-mouth contact. To use one, place the mask over the person’s face, seal it firmly with both hands, tilt the head back, and blow into the one-way valve while watching for the chest to rise. Each breath should take about one second, and you should give two breaths after every 30 chest compressions.
What Is a Pocket Mask and Why Use One?
A pocket mask is a small, foldable device made of silicone or plastic. It fits over the nose and mouth of a person who is not breathing. The mask has a one-way valve that lets air go in but keeps fluids and exhaled air from coming back toward you.
The main reason to use one is safety. Rescue breaths can expose you to vomit, blood, or respiratory infections. The mask reduces that risk. Many workplaces, schools, and first-aid kits include them for this reason.
Some masks have an oxygen inlet port. That port allows a trained rescuer to attach supplemental oxygen. For basic CPR, you do not need oxygen. The mask works fine on its own.
How To Use A Pocket Mask For CPR Rescue Breaths
Position yourself at the person’s side, near their head. Kneel so your knees are close to their shoulder. This position gives you the leverage you need for both compressions and breaths.
Open the mask and check the valve. The valve should be clean and dry. If it is blocked or damaged, do not use it. Find another barrier device or give hands-only CPR until emergency services arrive.
Place the mask on the person’s face. The narrow end goes over the bridge of the nose. The wider end covers the mouth. The valve sits directly over the mouth opening.
Now create an airtight seal. This step is the most important part. Put one hand on the top of the mask. Put your thumb along one side and your index finger along the other. Use your other hand to lift the person’s chin. Tilt the head back gently to open the airway.
Press down firmly on the mask with both hands. You need enough pressure to keep air from leaking around the edges. A poor seal means air escapes and the lungs do not fill.
Take a normal breath. Place your mouth over the valve at the top of the mask. Blow steadily for about one second. Watch the person’s chest. It should rise visibly with each breath.
Remove your mouth from the valve and let the air escape. Watch the chest fall. Then give a second breath the same way.
After two breaths, return to chest compressions immediately. Push hard and fast in the center of the chest at a rate of 100 to 120 compressions per minute. Continue the cycle of 30 compressions and 2 breaths.
How To Get a Proper Seal Every Time
Getting a good seal is the difference between effective and ineffective rescue breaths. Many people think they are ventilating when the air is actually escaping around the mask edges.
Use the two-hand technique for a better seal. Place the heel of one hand on the mask near the nose. Place the thumb and index finger of your other hand along the bottom edges of the mask. Then lift the jaw up into the mask with your fingers. This pulls the face into the mask rather than pushing the mask onto the face.
This technique is sometimes called the E-C clamp technique. Your fingers form an E shape along the jaw. Your thumb and index finger form a C shape around the mask. It sounds complicated, but with practice it becomes natural.
If the person has a beard or large facial hair, the seal may be harder to achieve. Do your best. Some air leakage is better than no breaths at all. If the chest does not rise, reposition the head and try again.
Do not blow too hard or too fast. A gentle one-second breath is enough. Blowing forcefully can push air into the stomach instead of the lungs. This can cause vomiting, which creates a dangerous situation for an unconscious person.





What To Do If the Chest Does Not Rise
If the chest does not rise with a breath, the airway is likely blocked. Stop and reposition the head. Tilt it further back. Lift the chin more firmly.
Sometimes the tongue falls back and blocks the airway in an unconscious person. The head-tilt, chin-lift maneuver moves the tongue forward and opens the passage. This is often all that is needed.
If the chest still does not rise after repositioning, check the mouth for visible obstructions. If you can see something blocking the airway, remove it with your fingers. Do not do a blind finger sweep. You could push the object deeper.
Return to chest compressions if you cannot get air in. Compressions themselves can help dislodge an obstruction. Continue the cycle and reassess after 30 compressions.
Cleaning and Storing Your Pocket Mask
A pocket mask is reusable, but it must be cleaned properly after each use. The valve and mask surface can carry bloodborne pathogens. Do not skip this step.
Disassemble the mask according to the manufacturer’s instructions. Wash the mask body with warm, soapy water. Rinse thoroughly. Allow it to air dry completely before reassembling.
The one-way valve may be disposable or reusable depending on the model. Some valves can be autoclaved. Others are single-use only. Check the packaging or instructions that came with your specific mask.
Store the mask in its case when dry. Keep it somewhere you can reach quickly. A glove compartment, backpack, or kitchen drawer are common spots. Check it periodically to make sure the valve is still intact and the mask has not cracked.
Replace the mask if you notice any damage. Cracks, tears, or a stiff, cracked valve mean the mask will not work when you need it. A damaged mask is worse than no mask because it gives a false sense of security.
Pocket Mask vs. Hands-Only CPR
Hands-only CPR is chest compressions without rescue breaths. It is recommended for untrained bystanders who witness a sudden collapse in an adult. The American Heart Association has promoted this approach because it removes the hesitation people feel about mouth-to-mouth contact.
A pocket mask changes that calculation. If you have a mask and know how to use it, rescue breaths become safer and more acceptable. You can provide full CPR that includes ventilation.
Rescue breaths matter most in certain situations. They are critical for children and infants. They are also important when the cardiac arrest is caused by a breathing problem, such as drowning or a drug overdose. In those cases, the blood may still have oxygen, but the person has stopped moving air into the lungs.
For a sudden cardiac arrest in an adult, the blood usually has enough oxygen for the first few minutes. Compressions alone can keep that oxygen moving to the brain and heart until help arrives. This is why hands-only CPR works in that specific scenario.
The best approach depends on your training and the situation. If you have a pocket mask and are comfortable using it, full CPR with breaths is the more complete intervention. If you do not have a mask or do not feel confident, hands-only compressions are far better than doing nothing.
Common Mistakes People Make
One common mistake is spending too much time on breaths. Rescue breaths should take about five seconds total for two breaths. Any longer, and you are stopping blood flow to the brain. The heart is not pumping during this pause.
Another mistake is not tilting the head back far enough. The airway stays partially blocked, and the breaths do not reach the lungs. The person’s chin should point upward, not toward their chest.
Some rescuers blow too forcefully. This forces air into the stomach, which can push stomach contents up into the throat. If the person vomits, you must turn them on their side, clear the airway, and continue. This is a stressful situation that is easier to avoid with gentle breaths.
People also forget to recheck the mask seal between breaths. The mask can shift during compressions. Before each pair of breaths, press down again to confirm the seal is intact.
When Rescue Breaths Are Not Recommended
There are times when rescue breaths should be skipped entirely. If you are alone and find an unresponsive adult, call emergency services first. Then start compressions. Do not stop to search for a mask or attempt breaths if you do not have one immediately available.
If the cause of collapse is clearly cardiac, such as someone who clutched their chest and fell, the priority is compressions. The oxygen already in the blood is enough for the first several minutes.
If you are unwilling or unable to give breaths for any reason, do compressions only. Continuous high-quality compressions save lives. Interrupted or poorly performed breaths can be worse than none at all.
Always call emergency services before starting CPR if you are alone. If someone else is present, have them call while you begin. Put the phone on speaker if possible so the dispatcher can guide you.
Frequently Asked Questions
Do I need to use a pocket mask for CPR?
No, but it provides a protective barrier that reduces infection risk. Hands-only CPR without a mask is still effective and recommended if you are untrained or uncomfortable giving breaths.
How many rescue breaths do I give after compressions?
Give two rescue breaths after every 30 chest compressions. Each breath should last about one second and make the chest visibly rise.
Can I use a pocket mask on a child or infant?
Yes, but the technique differs slightly. Use gentler breaths and a smaller volume of air, and for infants you may need to cover both nose and mouth with the mask while maintaining a neutral head position rather than a full tilt.
What if I do not have a pocket mask available?
Perform hands-only CPR with continuous chest compressions until help arrives. This is far better than doing nothing and is the recommended approach for untrained bystanders.
