
To use a grout bag on stone, brick, or tile, you fill the bag with grout, twist the top closed, and squeeze the grout into the joints through a small cut tip. You work in small sections, push the tip into the joint rather than dragging it across the surface, and let the grout firm up before striking the joints smooth. The bag is a delivery tool, not a finishing tool. Most of the quality comes from what you do after the grout leaves the bag.
What Is A Grout Bag And When Should You Use One?
A grout bag is a cone-shaped sack, usually made of heavy plastic or canvas, with a metal or plastic tip you cut to size. You fill it like a pastry bag and squeeze grout directly into joints.
It exists to solve one problem: getting grout into a narrow joint without smearing it all over the face of the material. That matters most on rough, porous, or irregular surfaces where wiping is difficult or damaging.
It is genuinely useful for:
- Rough or cleft stone, where a rubber float cannot press grout into the recesses
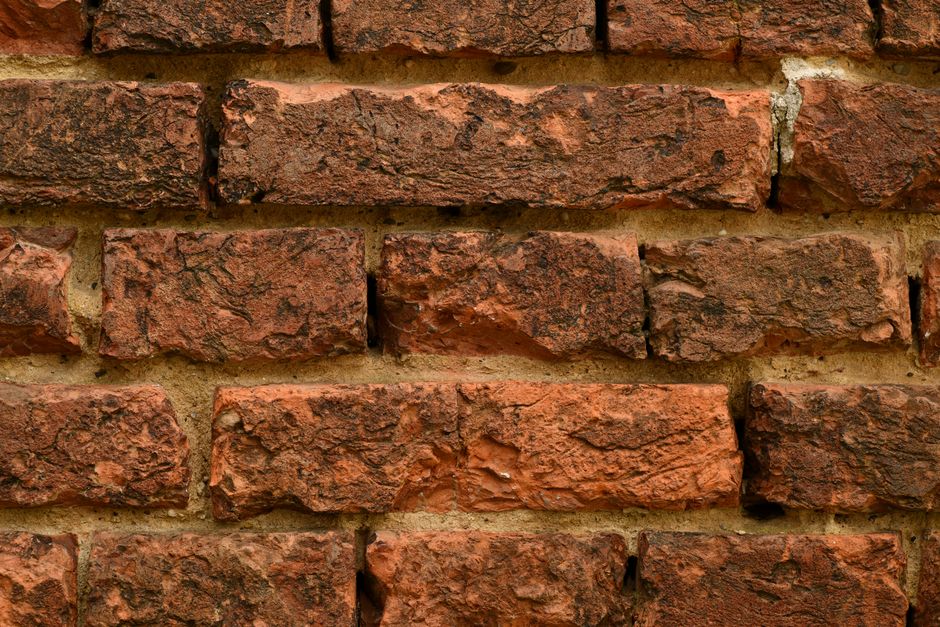
- Irregular brick with deep or uneven mortar joints
- Repointing existing joints rather than grouting a new installation
- Tight joints where a float would push grout across the surface instead of into the gap
It is usually the wrong tool for smooth, flat porcelain or ceramic tile with narrow, even joints. On those surfaces a rubber grout float and a sponge is faster and gives a cleaner result. Using a bag there adds time without adding quality.
How Do You Prepare The Surface And Mix The Grout?
Preparation decides whether the job goes smoothly. Grout pushed into a wet or dusty joint will not bond properly and may crack or crumble later.
Clean the joints first. Remove loose debris, old crumbling mortar, and dust. A stiff brush and a vacuum work well. For repointing, dig out loose material to a consistent depth.
Check the joint depth. Grout needs something to grip. Very shallow joints hold poorly. Where a joint is too deep, some installers pack it partly with matching material first, but this is a judgment call based on the specific product and situation, not a universal rule.
Mix the grout to the consistency the manufacturer specifies. This matters more than most people expect. Too thin and it runs out of the joint and shrinks. Too thick and it will not flow through the tip.
A workable bag grout is usually thicker than a float grout — closer to a soft paste that holds its shape. Follow the product instructions for the water ratio. Do not add extra water to make it easier to squeeze. That shortcut is a common cause of weak, crumbly joints.
Let the mixed grout sit for the rest indicated on the package before use. This short rest period lets the mix fully absorb water and improves workability.
How To Use A Grout Bag On Stone Brick Or Tile Step By Step
The technique is simple but the details matter. Rushing the squeeze or overfilling the joint creates more cleanup work than it saves.
Load the bag. Fill it no more than about two-thirds full. Overfilling makes it hard to twist closed and control. Twist the top down firmly so the grout is pushed toward the tip.
Cut the tip to match the joint. The opening should be slightly narrower than the joint width so the grout goes in, not on. Start smaller than you think you need. You can always cut more.
Work in small sections. Fill a manageable area, then move on. Grout that sits too long on the surface skins over and becomes hard to strike cleanly.
Push, don’t drag. Hold the tip close to or slightly inside the joint and squeeze steadily as you move along. Dragging the tip across the face smears grout where you do not want it.
Fill slightly proud of the surface. Leave the grout a little above the joint face. It will settle and shrink slightly as it cures, and you will strike it back to the desired profile afterward.
Keep a steady rhythm. Squeeze with consistent pressure. Stop squeezing before you lift the tip to avoid a blob at the end of each pass.
Refill the bag before it empties completely. A nearly empty bag is hard to control and produces uneven flow.





How Do You Finish And Strike The Joints After Grouting?
Finishing is where the appearance and durability are decided. The bag only places the grout. The joint profile and compaction come from what you do next.
Wait until the grout has firmed up enough that it no longer sticks to your finger but has not fully hardened. The timing depends on the product and the conditions, so watch the grout rather than the clock.
Then strike the joints. A joint strike tool, a rounded stick, or a firm sponge can be used depending on the material and the look you want. Pressing the grout firmly into the joint compacts it and shapes the surface.
On brick and stone, a slightly recessed joint is common and looks natural. On tile, the joint is usually finished flush or slightly recessed to match the installation.
Wipe excess off the face of the material carefully. On rough stone, a sponge may leave residue in the texture. A soft brush used gently can help, but test on a small area first.
Do not over-wipe. Working a wet sponge over joints too many times pulls grout out and weakens them. One or two careful passes are usually enough.
What Mistakes Cause Grout To Fail Or Look Bad?
Most grout problems trace back to a handful of avoidable mistakes. Knowing them in advance saves a lot of rework.
- Too much water in the mix. This is the most common cause of weak, powdery, or shrinking grout. Mix to the specified ratio.
- Filling joints that are wet or dusty. Grout bonds poorly to either. Clean and prepare first.
- Letting grout sit too long before striking. Once it hardens, shaping it becomes difficult and the finish is rough.
- Over-wiping with a wet sponge. This washes out the surface of the joint and leaves it weak and uneven.
- Cutting the tip too large. A wide opening dumps grout on the surface instead of into the joint.
- Grouting in extreme heat or direct sun. Fast drying makes finishing hard and can cause cracking. Some installers work in cooler conditions or shade for this reason.
Temperature and curing conditions affect how grout sets. Follow the product guidance on suitable working temperatures rather than guessing.
When Should You Choose A Grout Bag Over Other Methods?
The bag earns its place on surfaces where precision delivery beats speed. On those surfaces it can be the difference between a clean job and a messy one.
Choose a grout bag when the surface is rough, the joints are irregular or deep, or you are repointing rather than installing new. It gives control and keeps grout off the face of the material.
Choose a rubber float and sponge when the surface is smooth and flat, the joints are even, and speed matters. That is standard practice for most ceramic and porcelain tile work.
Choose a grout gun or cartridge system when you want the control of a bag with less hand fatigue on larger repointing jobs. These are widely used for mortar and grout repair, though performance varies by product.
No single method is universally best. The right choice depends on the material, the joint, and the finish you need.
Frequently Asked Questions
Can I use a grout bag for tile?
Yes, but it is usually only worth it on rough or irregular tile with wide or uneven joints. For smooth, flat tile with even joints, a rubber float and sponge is faster and cleaner.
How thick should grout be for a grout bag?
It should be mixed to the manufacturer’s specified ratio, which typically produces a soft paste that holds its shape. Do not add extra water to make it easier to squeeze, because that weakens the grout.
How long should I wait before wiping grout?
Wait until the grout has firmed and no longer sticks to your finger but has not fully hardened. The exact timing depends on the product and conditions, so watch the grout rather than the clock.
Why is my grout crumbling after it dries?
Crumbling usually points to too much water in the mix, joints that were wet or dusty, or over-wiping that washed out the surface. Check the mixing ratio and preparation first.
