
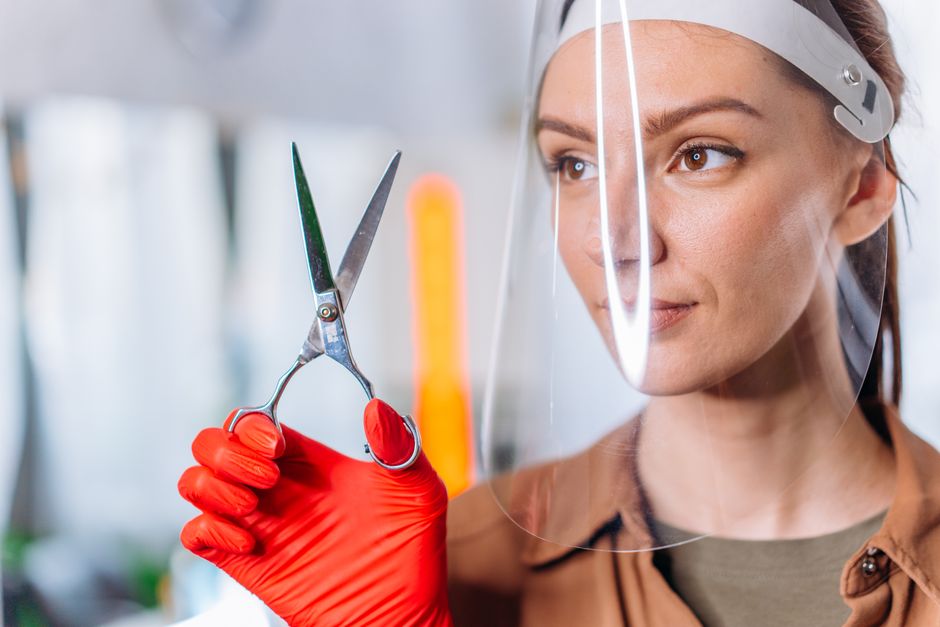
Sharpening scissors with a stone comes down to one rule: match the stone’s angle to the blade’s existing bevel and push the abrasive edge into the metal, not away from it. You are restoring the fine cutting edge, not reshaping the whole blade. A flat whetstone or diamond stone, light pressure, and a few consistent strokes per side will bring most dull household scissors back to cutting paper cleanly.
Why Scissors Blades Get Dull In The First Place
Scissors do not really wear out. The cutting edge rounds over.
Every time you cut paper, cardboard, or fabric, the two bevels press against each other. The thin edge at the very tip of the blade deforms under that pressure. Over time it rolls over, chips, or wears flat. The blade still looks fine. It just no longer meets its partner blade at a sharp enough point to shear material.
This is different from a knife. A knife edge is a single wedge that slices. Scissors are a pair of wedges that slide past each other. The cutting action depends on the two edges pressing together tightly as they close. If either edge is rounded, material slips between them instead of being cut.
That is why scissors often feel like they are “chewing” paper rather than slicing it. The blades are still closing. The edges are just too dull to shear.
One thing worth knowing: most household scissors are made from softer steel than kitchen knives. That makes them faster to sharpen, but also faster to dull. A few passes on a stone can restore an edge that would need much more work on a harder blade.
What Kind Of Stone Should You Use On Scissors?
A flat whetstone or diamond stone works best. The flat surface is what lets you hold a consistent angle, and consistency is most of the job.
Sharpening stones are graded by grit. Lower numbers cut faster and remove more metal. Higher numbers polish and refine the edge.
- Coarse (around 300-600 grit): For badly damaged or nicked edges. Removes metal quickly. Use only when needed.
- Medium (around 800-1200 grit): The workhorse grit for most dull scissors.
- Fine (around 3000-8000 grit): Polishing and refining. Optional for scissors.
For most household scissors, a single medium-grit stone is enough. If your scissors have visible nicks or deep dents, start with a coarse stone and finish on medium.
Diamond stones cut faster than water stones and stay flat, which matters for scissors because a dished or uneven stone makes it hard to hold a consistent angle. Water stones give a finer finish but need to be flattened periodically.
A few things that do not work well: oil stones that have dried out, any stone with a deep groove worn into the middle, and “sharpening gadgets” that pull a carbide blade across the edge. Those carbide tools scrape metal off rather than honing an edge, and they can shorten the life of the blade.
How To Sharpen Scissors With A Stone Step By Step
Here is the full process. Read it through once before you start.
Step 1: Take the scissors apart if you can. Many household scissors have a single screw at the pivot. If yours does, remove it and separate the two blades. Sharpening each blade on its own is far easier and gives a better result. If the pivot is riveted and cannot be opened, leave the scissors assembled and sharpen each blade in place.
Step 2: Find the bevel. Look at the cutting edge under good light. You will see a narrow angled strip of polished metal running along the edge. That strip is the bevel. Its angle is the angle you need to match. Most household scissors have a bevel somewhere between roughly 20 and 30 degrees per side, but the exact angle varies by manufacturer. Match what is already there rather than guessing a number.
Step 3: Set up the stone. Place the stone on a stable, non-slip surface. If it is a water stone, soak it first according to the maker’s instructions. Diamond stones usually just need a light splash of water. A wet stone cuts cleaner and does not clog.
Step 4: Position the blade. Lay the blade flat on the stone with the bevel facing down. Tilt the blade until the bevel sits flush against the stone. If you can feel the bevel “lock in” flat, you have the angle right. This is the single most important step.
Step 5: Push into the edge, not away from it. This is where scissors differ from knives. Push the blade forward along the stone so the edge leads. You are pushing the abrasive into the cutting edge, which forms a sharp burr on the other side. If you drag the blade backward with the edge trailing, you will round the edge instead of sharpening it. Some people sharpen scissors with a back-and-forth motion, which also works, but the forward push is what actually creates the edge.
Step 6: Keep the angle steady. Use light pressure. Five to ten strokes on one side is usually enough for a mildly dull blade. Check the edge after every few strokes. You are looking for a thin, even burr forming on the flat side of the blade — the side not touching the stone. If the burr is uneven, your angle is drifting.
Step 7: Flip and repeat. Turn the blade over and sharpen the other bevel the same way. Match the same number of strokes and the same angle.
Step 8: Remove the burr. Once both bevels are sharpened, the flat back side of each blade will have a thin burr. Lay the blade flat on the stone, back side down, and give it one or two very light passes to knock the burr off. Do not tilt the blade here. You are only removing the burr, not sharpening the back.
Step 9: Reassemble and test. Put the scissors back together and tighten the pivot screw so the blades are snug but still move freely. Test on a piece of paper. A properly sharpened pair will slice cleanly from base to tip without folding or tearing the paper.
If the scissors still chew paper, the most common cause is a rounded edge on the flat side of one blade. Go back to step 8 and check for a burr you missed.



How Do You Sharpen Scissors That Cannot Be Taken Apart?
Many scissors have a riveted pivot that cannot be opened. You can still sharpen them, but the process is a little different.
Hold the scissors open so the blade you are sharpening is exposed. Lay the bevel on the stone and push forward as before. The closed blade acts as a handle. Work one blade at a time, then the other.
The tricky part is the inner flat side of each blade. You cannot easily reach it with the scissors assembled. In practice, most of the cutting edge is formed on the bevel side, so sharpening the bevels on both blades is usually enough to restore cutting performance. If the scissors are still dull after that, the inner faces likely need attention, and a professional sharpener is the better option.
Common Mistakes That Ruin Scissors On A Stone
The angle is the whole game. Most failed sharpening jobs come down to one of these:
- Changing the angle mid-stroke. Your wrist drifts, the bevel lifts off the stone, and you round the edge instead of sharpening it. Lock your wrist and move from the shoulder.
- Pushing the edge backward. Dragging the blade with the edge trailing polishes the bevel but does not create a new edge. Push forward.
- Too much pressure. Heavy pressure removes metal unevenly and can chip a thin edge. Let the stone do the work.
- Sharpening only one side. Both bevels need attention. A one-sided job leaves a burr that folds over the first time you cut.
- Skipping the burr removal. A leftover burr feels sharp for a few cuts, then folds and the scissors are dull again.
- Using a dished stone. A stone with a hollow worn into the middle cannot give you a flat reference surface. Flatten it or replace it.
When Sharpening Will Not Fix Your Scissors
Some scissors are past the point where a stone helps.
If the blades no longer meet along their full length when closed, the problem is alignment, not sharpness. This happens when the pivot loosens or the blades bend. Sharpening the edge will not fix it. In some cases the pivot can be tightened. In others, the scissors are done.
If there are deep chips or missing sections along the edge, you can sometimes grind them out on a coarse stone, but you will change the blade profile. For inexpensive scissors, replacement is usually the better call. For quality fabric shears or hair scissors, a professional sharpener is worth the cost.
And one thing to be clear about: sharpening does not restore a blade that has been used to cut things it should not have. Cutting wire, sandpaper, or frozen food can chip or roll an edge beyond what hand sharpening can fix. Once that damage is done, no amount of stone work brings it fully back.
Frequently Asked Questions
Can you sharpen scissors with a regular knife sharpening stone?
Yes, a flat whetstone or diamond stone works well for scissors as long as you match the existing bevel angle. The main difference is that you push the blade forward into the stone rather than dragging it backward.
What angle should scissors be sharpened at?
Match the angle already ground into the blade rather than picking a number. Most household scissors have a bevel somewhere between roughly 20 and 30 degrees per side, but this varies by manufacturer and model.
How do you know when scissors are sharp enough?
Test them on a sheet of paper. Sharp scissors slice cleanly from the base of the blade to the tip without folding, tearing, or pushing the paper forward.
Can you sharpen scissors that are riveted together?
Yes, you can sharpen the bevel side of each blade with the scissors assembled. The inner flat faces are hard to reach this way, so if the scissors are still dull afterward, a professional sharpener is the better option.
