
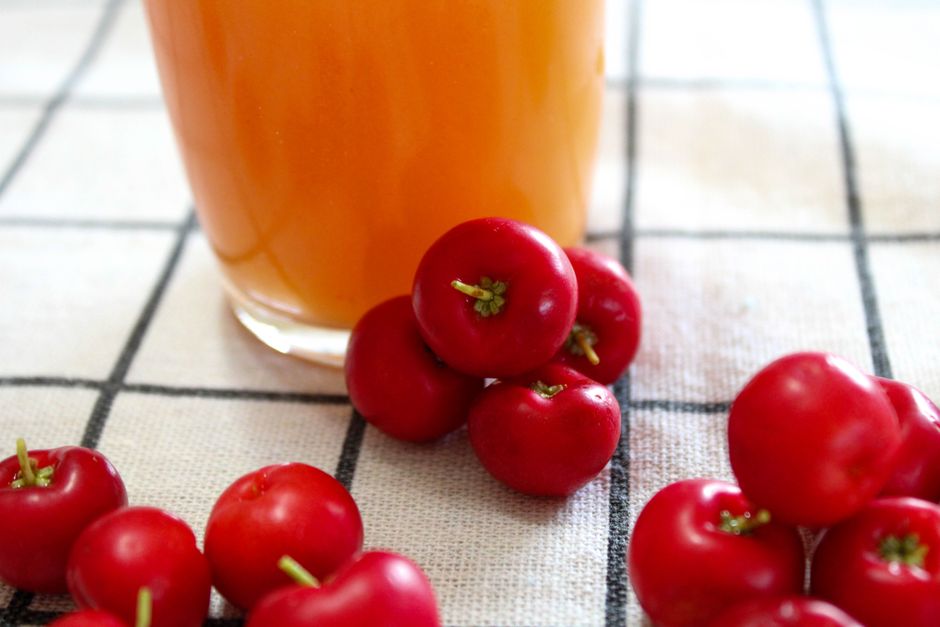
Sour cherries have a short season — often just a few weeks in early summer — and they spoil faster than sweet cherries. Freezing, canning, and drying all preserve them safely when done correctly, and each method changes the fruit in different ways. Freezing is the easiest and holds texture and flavor best for cooking. Canning makes shelf-stable jars that keep for a year or more. Drying concentrates the tart flavor into chewy pieces that store at room temperature.
How To Preserve Sour Cherries: Freeze, Can, Or Dry
The three methods differ mainly in equipment, storage life, and what the finished fruit is good for. None of them is “best” in a general sense — the right choice depends on how you plan to use the cherries and how much space and time you have.
Freezing requires no special equipment beyond freezer-safe bags or containers. It preserves the fruit’s flavor and most of its texture, which makes frozen sour cherries the standard choice for pies, sauces, and smoothies. The trade-off is freezer space and a shelf life that depends on how well the fruit is packaged.
Canning produces jars that sit on a shelf at room temperature for a year or longer. It takes more time, a boiling water canner or pressure canner, and careful attention to acidity and processing times. Canned sour cherries work well for pie filling, sauces, and desserts.
Drying removes most of the water content, concentrating sweetness and tartness into a chewy snack or a baking ingredient. Dried sour cherries keep at room temperature and take up little space. They are also the most finicky method because humidity and drying conditions affect the final texture and how long the fruit lasts.
One detail worth knowing: sour cherries (also called tart cherries, Prunus cerasus) are naturally high in acid, which is why they can be safely processed in a boiling water canner. Sweet cherries and other low-acid fruits cannot. This acidity is a real safety factor, not a preference.
How Do You Freeze Sour Cherries Step By Step?
Freezing is the fastest path from fresh cherries to a stable stash. The fruit holds up well for months if it’s packed to keep air out.
Start by washing the cherries and removing stems. You can leave the pits in or take them out. Pitting makes the cherries ready to use later but adds time and lets some juice escape. Many people freeze a mix — some pitted for pies, some whole for cooking.
Spread the cherries in a single layer on a baking sheet and freeze them until solid, usually a few hours. This step, called flash freezing, keeps the cherries from clumping into one solid block. Once frozen, transfer them to freezer bags or rigid containers, press out as much air as possible, and seal.
If you skip flash freezing and pack fresh cherries straight into a bag, they will freeze into a lump. That’s not unsafe, but portioning later becomes difficult.
For the longest storage, use a vacuum sealer or double-bag the cherries. Air is the main enemy of frozen fruit quality — it leads to freezer burn, which dries out the surface and dulls flavor. Freezer burn isn’t a safety issue, but it makes the cherries unappealing.
Label the bags with the date. Frozen sour cherries are generally best used within about a year for optimal quality, though they remain safe to eat longer if kept solidly frozen. Quality declines gradually — texture softens and flavor fades — well before the fruit becomes unsafe.
Defrost in the refrigerator or use the cherries directly from frozen in cooked dishes. Thawing at room temperature on the counter encourages bacterial growth on the fruit, so it’s better to thaw cold.
How Do You Can Sour Cherries Safely?
Canning is the method that gives you pantry-stable jars. Sour cherries are acidic enough to process in a boiling water canner, which is simpler than pressure canning.
You’ll need clean mason jars, new two-piece lids, a boiling water canner with a rack, and jar tongs. Wash jars in hot soapy water or run them through a dishwasher, and keep them hot until filled. Lids should be new — the sealing compound on used lids may not seal reliably.
Pack the jars with cherries. You can leave them whole or pit them; pitting is common for pie cherries. Add hot syrup or hot water to cover the fruit, leaving the recommended headspace at the top of the jar. Headspace matters — too little and the contents may bubble out during processing; too much and the seal may fail.
Wipe the jar rims, place the lids and rings, and process the jars in boiling water for the time specified for your jar size and altitude. Altitude changes processing time because water boils at a lower temperature at higher elevations. Follow a tested recipe from a reliable source rather than estimating.
After processing, let the jars cool undisturbed. You’ll hear a “pop” as lids seal. Check each lid by pressing the center — a sealed lid stays down and doesn’t flex. Any jar that didn’t seal should be refrigerated and used within a few days.
Store sealed jars in a cool, dark place. Properly processed and sealed jars of canned sour cherries generally keep for about a year for best quality.
A common mistake is reducing the sugar in a syrup recipe without adjusting anything else. Sugar in canned fruit affects flavor and texture more than safety — the acidity of the cherries is what makes boiling water canning safe. But changing the ratio of fruit to liquid can affect processing, so it’s best to follow a tested recipe rather than improvise.





How Do You Dry Sour Cherries?
Drying turns sour cherries into chewy, intensely tart pieces. The method works, but it’s the least forgiving of the three because the final moisture content determines how well the fruit keeps.
Pitting is essentially required for drying. Whole cherries with pits dry very slowly and unevenly, and the pit is a choking hazard in a snack. After pitting, you can dry the cherries whole, halved, or in pieces — smaller pieces dry faster.
You can dry cherries in a food dehydrator, an oven on its lowest setting with the door slightly open, or in the sun in a hot, dry climate. A dehydrator gives the most consistent results because it holds a steady low temperature and moves air evenly.
Spread the cherries in a single layer with space between them. Dry at a low temperature — high heat cooks the fruit rather than drying it. The cherries are done when they are leathery and pliable, not brittle, and no moisture beads appear when you squeeze a piece.
Condition the dried cherries before long-term storage. This means loosely filling a jar, shaking it daily for about a week, and watching for condensation inside. If moisture appears, the cherries need more drying. Conditioning evens out moisture so the batch doesn’t mold.
Store dried sour cherries in airtight containers in a cool, dark place, or freeze them for longer storage. Because drying concentrates the natural sugars and acids, dried sour cherries are noticeably sweeter and tarter than fresh ones.
Which Method Should You Choose?
Each method fits a different situation. The table below compares them on the factors that usually decide the choice.
| Method | Equipment needed | Storage | Best for |
|---|---|---|---|
| Freezing | Freezer, bags or containers | Freezer, up to about a year for best quality | Pies, sauces, smoothies |
| Canning | Boiling water canner, jars, lids | Room temperature, about a year for best quality | Pantry storage, desserts, pie filling |
| Drying | Dehydrator, oven, or sun | Room temperature or freezer, several months to a year | Snacks, baking, trail mix |
If you have freezer space and want the least effort, freeze. If you want jars you can grab off a shelf, can. If you want a portable snack or a concentrated baking ingredient, dry.
Many people use more than one method in the same season — freezing some for pies, canning some for the pantry, and drying a smaller batch for snacking.
What Are The Main Safety Concerns?
Food safety is the part that matters most, especially with canning. The main risks are spoilage from improper sealing, mold growth in dried fruit that wasn’t dried enough, and freezer burn from poor packaging.
The most serious canning risk is botulism, a rare but life-threatening illness caused by a toxin produced by Clostridium botulinum bacteria. These bacteria thrive in low-acid, oxygen-free environments — exactly what a sealed jar provides. Sour cherries are high-acid, which is why boiling water canning is considered safe for them. Low-acid foods like green beans, corn, and meats require pressure canning instead because boiling water doesn’t get hot enough to destroy the spores.
Never taste a canned jar to check if it’s spoiled. Discard any jar with a bulging lid, a broken seal, leaking, an off odor, or mold. When in doubt, throw it out.
For dried fruit, the risk is mold from trapped moisture. Proper drying and conditioning are what prevent it. If dried cherries develop mold, discard the whole batch — mold can spread unseen through the fruit.
For frozen cherries, the main concern is quality rather than safety. Freezer burn won’t make you sick, but it ruins texture and flavor. Keep the freezer at 0°F or below and package fruit tightly.
Always start with clean, firm, unblemished cherries. Discard any that are moldy, mushy, or damaged, since spoilage organisms can spread to the rest of the batch.
Frequently Asked Questions
Do you have to pit sour cherries before freezing?
No, you can freeze sour cherries whole with the pits in. Pitting beforehand is more convenient for later use but not required for safety.
How long do frozen sour cherries last?
Frozen sour cherries stay safe indefinitely if kept at 0°F or below, but quality is best within about a year. Texture and flavor slowly decline after that.
Can you can sour cherries in a water bath?
Yes, sour cherries are high-acid and can be safely processed in a boiling water canner. This is why they don’t require pressure canning like low-acid vegetables do.
How do you know when dried sour cherries are done?
They should be leathery and pliable, not brittle, with no moisture beads when squeezed. If they feel sticky or damp, they need more drying time.
