
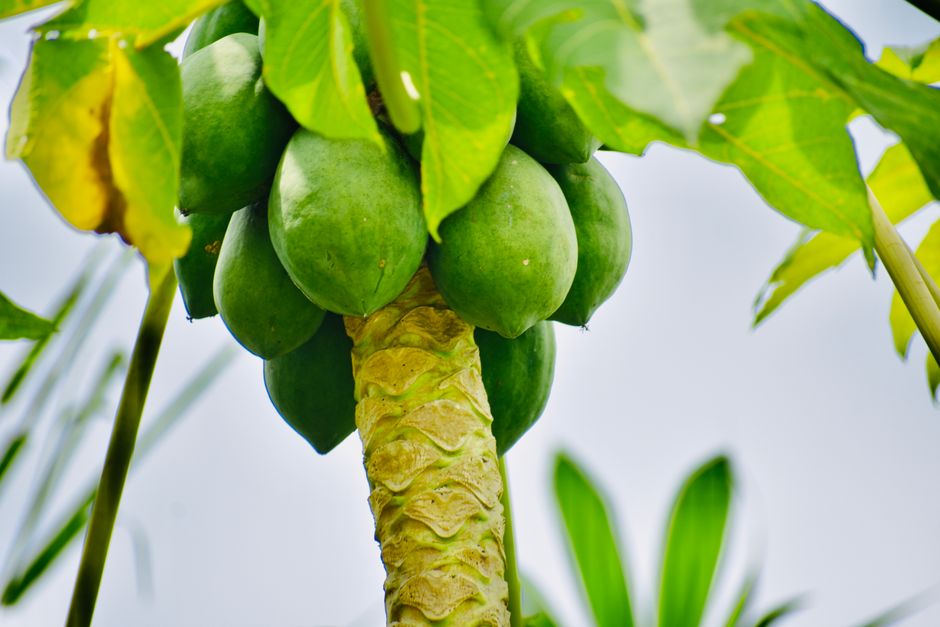
Papaya is one of those fruits that seems to spoil the moment you look away. One day it is firm and sweet, and the next it is mushy and fermented. You can preserve it successfully by freezing ripe chunks for smoothies, pickling green papaya for a tangy condiment, and canning it in a light syrup if you want shelf-stable jars. The method you choose depends entirely on the ripeness of the fruit and how you plan to use it later. Freezing is the fastest and easiest option, pickling handles the green fruit beautifully, and canning requires careful attention to acidity and temperature. Here is exactly how to do all three safely.
How To Preserve Papaya Freeze Can Pickle More
The simplest answer is that you do not have to choose just one method. Use green papaya for pickling, ripe papaya for freezing, and very firm ripe papaya for canning. Each technique preserves a different stage of the fruit, so you can handle an entire harvest without wasting any of it. Freezing preserves texture better than canning because the fruit is not subjected to high heat.
Pickling is the only method of the three that does not require cooking the fruit first, though you will need to heat the vinegar brine. Canning is the most involved process because papaya is a low-acid fruit, which means it must be processed in a pressure canner if you are not adding enough acid. Water bath canning is only safe when the recipe includes sufficient lemon juice or vinegar to lower the pH below 4.6.
How Do You Freeze Papaya Properly?
Freezing papaya is straightforward, but doing it wrong produces a watery, flavorless mess. The key is to freeze the pieces individually before bagging them. This prevents the chunks from clumping into one solid block that you cannot break apart later.
Start with papaya that is ripe but still firm. Overripe fruit will turn to mush when thawed. Cut the papaya in half lengthwise, scoop out the black seeds, and peel the skin with a sharp knife or vegetable peeler. Cut the flesh into 1-inch cubes or slices, depending on your intended use.
Arrange the pieces in a single layer on a baking sheet lined with parchment paper. Make sure the pieces are not touching each other. Place the baking sheet in the freezer for two to three hours, or until the papaya is completely frozen solid. Transfer the frozen pieces into freezer bags or airtight containers. Squeeze out as much air as possible before sealing. Label the bags with the date and use them within six months for the best quality.
Frozen papaya will not have the same texture as fresh. The ice crystals rupture the cell walls, so the fruit softens significantly when thawed. Use frozen papaya for smoothies, sauces, or baked goods rather than eating it raw. If you want to eat it straight, thaw it in the refrigerator and expect a softer, juicier texture.
One trick that helps preserve flavor is to toss the papaya cubes with a little lemon or lime juice before freezing. The acid slows down the enzymatic browning that causes the fruit to discolor. This also adds a slight tang that works well in most recipes.
How Do You Pickle Green Papaya?
Pickling is the best way to preserve papaya that is still green and hard. Green papaya has a neutral flavor and a dense, crisp texture that holds up beautifully in vinegar. The pickling process transforms it into a tangy, crunchy condiment that pairs well with rice dishes, sandwiches, and salads.
To prepare green papaya for pickling, peel it and remove the seeds. The flesh will be pale white or light green. Cut it into thin strips, matchsticks, or thin slices. You can use a mandoline or a sharp knife for this step. The thinner the pieces, the faster they will absorb the brine.
Pack the papaya pieces into clean glass jars. Leave about half an inch of headspace at the top. In a saucepan, combine vinegar, water, sugar, and salt. White vinegar or apple cider vinegar both work well. Bring the mixture to a boil and stir until the sugar and salt dissolve completely. You can add spices like garlic, peppercorns, chili flakes, or mustard seeds to the jars before pouring the brine over the papaya.
Pour the hot brine over the papaya, making sure the liquid covers all the pieces completely. Tap the jars gently to release any trapped air bubbles. Wipe the rims clean, seal the lids, and let the jars cool to room temperature. Once cool, place them in the refrigerator.
Refrigerator pickles are ready to eat after 24 hours and will keep for about one month. The flavor deepens over the first week. If you want shelf-stable pickled papaya, you must process the jars in a boiling water bath. Follow a tested recipe that specifies the vinegar-to-water ratio, because the acidity level determines whether the pickles are safe to store at room temperature.





Can You Can Papaya at Home?
Yes, you can can papaya, but you must follow safe canning procedures. Papaya is a low-acid fruit, which means it does not naturally contain enough acid to prevent the growth of Clostridium botulinum, the bacteria that causes botulism. This is not something to guess about. Botulism is a serious foodborne illness, and improper canning of low-acid foods is a known cause.
There are two safe routes for canning papaya. The first is to pressure can it without added acid. A pressure canner reaches temperatures above 240°F, which is hot enough to destroy botulism spores. The processing time depends on the size of the jars and your altitude. You must follow the instructions that came with your pressure canner.
The second route is to acidify the papaya and use a boiling water bath. This requires adding bottled lemon juice or vinegar to bring the pH below 4.6. A common approach is to pack papaya cubes into jars and add a measured amount of lemon juice to each jar before covering them with a light syrup. The exact amount of lemon juice matters, so use a tested recipe from a reliable source rather than improvising.
Pack the papaya into hot jars and cover with boiling syrup, leaving proper headspace. Process the jars in a boiling water bath for the time specified in your tested recipe. After processing, let the jars cool undisturbed for 12 to 24 hours. Check that each lid has sealed by pressing the center. If the lid pops back, the jar did not seal and must be refrigerated and used promptly.
Canned papaya will be softer than fresh or frozen papaya. The heat breaks down the flesh, so it works best in recipes where texture is not the main feature. Use canned papaya in sauces, chutneys, or desserts.
Which Preservation Method Should You Choose?
Your choice comes down to the ripeness of the fruit and your storage situation. Here is a quick comparison to help you decide.
| Method | Best Papaya Stage | Storage Time | Best Uses |
|---|---|---|---|
| Freezing | Ripe but firm | 6 months | Smoothies, sauces, baking |
| Pickling | Green and hard | 1 month refrigerated | Condiment, salads, rice dishes |
| Canning | Firm ripe | 12-18 months | Chutneys, desserts, sauces |
Freezing requires the least equipment and the least skill. It also preserves the most flavor and nutrients because the fruit is not heated. The downside is that frozen papaya takes up freezer space and loses its fresh texture.
Pickling is ideal if you have green papaya that you cannot wait to ripen. It produces a completely different product with a long refrigerated life. It is also the fastest method to get a finished product you can eat within a day.
Canning gives you shelf-stable jars that do not require refrigeration. This is valuable if you have a large harvest or limited freezer space. However, it requires the most equipment and the most careful attention to safety. Canned papaya is also the most processed, so the texture and flavor change the most.
What Are Common Mistakes To Avoid?
Several mistakes can ruin preserved papaya or, worse, create unsafe food. The first is freezing papaya that is too ripe. Overripe fruit contains more water and less structure, so it turns to mush. Always start with fruit that is ripe but still holds its shape when pressed.
Another mistake is skipping the individual freezing step. If you put papaya pieces directly into a bag, they freeze into a solid clump. You will have to thaw the entire bag to use any of it, and refreezing degrades quality further.
For pickling, the most common error is using too little vinegar. The vinegar is not just for flavor. Its acidity is what preserves the papaya and keeps harmful bacteria from growing. If you reduce the vinegar to make the pickles less tart, you reduce the safety margin.
For canning, the biggest mistake is using a boiling water bath for unacidified papaya. This is unsafe. Low-acid foods must be pressure canned. If you do not have a pressure canner, you must add acid and follow a tested recipe. There is no safe shortcut here.
Finally, always label your preserved papaya with the date. Frozen papaya that sits for a year is still safe to eat but will have poor quality. Pickles that sit too long lose their crunch. Canned jars past their best quality are still safe but less flavorful. Knowing when you made them helps you use them at their best.
Frequently Asked Questions
Can you freeze papaya without blanching it first?
Yes, papaya does not need blanching before freezing. Toss the cubes with lemon juice to prevent browning, then freeze them in a single layer before bagging.
How long does pickled green papaya last in the refrigerator?
Refrigerator pickled papaya keeps for about one month when stored in a sealed jar. The texture and flavor are best within the first two weeks.
Is it safe to water bath can papaya?
Water bath canning is only safe if the recipe adds enough acid, such as bottled lemon juice, to lower the pH below 4.6. Without added acid, papaya must be pressure canned.
What is the best way to use frozen papaya?
Frozen papaya works best in smoothies, sauces, and baked goods. The texture softens after thawing, so it is not ideal for eating raw.
