
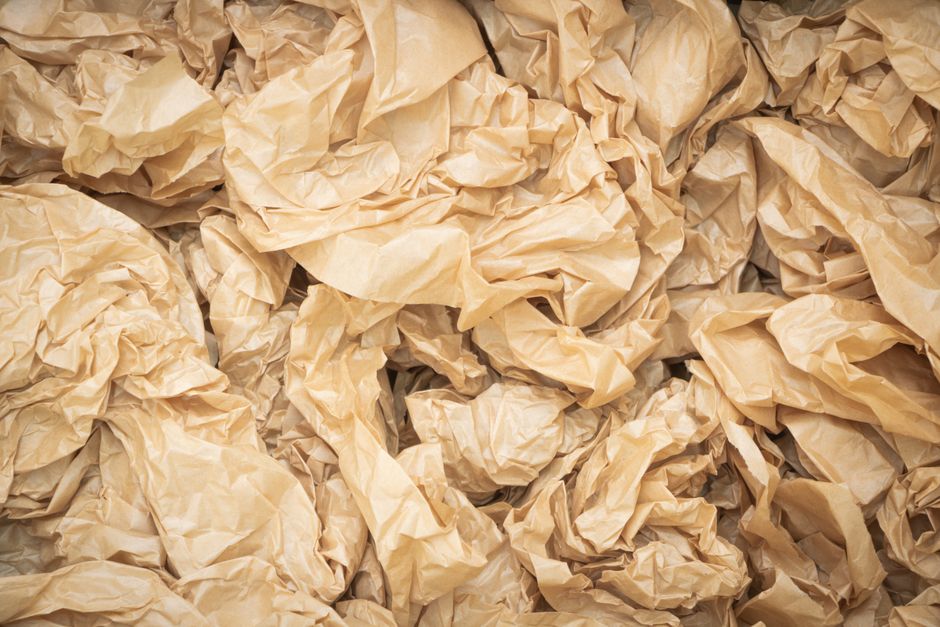
Making recycled paper at home is a straightforward process that turns scrap paper into new, usable sheets. You will need scrap paper, water, a frame with mesh (called a mold and deckle), and a way to press the sheets dry. The basic steps are tearing the paper, soaking it, blending it into pulp, spreading the pulp on the mesh, and pressing the water out. It takes about 30 minutes of active work, plus a few hours for the paper to dry completely.
What Supplies Do You Need To Make Recycled Paper?
Most of the supplies are already in your kitchen or garage. You do not need a special kit to get started.
- Scrap paper: Printer paper, notebook paper, junk mail, and tissue paper all work well. Avoid glossy magazines and heavily coated paper because they do not break down into pulp easily.
- Water: Warm water works faster than cold water for soaking.
- A blender: This is the most reliable tool for turning soaked paper into pulp. Use one you do not mind getting dirty.
- A mold and deckle: This is a wooden frame with fine mesh stretched across it. You can buy one online or build it with a picture frame and window screen.
- A tub or basin: Large enough to hold the mold and several inches of water.
- Sponges: For pressing water out of the wet sheet.
- Couching cloths: Thin fabric pieces, like felt or old sheets, that the wet paper is transferred onto.
You can improvise the mold using an old picture frame and a piece of window screen. Staple the screen tightly to the frame. The deckle is a second frame without mesh that sits on top to keep the pulp from spilling over the edges.
How To Make Recycled Paper From Scrap At Home: Step-By-Step
Follow these steps in order. The process is forgiving, so small mistakes will not ruin your paper.
Step 1: Tear the paper into small pieces. Pieces about one inch square work best. Smaller pieces soak faster and blend more evenly. Remove any tape, staples, or plastic windows from envelopes before tearing.
Step 2: Soak the paper in warm water. Place the torn scraps in a bowl and cover them with warm water. Let them soak for at least 30 minutes. Overnight soaking works even better. The fibers need time to soften and separate.
Step 3: Blend the soaked paper into pulp. Fill the blender about halfway with soaked paper and water. Blend for 30 to 60 seconds until the mixture looks like a smooth slurry. If it looks chunky, blend longer. The goal is a consistent pulp with no visible pieces of paper.
Step 4: Fill the tub with water and add the pulp. Fill your basin about two-thirds full with clean water. Pour the blended pulp into the tub and stir it well. The water should look cloudy but not thick. If it looks like soup, add more water. This mixture is called the vat.
Step 5: Dip the mold into the vat. Hold the mold with the mesh side facing up and the deckle on top. Lower both frames into the vat at a slight angle. Level them out underwater, then lift them straight up. Water drains through the mesh, leaving a thin layer of pulp on the surface.
Step 6: Remove the deckle and press the sheet. Lift the deckle off carefully. Place a couching cloth flat on the wet pulp. Press gently to help the paper stick to the cloth. Flip the mold over and let the wet sheet drop onto the cloth. Use a sponge to press water out through the mesh from the back.
Step 7: Dry the paper. Leave the wet sheet on the couching cloth to air dry. This takes 2 to 4 hours in a warm room, or overnight in cooler conditions. You can speed this up by placing the cloth in the sun or near a fan. Once dry, gently peel the paper off the cloth.
Why Does The Pulp Need To Be Soaked Before Blending?
Soaking is not optional. Paper is made of cellulose fibers held together by hydrogen bonds. Dry paper fibers are stiff and brittle. Soaking them in water makes the fibers flexible and weakens the bonds between them.
When you blend soaked paper, the blades separate the fibers cleanly without shredding them into dust. Longer fibers create stronger paper. If you skip the soak, the blender tears the fibers into short fragments. The resulting paper will be weak and crumbly.
This is the same principle used in commercial paper recycling. Mills repulp waste paper using large machines called pulpers that mix the paper with water and chemicals. The chemistry is more complex at industrial scale, but the core idea is identical: water separates the fibers so they can be reformed into new sheets.




What Can You Add To Customize Your Recycled Paper?
Once you have the basic technique down, you can change the look and feel of your paper. These additions are optional and do not affect the core process.
- Flowers and leaves: Small dried petals or herb leaves pressed into the wet pulp create decorative paper. Add them on top of the pulp before pressing.
- Food coloring: A few drops of liquid food coloring in the blender give the pulp a uniform tint. Natural dyes from tea or coffee also work.
- Glitter: Mix fine glitter into the pulp for a subtle shimmer. Use a small amount, as too much weakens the paper structure.
- Confetti: Punch small holes in colored paper and add the dots to the vat. They will appear scattered throughout the finished sheet.
- Starch: Adding a tablespoon of liquid starch to the pulp makes the paper less absorbent. This is helpful if you plan to write on the paper with liquid ink.
Be cautious with heavy additions. Large objects like whole leaves can create weak spots in the paper. The pulp needs to surround and support whatever you add, or the sheet will tear when dry.
How Do You Troubleshoot Common Papermaking Problems?
Your first few sheets may not look perfect. That is normal. Here are the most common problems and their fixes.
The paper is too thick. You left too much pulp on the mesh. Use less pulp in the vat or shake the mold gently as you lift it to drain more water.
The paper is too thin and tears easily. The pulp layer was too thin. Add more pulp to the vat, or do not shake the mold as much when lifting.
The paper has rough edges. This happens when pulp leaks under the deckle. Press the deckle down more firmly and make sure it sits flush against the mold.
The paper sticks to the couching cloth. Some fabrics grip wet pulp more than others. Smooth fabrics like cotton sheeting release paper more easily than fluffy materials like towels. You can also try wetting the cloth slightly before couching.
The paper dries with a wavy surface. This usually means the paper dried unevenly. Press more water out with the sponge before drying, and make sure the sheet dries flat on a smooth surface.
Is Homemade Recycled Paper Good For Writing And Printing?
Homemade paper is textured and absorbent. Ballpoint pens and pencils work well on it. Fountain pens and liquid inks will bleed and feather because the paper has no sizing, which is the chemical treatment that makes commercial paper resist ink.
Printing on homemade paper is difficult. The uneven surface can cause printer rollers to jam, and the paper may not feed correctly. If you want to print on it, keep the sheets thin and press them flat under heavy books for a day before attempting to run them through a printer.
For most purposes, homemade paper is best used for crafts, cards, gift tags, and decorative projects. It has a handmade charm that commercial paper cannot match, but it does not perform like store-bought paper for everyday writing.
How Much Paper Can You Make From A Typical Batch?
A single sheet of standard printer paper weighs about 5 grams. When you repulp it, you get roughly the same amount of fiber back. One sheet of scrap paper produces about one sheet of handmade paper, though the size and thickness vary based on your mold.
If you use a standard 8×10 inch mold, one full blender of pulp will make about two to three sheets. A small stack of junk mail and old notes can easily produce a dozen sheets in an afternoon. The exact number depends on how thick you make each sheet and how much pulp you lose during rinsing.
There is no cost to making paper beyond the initial mold setup. Scrap paper and water are free, and the blender uses minimal electricity. This makes it an inexpensive craft that also keeps paper out of the landfill.
What Types Of Paper Should You Avoid Using?
Not all paper is suitable for home recycling. Some types contain materials that will ruin your pulp or produce poor-quality sheets.
- Glossy magazines: The clay coating does not break down in water and creates a slimy mess in the blender.
- Cardboard: The fibers are too long and stiff for a home blender. The resulting pulp is lumpy and hard to spread evenly.
- Tissue paper: It dissolves too quickly and produces paper that is very weak and thin.
- Thermal receipt paper: This paper is coated with chemicals, including BPA in some cases. It is not safe to handle in large amounts and does not pulp well.
- Waxed paper: The wax coating repels water, so the paper never breaks down properly.
Stick to plain, uncoated paper for consistent results. Office paper, school worksheets, construction paper, and non-glossy junk mail are all excellent choices.
Frequently Asked Questions
Can I make recycled paper without a blender?
Yes, but it takes much longer. You can mash soaked paper by hand with a potato masher or mortar and pestle, though the fibers will not separate as finely. The paper will be rougher and more textured than blender-made paper.
How long does homemade paper take to dry?
Most sheets dry in 2 to 4 hours in a warm, dry room. Thicker sheets or humid conditions can take overnight. Placing the paper near a fan or in direct sunlight speeds up the process.
Do I need a mold and deckle to make paper?
You need some kind of framed mesh to catch the pulp, but it does not have to be a commercial product. An old picture frame with window screen stapled across it works just as well as a purchased mold.
Can I use the recycled paper in a printer?
It is possible but not recommended. Homemade paper is textured and absorbs ink unevenly, and the rough edges can jam printer rollers. It works best for handwriting, crafts, and decorative projects.
