
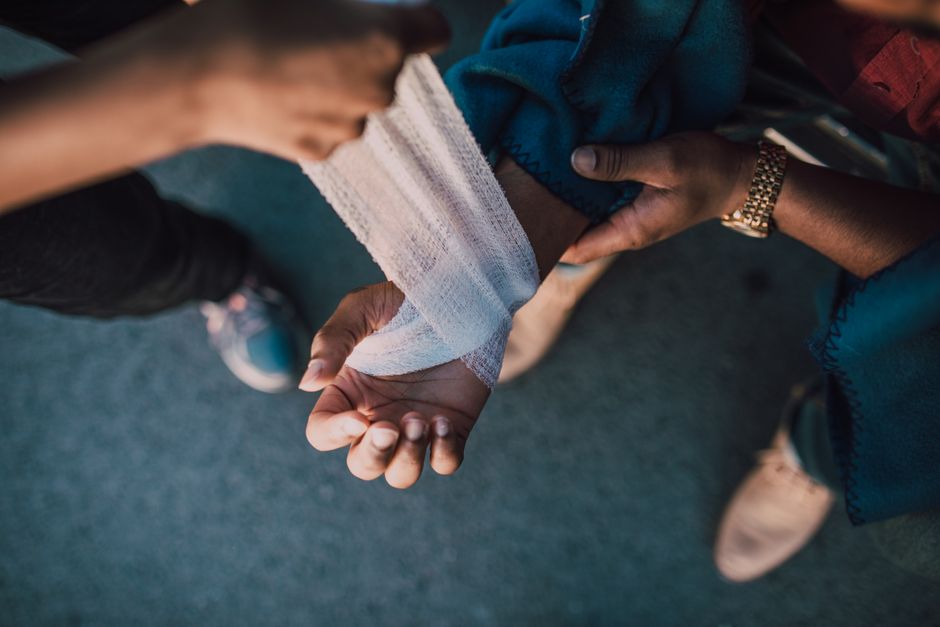
A sling is a simple cloth support that holds your arm close to your body. You can make one quickly from items you already have at home. The goal is to keep the injured arm still, supported, and comfortable while you seek medical care. Here is how to make a sling at home for an injured arm using a square cloth, a belt, or a shirt.
When Should You Use a Homemade Sling?
A homemade sling is a temporary tool. It is not a treatment for the injury itself. Use it to keep the arm from moving while you get to a doctor or emergency room.
You should use a sling if you suspect a fracture, sprain, or strain. Common signs include pain, swelling, bruising, or a visible deformity. If the arm looks bent in an unnatural way, do not try to straighten it. Support it in the position you found it.
Seek emergency care if the arm is numb, cold, pale, or blue. These signs may point to nerve or blood vessel damage. Also seek immediate care if the bone has broken through the skin. For any injury you suspect is serious, a homemade sling is only a bridge to professional medical evaluation.
What You Need to Make a Sling
You do not need special medical supplies. Most homes have what you need. The ideal fabric is strong, wide, and soft. A square cloth works best.
- A square piece of fabric about 40 inches by 40 inches (a pillowcase, scarf, or towel)
- Safety pins or duct tape
- Scissors if you need to cut fabric
A triangular bandage from a first aid kit is ideal, but fabric works just as well. A bath towel folded in half diagonally can substitute. A long-sleeved shirt can work in an emergency. The key point is that the fabric must be wide enough to support the full length of the forearm from elbow to wrist.
How To Make A Sling At Home For An Injured Arm: Step-by-Step
This method uses a square cloth and works for most adults and children.
Step 1: Fold the fabric into a triangle. Lay the square flat. Fold it diagonally so two opposite corners meet. You now have a triangle.
Step 2: Position the triangle. Place one end of the triangle over the shoulder of the uninjured arm. The point of the triangle should hang down toward the elbow of the injured side.
Step 3: Place the arm. Gently rest the injured arm across the triangle. The elbow should sit near the point of the triangle. The wrist should sit near the opposite end of the fabric.
Step 4: Bring the fabric up. Take the bottom corner of the triangle and bring it up over the injured arm. Meet it at the shoulder of the uninjured side.
Step 5: Tie the two ends together. Tie a knot behind the neck on the uninjured side. Do not tie the knot directly on the spine or on the injured shoulder.
Step 6: Secure the elbow. Twist the point of the triangle at the elbow and tuck it in. You can pin it to the front of the sling with a safety pin. This keeps the elbow from slipping out.
The wrist should sit slightly higher than the elbow. This position reduces swelling and keeps the arm comfortable. The hand should be visible with fingers free to move.





Alternative Methods: Belt, Shirt, or Scarf
If you do not have a large square cloth, other household items work.
Using a belt or tie: Loop the belt around the injured arm and behind the neck. This provides less support than a full sling because it does not support the elbow. It works best for wrist injuries where the elbow can stay bent naturally.
Using a long-sleeved shirt: Button the shirt and place the injured arm inside the sleeve. Pull the shirt over the uninjured shoulder. Pin or tie the bottom of the shirt to hold the arm in place. This method works but is less stable than a proper triangular sling.
Using a scarf: A large scarf folded into a triangle works exactly like a cloth sling. A narrow scarf can be folded in half lengthwise to create a wider band. The wider the band, the more support it gives.
Every method has the same goal: keep the arm still, keep the elbow supported, and keep the wrist slightly elevated. If the arm moves easily inside the sling, the sling is too loose.
How Tight Should the Sling Be?
The sling should be snug but not tight. You should be able to slide two fingers between the fabric and your neck. If the fabric presses hard against the neck, the knot is too tight.
A sling that is too loose does not support the arm. The arm will dangle and move, which can cause more pain. Check the position of the wrist. It should rest about 4 inches higher than the elbow when standing or sitting upright.
Watch for signs that the sling is too tight. Numbness, tingling, or a bluish tint in the fingers means circulation is restricted. Loosen the sling immediately. The fingers should stay pink and warm.
Do not wear the sling while sleeping unless a doctor instructs you to. The fabric can shift during sleep and create pressure points. Remove it before resting and place pillows around the arm for support instead.
Common Mistakes to Avoid
Several mistakes can make a homemade sling less effective or even harmful.
Supporting only the wrist. The sling must support the entire forearm. If the elbow hangs free, the weight of the arm pulls on the injury. This increases pain and can worsen a fracture.
Tying the knot on the injured side. Pressure from the knot can push on the injured shoulder. Always tie on the uninjured side.
Making the sling too narrow. A narrow strip of fabric concentrates pressure on a small area of the arm. This can cause discomfort and reduce blood flow. Use the widest fabric you have.
Leaving the elbow unsupported. The elbow point should be fully covered by the fabric. If the elbow sticks out, the arm can slip through the sling. Pin the elbow point to the front of the sling.
Using the sling for too long. A homemade sling is not a medical device. It is meant for short-term use while traveling to a doctor. Prolonged immobilization without medical guidance can lead to joint stiffness and muscle weakness.
When to See a Doctor Immediately
A homemade sling does not replace medical evaluation. Some injuries require urgent attention. Do not delay care for these signs:
- The arm looks deformed or bent in an unnatural position
- The bone has broken through the skin
- The fingers are numb, cold, pale, or blue
- Severe pain that does not improve with rest
- The arm cannot bear any weight or movement
- Swelling that increases rapidly
For a suspected fracture, seek care the same day. Even if the arm can move, a hairline fracture needs proper diagnosis. X-rays are the standard way to confirm a fracture. A homemade sling is not a substitute for imaging or professional treatment.
What to Expect at the Doctor or Emergency Room
When you arrive, tell the medical team how the injury happened. Describe your pain level and any numbness or tingling. The doctor will examine the arm and may order X-rays.
If the bone is broken, treatment depends on the location and severity of the fracture. Some fractures need a cast or splint. Others require surgery. For sprains and strains, treatment typically involves rest, ice, compression, and elevation. Your doctor will give you specific instructions based on your injury.
Do not continue using your homemade sling once you receive professional care. The doctor will provide a proper sling or splint designed for your specific injury. These medical devices distribute weight correctly and support the arm in the optimal position for healing.
Frequently Asked Questions
Can I make a sling from a pillowcase?
Yes, a pillowcase works well if it is large enough. Fold it diagonally to create a triangle, then follow the standard sling steps.
How long can I wear a homemade sling?
Use it only until you reach medical care, typically a few hours. Prolonged use without professional guidance can cause stiffness and muscle weakness.
Should I sleep with a homemade sling on?
No. The fabric can shift during sleep and create pressure points. Remove it and support your arm with pillows instead.
What if the sling makes my fingers tingle?
Loosen the sling immediately. Tingling or numbness means the sling is pressing on nerves or restricting blood flow. Check that the knot is not too tight and the fabric is not twisted.
