
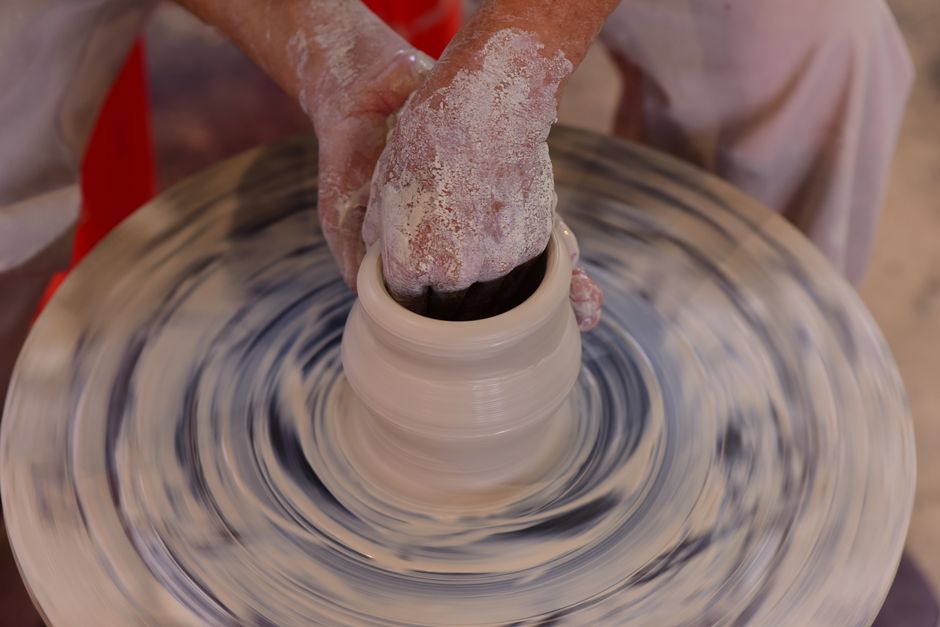
You can make a clay cup without a pottery wheel using hand-building techniques like pinching, coiling, and slab construction. These methods have been used for thousands of years, long before the potter’s wheel was invented. You do not need expensive equipment or a studio. A kitchen table, some clay, and your hands are enough to create a functional cup. The process takes patience, but the results can be just as good as wheel-thrown pottery.
What Is the Best Clay to Use Without a Wheel?
Choosing the right clay matters more when you are hand-building than when you throw on a wheel. You want a clay body that holds its shape without collapsing. Stoneware clay is a solid choice for most beginners. It is sturdy, widely available at craft stores, and fires to a durable finish in a kiln.
Earthenware clay is another option. It is softer and easier to shape, but it is more porous after firing. You would need a food-safe glaze if you plan to drink from the cup. Air-dry clay is an option for decorative cups only. It never becomes waterproof. According to the American Ceramic Society, air-dry clay cannot hold liquid safely without sealing, and even then it is not recommended for hot drinks.
Avoid polymer or oven-bake clays for a functional cup. They are not food-safe at high temperatures and can release chemicals. Stick with natural clay that requires kiln firing if you want a cup you can actually drink from.
How Do You Prepare Clay for Hand-Building?
Before you start shaping, you need to prepare the clay. This step is called wedging. It removes air bubbles and makes the clay uniform. Air bubbles are the main reason hand-built cups crack or explode in the kiln. The American Ceramic Society notes that trapped air expands during firing and can ruin your piece.
To wedge clay, press it down on a clean surface with the heels of your hands. Push it away from you, then fold it back toward you. Repeat this motion about 20 to 30 times. You will feel the clay become smoother and more consistent. If you hear a popping sound, that is an air bubble releasing. Keep wedging until no more pops occur.
Keep a small bowl of water nearby. Clay dries out quickly, especially in dry climates. If the clay starts cracking at the edges, wet your fingers slightly and work the moisture in. Too much water makes clay sloppy. A light touch is best.
How To Make a Clay Cup Without a Pottery Wheel Using the Pinch Method
The pinch method is the simplest way to make a cup. Start with a ball of clay about the size of a tennis ball. Hold it in one hand. Press your thumb into the center, stopping about half an inch from the bottom. This creates the hollow space for the cup.
Rotate the clay in your hand as you pinch the walls evenly between your thumb and fingers. Work from the bottom up. Keep the walls an even thickness, about a quarter of an inch. If one side gets thinner than the other, the cup may warp or crack. A study in the Journal of Archaeological Science found that ancient pinch pots had remarkably even walls, suggesting this technique was refined over generations.
Once the cup is shaped, smooth the surface with your fingers or a damp sponge. Let it dry slowly under plastic wrap for a day or two. Rapid drying causes cracks. After the clay is leather-hard — firm but still slightly damp — you can refine the rim and add a handle if you want one.





How To Make a Clay Cup Without a Pottery Wheel Using the Coil Method
Coiling gives you more control over the shape and size of your cup. Roll out long ropes of clay about the thickness of your index finger. Keep them consistent. If the coils vary in thickness, the walls will be uneven.
Start with a flat base. Roll out a slab of clay about a quarter-inch thick. Cut a circle roughly the diameter you want for the cup bottom. Score the edge of the base with a fork or a clay tool. Scoring means scratching the surface so the coils stick. Apply a thin layer of slip — clay mixed with water to the consistency of yogurt — over the scored area.
Lay the first coil on the base, pressing it gently into the slip. Continue stacking coils, scoring and slipping each one. Blend the coils together on the inside of the cup using your finger or a wooden rib. This creates a smooth interior and eliminates air pockets between coils. Leave the outside textured if you like the look, or smooth it for a cleaner finish.
Some people report that coiling takes longer than pinching, but it gives you more room to correct mistakes. You can add or remove coils to adjust the height and shape as you go. Evidence indicates that coiled pots are structurally stronger than pinch pots because the overlapping coils distribute stress more evenly.
How To Make a Clay Cup Without a Pottery Wheel Using the Slab Method
The slab method is the most precise hand-building technique. You roll out flat sheets of clay and cut pieces to assemble like a box or cylinder. This works well for cups with straight sides or geometric shapes.
Roll out a slab of clay to an even thickness. Use two wooden guide sticks the same thickness — like two rulers — placed on either side of the clay. Roll the pin across the sticks to ensure the slab is uniform. Cut a rectangle for the cup body and a circle for the base.
Score and slip the edges where the pieces join. Press them together firmly. Use a small coil of clay along the inside seam to reinforce the joint. This is called a coil weld. It prevents leaks. Research from ceramics engineering programs shows that slab-built pieces are most likely to fail at the seams if not properly welded.
Smooth the seams with a rib or your finger. Let the cup dry slowly. Slab cups tend to dry more evenly than pinch or coil cups because the walls are more uniform from the start. This reduces the risk of cracking during drying and firing.
What Tools Do You Really Need for Hand-Building a Clay Cup?
You do not need many tools. A fork for scoring, a small container for slip, and a wooden rib or old credit card for smoothing are enough. A sponge helps clean up edges and add moisture. A needle tool is useful for trimming excess clay, but a butter knife works in a pinch.
Here is a quick comparison of the three methods and what each requires:
| Method | Tools Needed | Best For | Difficulty |
|---|---|---|---|
| Pinch | Hands, sponge | Small round cups | Beginner |
| Coil | Fork, slip, rib | Taller or curved shapes | Intermediate |
| Slab | Rolling pin, guide sticks, knife | Straight-sided cups | Intermediate |
All three methods produce a functional cup if done correctly. Your choice depends on the shape you want and your comfort level. Many potters combine methods — a slab base with coil walls, for example.
How Do You Dry and Fire a Hand-Built Clay Cup?
Drying is the most overlooked step in hand-building. Clay shrinks as it dries. If the cup dries too fast, the outside shrinks faster than the inside, causing cracks. Cover the cup loosely with plastic wrap for the first two days. Then uncover it gradually over several more days.
The cup is ready for firing when it feels room temperature to the touch and no longer feels cold or damp. This is called bone dry. A bone-dry cup is fragile. Handle it gently. According to the American Ceramic Society, bone-dry clay has no measurable moisture left and is ready for the first firing, called bisque firing.
Bisque firing happens at a lower temperature, around 1800°F for most clays. This hardens the clay and makes it porous enough to accept glaze. After bisque firing, you apply glaze and fire again at a higher temperature, typically around 2200°F for stoneware. This melts the glaze into a glass-like surface that is waterproof and food-safe.
If you do not have access to a kiln, check local community studios or ceramic supply shops. Many offer kiln firing services for a small fee. Some libraries and community centers also have kilns available. As of 2026, there is no safe way to fire clay at home without a kiln. Oven firing does not reach high enough temperatures and can release toxic fumes from the clay.
Frequently Asked Questions
Can you fire clay in a regular oven?
No. Regular ovens only reach about 500°F, far below the 1800°F needed to fire clay. The clay will not harden and may release fumes.
How long does it take to make a clay cup by hand?
Shaping the cup takes 30 minutes to an hour. Drying takes 3 to 7 days. Firing and glazing add another week if you use a kiln service.
Do you need glaze for a clay cup to hold water?
Yes, for most clays. Earthenware is porous without glaze. Stoneware can hold water if fired to the right temperature, but glaze makes it easier to clean and more durable.
Is air-dry clay safe for drinking cups?
No. Air-dry clay is not food-safe and cannot hold liquid without leaking. Use it only for decorative pieces.
