
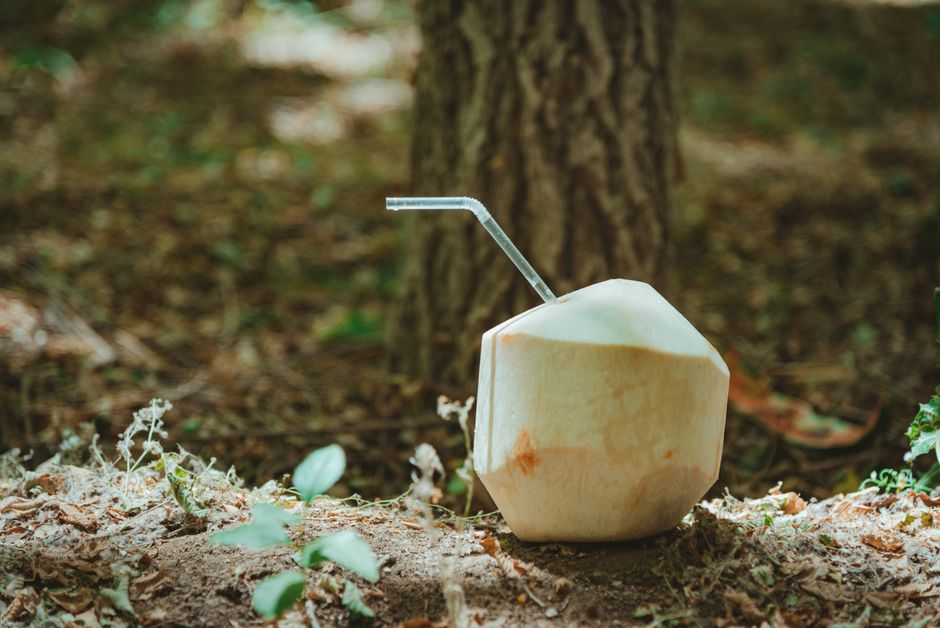
Nata de coco is made by fermenting coconut water with a specific bacterium called Komagataeibacter xylinus. The bacteria feed on sugars in the coconut water and spin out pure cellulose fibers. Those fibers tangle together into a thick, rubbery sheet that floats on top of the liquid. The sheet is then cut into cubes, boiled, and sweetened to create the chewy jelly you find in desserts and drinks.
That is the short version. The full process involves careful control of sugar, acidity, temperature, and time. Each step shapes the texture and safety of the final product.
What Bacterium Makes Nata de Coco?
Komagataeibacter xylinus is the main bacterium used to make nata de coco. It was formerly classified as Acetobacter xylinum, and you will still see that older name in many research papers and textbooks. Both names refer to the same organism.
This bacterium belongs to a group called acetic acid bacteria. These microbes are common in nature. They live on fruit surfaces, in vinegar, and in fermented drinks. What makes K. xylinus special is its ability to produce cellulose — the same material that gives plants their structure — but at the surface of a liquid rather than inside a plant cell wall.
The bacteria do not need sunlight or plant matter to make cellulose. They build it from glucose using an enzyme complex in their cell membrane. The cellulose chains are extruded through tiny pores on the bacterial surface. Each bacterium produces a ribbon of cellulose that is thousands of times longer than the cell itself.
These ribbons twist and bond with each other. Over days, they form a dense, layered network. The result is a gel sheet with high water content and a firm, elastic texture.
How Is Nata de Coco Made From Bacteria To Chewy Gel?
Making nata de coco is a multi-step fermentation process. Each stage matters for texture, safety, and consistency. Here is how it works from start to finish.
Step 1: Preparing the Coconut Water
Fresh or reconstituted coconut water is the base. It provides sugars, minerals, and vitamins that the bacteria need. The water is usually filtered to remove debris and then boiled to kill unwanted microbes.
Sugar is added. The exact amount varies by producer, but the goal is to give the bacteria enough fuel to grow and produce cellulose. Some makers add small amounts of nitrogen sources or acids to help the fermentation start cleanly.
Step 2: Adding the Starter Culture
A small amount of previous nata batch or a pure culture of K. xylinus is added to the sweetened coconut water. This is called inoculation. The starter contains live bacteria that will multiply and begin producing cellulose.
The container is covered to keep dust and insects out but still allows air in. K. xylinus needs oxygen to grow. It is an aerobic bacterium, meaning it requires oxygen to survive and produce cellulose efficiently.
Step 3: Fermentation
The inoculated liquid sits at room temperature for several days to a couple of weeks. During this time, the bacteria consume sugar and multiply at the surface where oxygen is available.
As they grow, they spin cellulose fibers. A thin film forms on top of the liquid within the first day or two. This film thickens over time as new layers of cellulose are added from below.
The fermentation is typically stopped when the gel reaches a desired thickness — often about one to two centimeters. If left too long, the sheet can become too thick or the liquid can become overly acidic.
Temperature matters. If it is too cool, fermentation slows. If it is too warm, unwanted microbes may take over. Most production relies on ambient temperatures between roughly 25°C and 30°C (77°F to 86°F), though exact ranges vary by producer.
Step 4: Harvesting the Gel
The thick cellulose sheet is lifted off the liquid. It looks like a translucent, rubbery pancake. At this point, it is mostly water — often more than 90% by weight — held inside a cellulose network.
The sheet is rinsed to remove residual sugars, acids, and any liquid trapped in the gel.
Step 5: Cutting and Processing
The gel is cut into cubes or strips. The pieces are then boiled repeatedly in fresh water. This step removes acids and any fermentation byproducts that could affect taste or shelf life.
After boiling, the cubes are soaked in sugar syrup. This gives them their characteristic sweetness and chewy texture. The syrup also helps preserve the product.
Some commercial producers add flavorings, colors, or fruit juices at this stage. Others package the cubes in plain syrup or water.
Step 6: Packaging and Storage
The finished nata de coco is sealed in jars, cups, or pouches. Properly processed and sealed products are shelf-stable for months. Once opened, they typically need refrigeration.
Why Does the Gel Form on Top of the Liquid?
The gel forms at the surface because K. xylinus needs oxygen. The bacteria are most active where air meets the liquid. They produce cellulose there as a floating mat.
This mat is not just a byproduct. It helps the bacteria stay near oxygen and protects them from drying out. It also blocks competing microbes from reaching the nutrient-rich liquid below.
The cellulose itself is chemically identical to plant cellulose. The difference is how it is organized. Bacterial cellulose has a finer, more tangled structure than plant cellulose. That is why it holds so much water and feels so springy when you bite into it.



Is Nata de Coco the Same as Coconut Jelly?
No. Nata de coco and coconut jelly are different products. They are often confused because they look similar and appear in similar desserts.
Nata de coco is made by bacterial fermentation. The cellulose comes from K. xylinus. Coconut jelly, by contrast, is usually made by gelling coconut water or coconut milk with a setting agent like agar or carrageenan. No bacteria are involved.
The textures differ too. Nata de coco is firmer and more elastic. Coconut jelly is softer and tends to break apart more easily.
Is Nata de Coco Safe to Eat?
Commercially produced nata de coco is generally recognized as safe when made under proper conditions. The fermentation process itself does not produce dangerous toxins when the correct bacterium is used and hygiene is maintained.
However, contamination is a real risk in poorly controlled fermentation. If unwanted bacteria or mold grow instead of K. xylinus, the product can be unsafe. This is why clean equipment, proper acidity, and careful temperature control matter.
Home fermentation of nata de coco is possible but carries more risk than buying a commercially prepared product. Without proper sanitation and quality checks, harmful microbes can grow.
People with diabetes should note that nata de coco is typically packed in sugar syrup. The syrup adds significant sugar. Rinsing the cubes before eating can reduce some of that sugar, but it does not eliminate it.
Some people may experience mild digestive discomfort from eating large amounts of nata de coco. This is likely due to the fiber content rather than the bacterial cellulose itself. Bacterial cellulose is not digested by human enzymes, so it passes through the gut largely intact.
What Nutrients Does Nata de Coco Provide?
Nata de coco is mostly water and dietary fiber. It provides very little protein, fat, or vitamins. The calorie content depends almost entirely on how much sugar syrup is added.
Plain, unsweetened nata de coco is low in calories. Sweetened versions can be much higher. Always check the nutrition label if you are tracking sugar intake.
The fiber in nata de coco is insoluble cellulose. It adds bulk to the diet but is not a significant source of fermentable fiber for gut bacteria. Unlike some fibers, bacterial cellulose is not well broken down by human gut microbes.
Can You Make Nata de Coco at Home?
Yes, but it requires care. Home production involves the same basic steps as commercial production: preparing coconut water, adding a starter culture, fermenting, harvesting, and processing the gel.
The main challenges are contamination and consistency. Without proper sterilization and a clean starter culture, unwanted microbes can grow. The texture can also vary widely depending on temperature, sugar content, and fermentation time.
If you attempt it, use clean equipment, follow a tested recipe, and discard any batch that smells or looks wrong. When in doubt, throw it out.
Frequently Asked Questions
What bacteria is used to make nata de coco?
Komagataeibacter xylinus, formerly called Acetobacter xylinum, is the bacterium responsible for producing the cellulose in nata de coco. It is a type of acetic acid bacteria that naturally produces cellulose at the surface of sugary liquids.
How long does it take to make nata de coco?
Fermentation typically takes several days to about two weeks, depending on temperature and desired thickness. The gel is usually harvested when it reaches about one to two centimeters thick.
Is nata de coco actually made from bacteria?
Yes. The chewy gel is bacterial cellulose produced by K. xylinus during fermentation. The bacteria are not present in the final product after processing, but they are essential to making it.
Is nata de coco the same as coconut jelly?
No. Nata de coco is made by bacterial fermentation, while coconut jelly is made by gelling coconut water or milk with agar or carrageenan. They have different textures and production methods.
