
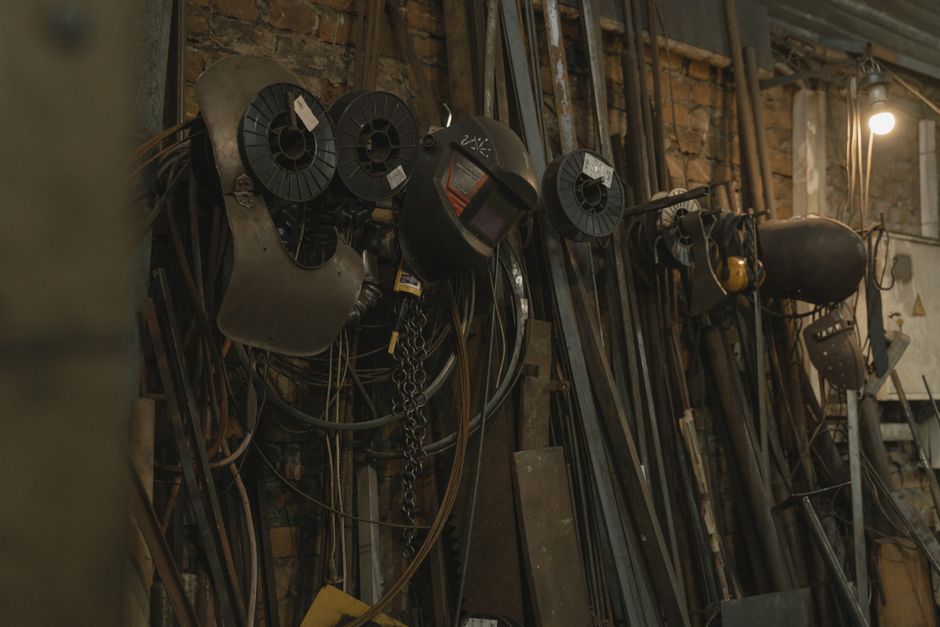
Wire feed welding uses a continuously fed wire electrode that melts into the joint while shielding gas or flux protects the molten metal from air. For beginners, the practical starting point is MIG welding on mild steel, typically 1/8-inch thick, using a machine rated for 120 volts or higher. You control four things: voltage, wire feed speed, travel speed, and gun angle. Get those roughly right and decent welds follow.
What Is Wire Feed Welding and How Does It Work?
Wire feed welding is a family of processes where a spool of wire is pushed through a gun by a motor. The wire does two jobs at once. It carries the electric current and it fills the joint as it melts.
The main types you will encounter are MIG and flux-cored. MIG stands for metal inert gas welding, also called GMAW, or gas metal arc welding. A tank of shielding gas flows through the gun and surrounds the arc. That gas pushes away oxygen and nitrogen from the air, which would otherwise contaminate the weld and cause porosity, meaning tiny gas pockets trapped in the metal.
Flux-cored welding, or FCAW, uses a hollow wire filled with a flux compound instead of a gas tank. The flux burns and creates its own shielding cloud. That makes flux-cored welding more wind resistant and useful outdoors. It also produces more smoke and leaves slag on the weld that you chip off afterward.
Both processes share the same core mechanic. An electric arc forms between the wire tip and the metal. The arc heat, typically several thousand degrees Fahrenheit, melts the base metal and the wire together. The wire keeps feeding, so you never stop to add filler by hand the way you would with stick or TIG welding.
That continuous feed is why beginners often find wire feed easier to learn than stick welding. You are not stopping and restarting an electrode every inch. You drag the gun along and the machine does the feeding.
What Equipment Do You Need to Start?
A basic setup has fewer parts than most beginners expect. You need a welding machine, a spool of wire, a gun and cable, a ground clamp, and either a shielding gas tank or flux-cored wire. You also need safety gear.
The machine is the biggest decision. Small 120-volt units run on standard household current and handle thin material well. Larger 240-volt machines cost more and require a dedicated circuit, but they weld thicker steel and run longer without overheating.
Here is what the rest of a starter kit includes:
- Welding wire. For mild steel, solid wire such as ER70S-6 is the common choice with gas. Flux-cored wire works without gas.
- Shielding gas. A mix of argon and carbon dioxide is standard for MIG on steel. Pure CO2 also works and costs less.
- Ground clamp. Completes the electrical circuit through your workpiece.
- Helmet. A self-darkening, or auto-darkening, lens protects your eyes from the arc flash.
- Gloves, jacket, and respirator. Leather gloves, a flame-resistant jacket, and fume protection matter more than most beginners realize.
One piece of safety context that is easy to underestimate: the arc produces ultraviolet and infrared light bright enough to burn your eyes in seconds. That condition, often called arc eye, feels like sand in the eyes and can take hours to show up. Never look at an arc without a proper lens, and never weld near someone who is not protected.
Welding also releases metal fumes and gases. Good ventilation or a respirator is not optional if you weld indoors or on coated or galvanized metal. Zinc coatings on galvanized steel produce fumes that can cause a flu-like illness. Grind the coating off first or weld outside.
How To Wire Feed Weld Basics For Beginners: Setting Up Your First Weld
Setup matters more than technique in your first week. A machine that is set wrong will fight you no matter how steady your hand is.
Start with clean metal. Rust, paint, oil, and mill scale all interfere with the arc. Grind the joint down to bare, shiny steel. Fit the two pieces together with a small gap if the material is thick, or butted tight if it is thin.
Set your polarity correctly. MIG with solid wire and gas usually runs electrode positive, meaning the gun is the positive side. Flux-cored wire often runs electrode negative. Check your machine’s manual, because getting this backward produces a spattery, weak weld.
Set your voltage and wire speed. Most machines have a chart inside the door that lists starting settings for a given metal thickness and wire diameter. Use that chart. It is a starting point, not a rule, but it gets you close.
Set your gas flow if you are running MIG. Too little gas leaves porosity. Too much wastes gas and can cause turbulence that pulls in air. A flow rate in the range the machine manual specifies for your conditions is the right target.
Then do a test pass on scrap. Adjust before you weld anything that matters.





What Do the Settings Actually Do?
Voltage controls the arc length and the width of the weld. Turn it up and the arc gets longer and the weld flattens and spreads. Turn it down and the arc gets short and the weld piles up narrow and tall.
Wire feed speed controls how much filler enters the puddle. More wire means more metal deposited. It also affects the current, because feeding wire faster into the same arc draws more amps.
The two settings interact. If you raise voltage, you usually need to raise wire speed to match, or the arc will feel too long and the wire will ball up. If you lower voltage, you lower wire speed too.
Travel speed is the one beginners get wrong most often. Move too fast and the weld is thin and narrow with poor penetration. Move too slow and you build up too much metal, overheat the part, and risk burning through thin sheet.
Gun angle and stickout round out the controls. Stickout is the length of wire sticking out past the contact tip. Keep it short and consistent. A long stickout makes the wire wander and the weld go cold.
What Does a Good Weld Look Like?
A sound MIG weld on steel looks like a row of even, overlapping ripples, sometimes compared to a stack of dimes. The bead sits flat to slightly convex, the edges tie into the base metal smoothly, and there are no holes or gaps.
Learn to read the defects, because each one points to a specific fix:
- Porosity. Small holes in the surface usually mean gas problems. Check for a low tank, a clogged nozzle, too much airflow, or wind blowing your shielding gas away.
- Spatter. Excess balls of metal stuck around the weld often mean voltage is too low, wire speed is too high, or polarity is reversed.
- Cold lap. The weld sits on top of the metal without fusing into it. This is a travel speed or voltage problem and it is a real structural weakness, not just a cosmetic one.
- Burn-through. A hole melted through the part means too much heat for the thickness. Reduce voltage or wire speed, or move faster.
- Undercut. A groove melted along the edge of the weld means the arc is too hot or the angle is wrong.
Appearance is a guide, not proof. A weld can look fine on the surface and still lack penetration. For anything structural or safety-related, the only reliable check is destructive testing on a sample or inspection by a qualified welder. Do not assume a pretty bead means a strong joint.
How Do You Practice Without Wasting Metal?
Run beads on scrap plate before you attempt a real joint. Lay down straight stringer beads, one after another, until your ripples are even and your travel speed is steady. This builds the muscle memory that matters more than any single tip.
Then practice the three basic joints: butt, lap, and T-joint. Each one changes your gun angle and how you position your body. A butt joint on thin metal teaches heat control. A T-joint teaches you to aim the arc into the corner where the two pieces meet.
Keep a notebook of your settings for each thickness and joint. Beginners who track their voltage and wire speed improve faster than those who guess every session.
One clarification worth stating plainly: wire feed welding is a skill built through repetition, and no article replaces hands-on time under a helmet. Expect your first beads to look rough. That is normal and it is how everyone starts.
Frequently Asked Questions
Is MIG or flux-cored better for a beginner?
MIG with shielding gas gives cleaner welds and is generally easier to learn on steel indoors. Flux-cored is better for outdoor work and windy conditions because it does not rely on a gas cloud that wind can blow away.
Can you wire feed weld without gas?
Yes, if you use flux-cored wire, which creates its own shielding from the flux inside the wire. Solid MIG wire requires shielding gas and will produce a porous, weak weld without it.
What thickness of metal can a beginner weld?
A small 120-volt machine handles thin steel well, generally in the range the machine’s manual lists for its rated capacity. Thicker material needs a higher-output machine, and the exact limits vary by model, so check your manual rather than assuming.
Why does my wire feed weld look spattery and rough?
Common causes are voltage set too low, wire speed set too high, or reversed polarity. Check your machine’s chart and polarity setting first, then adjust one variable at a time.
