
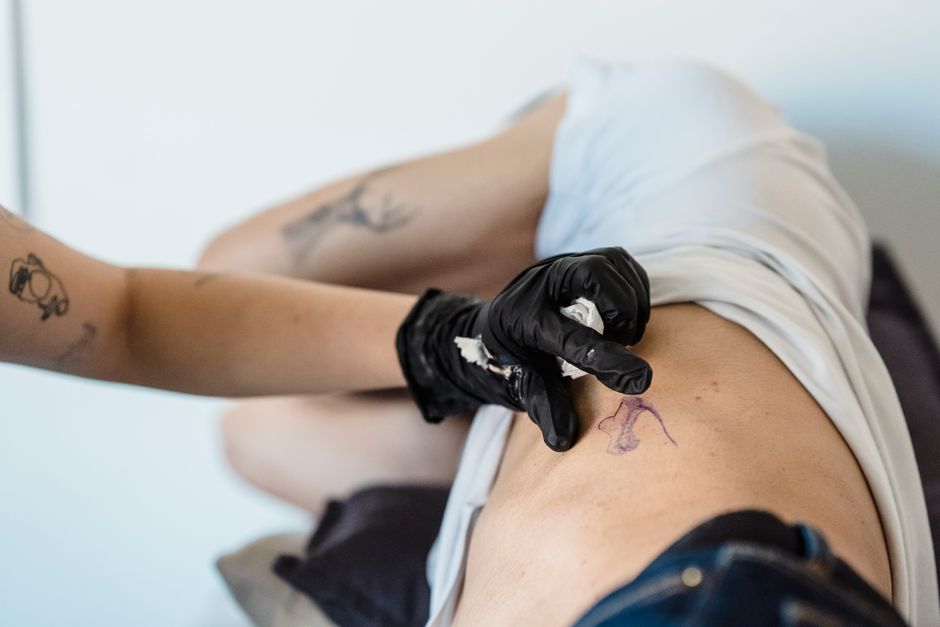
Temporary tattoo paper lets you print a design at home and transfer it to skin with water. The process takes about ten minutes. You print on the paper’s glossy side, apply a thin layer of adhesive, let it dry, cut out the design, press it face-down on clean skin, and hold a wet cloth over it until the paper slides away.
The results look like a real tattoo for a few days. But the safety details matter more than most tutorials admit. The adhesive is a cosmetic product. The inks in a home printer are not made for skin. And anyone with sensitive skin should test the paper before covering a large area.
What Is Temporary Tattoo Paper and How Does It Work?
Temporary tattoo paper is a two-part system sold for home printers. One sheet is the printable film. The other is a clear adhesive layer you apply on top.
The paper works because of a water-soluble backing. Your design sits on a thin film. When you press the film against skin and wet the back, the backing dissolves and releases the film. The adhesive layer, which you applied earlier, is what holds the design against your skin.
There are two common types. Inkjet paper is the most widely sold for home use. Laser paper exists too, but it needs a laser printer, which uses heat and toner rather than liquid ink. The steps are similar for both.
One detail worth knowing: the printed design is mirrored when you apply it. That means you print your image in reverse so it reads correctly on skin. Most kits explain this in their instructions, but people miss it constantly.
How To Use Temporary Tattoo Paper Step By Step
Follow the order below. Skipping the drying step is the most common reason transfers fail.
- Step 1 — Prepare your design. Choose or create an image. Flip it horizontally so it will read correctly on skin. Size it to fit the area you plan to cover.
- Step 2 — Print on the correct side. Load the printable sheet so the design prints on the glossy, coated side. Check your printer’s manual for which way the paper feeds. Printing on the wrong side ruins the sheet.
- Step 3 — Apply the adhesive. Peel the clear adhesive sheet and lay it evenly over the printed design. Smooth out bubbles with a card or your fingers. Some kits have you apply adhesive directly as a liquid instead — follow your kit’s instructions.
- Step 4 — Let it dry completely. Give the adhesive time to set. This can take several minutes. A tacky surface will smear and weaken the transfer.
- Step 5 — Cut out the design. Trim close to the edges but leave a small border. Sharp corners tend to lift first.
- Step 6 — Clean and dry the skin. The area should be clean, dry, and free of lotion, sunscreen, or oil. Those products stop the adhesive from sticking.
- Step 7 — Apply face-down and wet. Press the design firmly against skin with the paper backing up. Hold a damp cloth or sponge over it for about 30 seconds. Do not rub.
- Step 8 — Peel slowly. Lift one corner and check that the design has released. If it hasn’t, wet it again and wait. Pulling too early tears the film.
- Step 9 — Let it set. Avoid touching or washing the area for a short while so the adhesive can bond fully.
Why Does My Temporary Tattoo Smudge or Peel Off Early?
Most failures come down to moisture, oil, or impatience. The adhesive needs a clean, dry surface to bond, and it needs time to cure.
Common causes of early peeling:
- Lotion, sunscreen, or soap residue left on the skin
- Adhesive that was still wet when you applied the transfer
- Peeling the backing before the design fully released
- Rubbing the transfer instead of holding it still
- Applying to skin that bends or stretches a lot, like knuckles or elbows
Smudging usually means the ink wasn’t fully dry before the adhesive went on, or the design was pressed while still wet. Inkjet ink needs time to set on the coated film.
Placement matters too. Flat areas hold transfers longest. Joints, hands, and feet flex constantly and shed the film faster.
How Long Do Temporary Tattoos Last and How Do You Remove Them?
A well-applied temporary tattoo typically lasts a few days. Some last up to about a week. How long depends on placement, how much you wash the area, and how much friction it gets.
To make it last longer, keep the area dry when you can, pat rather than rub after washing, and avoid scrubbing. Clothing that rubs against the design will wear it down faster.
To remove one, you don’t need anything harsh. Warm soapy water and gentle rubbing usually lift it. Rubbing alcohol or an oil-based cleanser can help break down the adhesive. Avoid scrubbing hard, especially on sensitive skin.
Is Temporary Tattoo Paper Safe for Skin?
The safety picture is mixed, and it depends on what you’re putting on your skin. The paper and adhesive are sold as cosmetic products. The ink is a different story.
Home printer inks are not formulated for skin contact. They are designed for paper. No regulatory standard exists for printer ink as a skin cosmetic, and the evidence on skin reactions from printed temporary tattoos is limited. That doesn’t mean reactions are common. It means the safety data is thin.
Some people do react. Adhesives can cause irritation or allergic contact dermatitis, especially with repeated use. Signs include redness, itching, swelling, or a rash that appears hours to days after application.
People who should be cautious:
- Anyone with known skin allergies or sensitive skin
- People with eczema or other skin conditions in the application area
- Children, whose skin is more reactive and who may not report irritation
- Anyone applying near the eyes, mouth, or broken skin
Do a patch test first. Apply a small piece to your inner arm and wait 24 hours. If there’s any redness, itching, or swelling, don’t use it on a larger area.
One clarification worth making: temporary tattoos are not the same as henna. Black henna, which contains a chemical called PPD, is linked to serious allergic reactions and is banned for skin use in many countries. Printed tattoo paper is a separate product with separate risks, but the patch-test advice applies to both.
Where Should You Not Apply a Temporary Tattoo?
Avoid broken skin, rashes, and areas that are already irritated. The adhesive and ink can worsen existing problems and raise infection risk if the skin barrier is compromised.
Keep transfers away from the eyes, lips, and mucous membranes. These areas are more sensitive and harder to protect if a reaction starts.
For children, apply to flat, easy-to-see areas and check the skin afterward. Remove the tattoo if any redness or itching appears. If a rash spreads or doesn’t settle, talk to a doctor or pharmacist.
If you have a known allergy to adhesives or cosmetics, check the kit’s ingredient list before use. If it isn’t listed, contact the manufacturer.
Frequently Asked Questions
Can I use regular printer paper for temporary tattoos?
No. Regular paper won’t release from its backing or hold adhesive the way tattoo paper does. You need paper made specifically for temporary tattoos.
How long does temporary tattoo paper last on skin?
Typically a few days, and sometimes up to about a week with careful placement. Flat areas that get little friction last longest.
Is printer ink safe to put on skin?
Printer ink is not formulated for skin contact, and safety data for this use is limited. Do a patch test before applying a printed design to a larger area.
Why does my temporary tattoo come out backwards?
Because the design transfers face-down, so it mirrors when applied. Flip your image horizontally before printing so it reads correctly on skin.
