
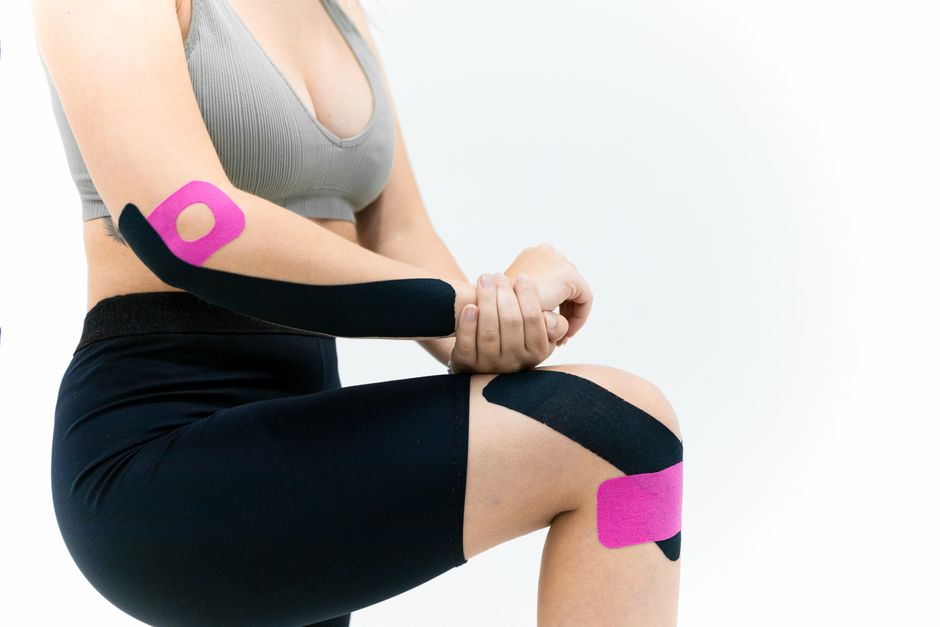
Knee cap pain can stop you mid-stride. Taping the kneecap, or patella, is a common way to manage that pain during activity. The goal is simple: change how the kneecap moves so it tracks smoothly in its groove. This guide walks you through the basic methods, the science behind them, and what the tape can and cannot do.
Why Does Taping Your Knee Cap Work?
Tape does not fix the underlying problem. It changes the input your brain receives from your skin and muscles. This altered sensory feedback can change how your thigh muscles fire, specifically the vastus medialis oblique (VMO) on the inner part of your thigh.
Research consistently shows that taping can reduce pain immediately in some people. The mechanism is not fully understood, but it likely involves a combination of skin stretch, improved muscle timing, and a psychological boost in confidence. When you feel less pain, you move more naturally, which reduces further irritation.
It is crucial to understand that tape is a tool for symptom management, not a cure. It allows you to stay active while you address the root cause, which is often weakness or imbalance in the hip and thigh muscles.
What Type of Tape Should You Use?
Two main types of tape are used for the knee: rigid tape and kinesiology tape. They work differently.
Rigid tape (like zinc oxide tape) does not stretch. It provides strong, mechanical support that physically restricts movement. This is often used for more acute injuries where you need to limit motion. It can feel restrictive and is not ideal for extended wear.
Kinesiology tape is elastic and stretches with your skin. It lifts the skin slightly, which some research suggests improves local blood flow and reduces pressure on pain receptors. It allows full range of motion while providing sensory feedback. This is the more common choice for patellar tracking issues because it guides movement without blocking it.
For most knee cap problems, kinesiology tape is the preferred starting point. It is more comfortable, can be worn for days, and does not restrict the joint’s natural movement.
How To Tape A Knee Cap: The Basic Technique
Before applying any tape, clean the skin. Remove oils, lotions, or sweat. Dry the area thoroughly. If you have a lot of leg hair, shaving the area can help the tape stick better and hurt less when removed.
Here is a standard technique for using kinesiology tape to support the kneecap. This is often called the “patellar taping” or “McConnell-style” approach, though the exact application can vary.
- Position: Sit on a chair with your knee bent at about 90 degrees. Your foot should be flat on the floor.
- Anchor strip: Cut a strip of tape about 10 inches long. Remove the backing and stretch the tape to about 50-75% of its full stretch. Place one end on the outside of your kneecap (the lateral side) with no stretch on the first inch.
- Apply: Pull the tape across the front of the kneecap toward the inside of your knee (the medial side). Use a firm, even stretch. Anchor the end of the tape on the inner side of the knee without stretching the last inch.
- Second strip: Repeat the process with a second strip, starting slightly lower or higher than the first. This creates a supportive “X” or “V” pattern over the kneecap.
- Rub: Rub the tape firmly with your fingers. The heat helps activate the adhesive.
This technique applies a gentle force that helps guide the kneecap toward the center of its groove. It is most effective when the kneecap tends to drift outward, which is the most common tracking problem.





Alternative Taping Methods for Different Pain
Knee cap pain is not always the same. The location of your pain changes which taping method may help.
If your pain is on the top of the kneecap, you may have patellar tendon issues. In this case, taping just below the kneecap may help offload the tendon. You apply a strip of tape horizontally, directly under the kneecap, with a strong stretch.
If your pain is on the inside of the knee, your kneecap may be tilting too far inward. A taping technique that pulls the kneecap outward would be more appropriate. This requires placing the anchor on the inner side of the knee and pulling the tape toward the outer side.
If you are unsure about your specific tracking issue, a physical therapist can assess your movement pattern. They can show you the exact tape placement that is right for your anatomy. Guessing the wrong direction can potentially worsen the problem.
Common Mistakes to Avoid
Applying tape incorrectly can reduce its effectiveness or cause skin irritation.
One common mistake is using too much tension. Maximum stretch is rarely needed. Overstretching can cause the tape to pull too hard on the skin, leading to blisters or discomfort. A moderate stretch is usually sufficient.
Another mistake is applying tape to broken or irritated skin. This can cause an allergic reaction or infection. Always check the skin for cuts, rashes, or sunburn before taping.
Leaving tape on for too long is also an issue. Kinesiology tape can typically stay on for 2 to 5 days, but this depends on your skin’s sensitivity. If you feel itching or burning, remove the tape immediately. Rigid tape should generally be removed after a few hours or after activity.
Finally, do not rely on tape alone. If you tape your knee and the pain disappears, that is a good sign. But the pain will return when you stop taping if the underlying muscle weakness is not addressed. Taping buys you time to do the strengthening work.
Does Taping Actually Fix Knee Cap Problems?
No. Taping is a short-term intervention. It is a powerful tool for reducing pain during exercise, but it does not change the structure of your knee or the strength of your muscles.
Some studies indicate that taping can improve pain and function in the short term, allowing people to exercise with less discomfort. However, research does not show that taping alone leads to long-term recovery. The evidence is mixed on whether taping provides benefits beyond a placebo effect, but the immediate pain relief is real for many people.
The lasting solution for patellar tracking issues is exercise. Strengthening the quadriceps, hamstrings, glutes, and hip abductors is the most effective strategy for long-term improvement. Taping should be part of a comprehensive plan that includes strengthening and movement retraining.
If you have severe pain, swelling, or an inability to bear weight, see a doctor. Taping is not appropriate for acute injuries like fractures or ligament tears. A proper diagnosis is essential before starting any self-treatment.
When to See a Professional
If you are new to taping, a physical therapist can be invaluable. They can teach you the correct technique and ensure you are taping in the right direction for your specific condition.
You should also seek professional help if your pain does not improve after a few weeks of taping and strengthening. Persistent pain can indicate a more serious issue, such as cartilage damage or a meniscus tear.
Remember that this information is educational, not medical advice. Everyone’s knee is different. What works for one person may not work for another. Listen to your body. If taping makes your pain worse, stop and reassess.
Frequently Asked Questions
Can I sleep with knee tape on?
Yes, kinesiology tape is generally safe to wear overnight. Remove it if you experience discomfort, itching, or skin irritation.
How long should I keep knee cap tape on?
Kinesiology tape can be worn for 2 to 5 days, depending on your skin’s sensitivity. Rigid tape should be removed after activity or a few hours.
Does taping the knee cap weaken the knee?
No evidence suggests taping weakens the knee. It is a temporary support that does not replace muscle strength or change joint structure.
Can I exercise with my knee taped?
Yes, taping is often used to allow pain-free exercise. Use it to stay active while you work on strengthening the surrounding muscles.
