
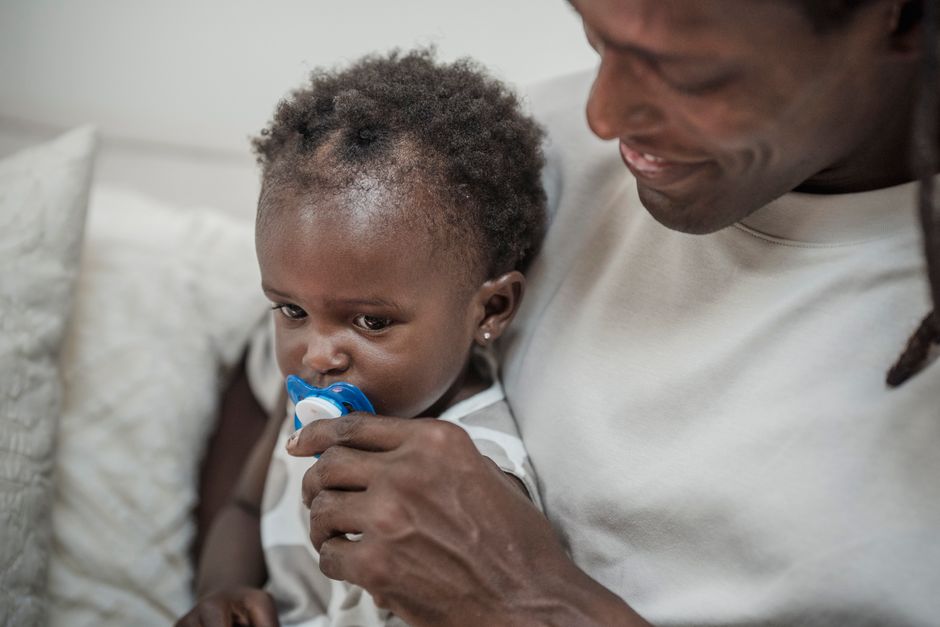
A pacifier that has been dropped, licked, or left in a diaper bag is not sterile, and it does not need to be. It does need to be clean. The four methods that reliably reduce germs on pacifiers are boiling, steam sterilization, dishwasher cleaning, and hand washing with hot soapy water. Which one you use depends on your baby’s age, their health, and how much time you have.
Why Pacifier Hygiene Matters in the First Place
Newborns have an immune system that is still developing. For the first few months, an infant’s ability to fight off certain infections is lower than an older child’s. That is why pediatric guidance generally places extra emphasis on clean feeding equipment and pacifiers during early infancy.
At the same time, the goal is not a germ-free home. Once babies begin crawling and putting everything in their mouths, some exposure to everyday microbes is a normal part of immune development. The point of cleaning a pacifier is to remove the buildup of harmful bacteria and to prevent things like mold, which can grow in the crevices of a pacifier that is left damp.
Here is the part many parents miss. A pacifier sitting in a warm, moist environment is a better home for microbes than a pacifier sitting on a dry counter. Cleaning matters, but drying matters too. A pacifier that is washed and then sealed in a plastic bag while still wet can grow mold faster than one left to air dry.
Method 1: Boiling
Boiling is the most thorough home method. Bringing water to a rolling boil and holding the pacifier in it for several minutes kills most bacteria and viruses on the surface.
Heat is what does the work. Water at a rolling boil reaches 212°F (100°C) at sea level, and that temperature is enough to destroy most disease-causing organisms on contact with the surface. The reason boiling is reliable is that it reaches every part of the pacifier that is submerged, including the nipple and the shield.
Practical points:
- Use a clean pot and fresh water.
- Keep the pacifier fully submerged.
- Remove it with clean tongs, not your hands.
- Let it air dry on a clean surface.
Boiling has one drawback. Repeated boiling can break down the rubber or silicone over time. Inspect the pacifier for cracks, discoloration, or a sticky feel, and replace it if you see these. A damaged pacifier has crevices that are harder to clean and can trap moisture.
Never leave a pot of boiling water unattended with a child nearby, and always let the pacifier cool completely before giving it back.
Method 2: Steam Sterilization
Steam sterilizers, including the electric countertop units and the microwave bags sold for baby gear, use the same principle as boiling. They expose the pacifier to high-temperature steam for a set period.
These devices are convenient because they are enclosed and hands-off. You load the pacifier, run the cycle, and it comes out hot and essentially germ-free. Many parents use a steam sterilizer for bottles and pump parts and toss pacifiers in at the same time.
A few things to know. Steam sterilizers do not clean. If there is visible residue, milk film, or food on the pacifier, it needs to be washed first. Sterilizing a dirty pacifier does not remove the dirt. It just heats it.
Also, the parts that touch the pacifier need to stay clean. If you set a sterilized pacifier down on a counter or drop it on the floor, it is no longer sterile. Sterility is a moment in time, not a permanent state.





Method 3: The Dishwasher
A dishwasher can work well if your machine has a heated drying cycle or a sanitizing setting. The combination of hot water and high heat during drying is what reduces germs.
Place pacifiers in a small basket on the top rack so they do not fall through or get thrown around by the spray arms. The top rack also tends to run cooler, which is gentler on the material.
Two cautions. First, a dishwasher without a heated dry cycle is not a substitute for boiling or steam. The wash water alone may not reach a high enough temperature for long enough. Second, dishwasher detergent is harsh. Over time it can degrade the silicone or rubber, so check the pacifier regularly for wear.
Some pacifiers are labeled dishwasher-safe and some are not. Follow the manufacturer’s instructions for the specific product you own.
Method 4: Hand Washing With Hot Soapy Water
For everyday cleaning, hot water and dish soap are enough. This is the method most parents use multiple times a day because it is fast and does not require equipment.
Scrub the pacifier with your fingers or a small bottle brush, paying attention to the nipple, the shield, and the area where the nipple meets the base. Rinse thoroughly under running water. Soap residue left behind is not something you want a baby putting in their mouth.
Then dry it. Air drying on a clean rack or drying with a clean cloth both work. Do not put a wet pacifier back in a closed container.
Hand washing removes germs but does not sterilize. That is fine for routine use. It is the sanitizing step — boiling, steam, or a heated dishwasher cycle — that provides the higher level of germ reduction when you need it.
How Often Should You Actually Clean a Pacifier?
Every day, at minimum, for a pacifier in regular use. Rinse it after each use and wash it thoroughly at least once a day.
There are times when a deeper clean is warranted:
- Before the first use, always.
- After the pacifier has been dropped on the floor or outside.
- After a bout of illness in the household.
- If the pacifier has been in contact with a pet.
- If you can see residue, film, or discoloration.
For a newborn or a baby with a weakened immune system, some clinicians recommend sterilizing more often. This is common practice rather than a firmly established rule, and the right frequency is worth discussing with your pediatrician.
What About the Five-Second Rule and Cleaning by Mouth?
The five-second rule is not a real thing. Bacteria transfer to food and objects on contact, and the amount that transfers depends on the surface and the moisture, not the clock. A pacifier dropped on a bathroom floor or a sidewalk needs to be cleaned.
Parents sometimes clean a dropped pacifier by putting it in their own mouth. This is not recommended. Adults carry bacteria that can cause cavities, and those bacteria can be passed to a baby through saliva. The evidence here is not about a single incident, but the general direction of dental guidance is to avoid sharing saliva with infants.
Rinsing with water and wiping is a reasonable quick fix when you are out. A full wash or a sanitizing method is better once you are home.
Storing and Replacing Pacifiers
Store clean pacifiers in a clean, dry, covered container. Do not store them wet. Do not store them next to dirty items in a diaper bag.
Replace a pacifier when it shows signs of wear. Cracks, tears, a sticky texture, or a change in color all mean it is time for a new one. A worn pacifier is harder to clean and can become a place where moisture and microbes collect.
If a pacifier has been through a serious contamination — dropped in a toilet, for example — the safest move is to throw it out rather than try to clean it.
Frequently Asked Questions
How do you sterilize a pacifier?
Boil it in water for several minutes, run it through a steam sterilizer, or use a dishwasher with a heated drying or sanitizing cycle. For everyday cleaning, hot soapy water and a thorough rinse are enough.
Can I sterilize a pacifier in the microwave?
Only if the pacifier is specifically labeled microwave-safe or you are using a microwave steam bag designed for baby gear. Never microwave a pacifier by itself, because it can melt or heat unevenly and burn your baby’s mouth.
How often should pacifiers be sterilized?
Sterilize before first use and after any significant contamination, such as dropping it on the floor or outside. Routine daily cleaning with hot soapy water is sufficient for most healthy babies.
Does boiling a pacifier ruin it?
Repeated boiling can gradually break down silicone or rubber, so inspect the pacifier for cracks, stickiness, or discoloration. Replace it if you see any of these signs.
