
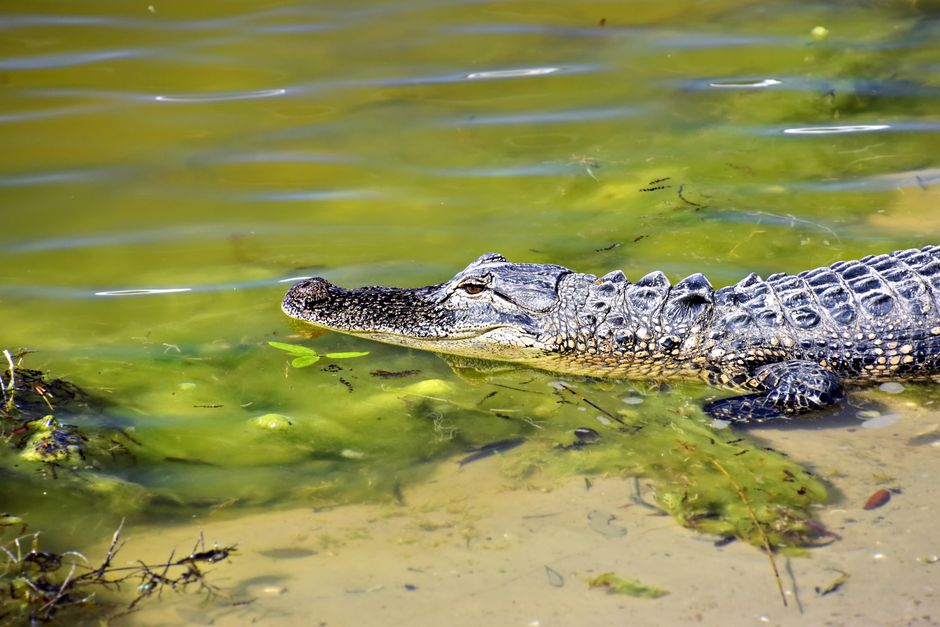
Skinning an alligator without ruining the hide comes down to three things: cooling the carcass fast, cutting from the inside of the skin rather than slicing through it, and working the blade away from the hide instead of toward it. The hide is a saleable, regulated product, and most damage happens before the knife ever touches it — from heat, rough handling, or cuts made too deep. Get the temperature, the cuts, and the blade angle right and the skin comes off clean.
How To Skin An Alligator Without Ruining The Hide?
Skin the alligator by making the primary cuts on the belly side, separating the hide from the carcass with the blade edge angled up and away from the skin, and pulling the hide free by hand rather than cutting it loose. The goal is to keep the knife between the meat and the hide, never through the hide.
The reason is practical. Alligator hide is thick, scaled, and valuable in direct proportion to how few cuts it carries. Every nick on the outside surface reduces what a buyer will pay, and a deep cut that goes through the hide ruins that section outright. Professional skinners treat the hide as the product and the meat as the byproduct, and they cut accordingly.
There is a detail many people miss. Alligator skin is made of overlapping scales, and it is far tougher across the grain than along it. A blade dragged sideways tears and gouges. A blade drawn in a controlled slicing motion along the natural separation between hide and meat comes free cleanly. This is why a sharp, slightly flexible knife beats a heavy one.
Why Does Cooling The Carcass Matter More Than The Knife?
Heat is the single biggest cause of a ruined hide, and it happens faster than most hunters expect. An alligator left in warm air begins to decompose from the inside, and the skin is one of the first tissues to show it. Bacteria break down the connective tissue that holds the hide to the meat, and once that happens the hide will not come off cleanly no matter how careful the cutting is.
The practical rule is to get the animal cooled as quickly as conditions allow. In warm weather that means ice, shade, and speed. A hide that has been allowed to sit warm will often show slippage — patches where the scales loosen and the surface layer separates — and those patches cannot be reversed.
This is the part that separates a good hide from a ruined one, and it has nothing to do with technique at the skinning table. No amount of skill fixes a hide that was left too long in the heat.
What Cuts Should You Make First?
Start with a single clean incision along the belly, from the base of the lower jaw down to the vent, staying centered. This is the primary opening, and it should be shallow enough to cut the hide and the thin muscle layer beneath it without going deeper into the body cavity.
From there, make clean cuts down the inside of each leg to the toes. These leg cuts let the hide peel away from the limbs in one piece. Keep every cut straight and continuous. Ragged, wandering cuts are harder to close later and harder to sell.
Use the tip of the blade for the opening cut and control depth with your other hand. Many experienced skinners pinch the hide up and away from the body before cutting, which creates a safe gap between the skin and the organs. That single habit prevents most accidental deep cuts.
Do not cut around the feet and head yet. Those areas are handled last, when the hide is already mostly free and easier to control.
How Do You Separate The Hide From The Meat?
Work your fingers and then your whole hand between the hide and the meat, using the natural plane where the two tissues separate. The hide comes free with steady pressure and a flat blade held almost parallel to the skin, edge turned up toward the meat.
This is the core skill. The blade should never point down into the hide. Hold it flat, angle the edge slightly toward the carcass, and use short slicing strokes to free the connective tissue that still holds the skin in place. Where the hide pulls away by hand, let it. Only cut where it will not release.
Work methodically from the belly outward toward the back and flanks. The back is the most valuable section of an alligator hide, so save your most careful work for it. Many skinners leave the back and tail for last, once the technique is warmed up and the hide is already loosened around the edges.
A dull knife is more dangerous to the hide than a sharp one, because a dull blade skids and requires force. Force is what causes slips, and slips are what cut through the skin.
How Do You Handle The Head, Feet, And Tail?
Remove the feet and head with clean cuts once the main hide is free, keeping the skin of the legs and jaw intact up to the point where it must be severed. The tail is part of the hide and should be skinned in the same continuous motion as the body, following the same flat-blade technique down to the tip.
The head and jaw require more patience. The hide around the jaw and skull is thinner and more easily torn, so slow down and use the tip of the blade. Cut the connective tissue rather than sawing through it.
The tail is often where beginners rush and where the hide gets nicked. The scales on the tail ridges are hard, and a blade that catches on a ridge can jump. Keep the strokes short and controlled there.
How Should You Store And Preserve The Hide?
Once the hide is off, cool it immediately and keep it cool. The two common approaches are salting and freezing, and both work if done promptly. Salting draws moisture out of the hide and slows bacterial growth. Freezing halts it.
For salting, lay the hide flesh-side up and apply salt evenly across the entire surface, working it into any thicker areas. The hide should be kept flat and out of direct sun. Follow the salt quantity and timing recommended by your state wildlife agency or a professional tannery, since requirements vary and there is no single universal standard.
For freezing, roll or fold the hide flesh-side out and freeze it as quickly as possible. Label it with the date. A hide that was properly cooled and handled can be held this way until it goes to a tannery.
Whatever method you use, check your state’s rules first. Alligator hunting and hide possession are regulated, and most states that allow alligator harvest require tagging and reporting. The hide may need to stay with a validated tag until it is processed or transferred.
What Ruins An Alligator Hide Most Often?
The most common causes of a ruined hide are heat damage, deep knife cuts, and rough handling — in roughly that order. Technique problems are fixable with practice. Heat damage is not.
- Heat and delay: the leading cause of slippage and hair loss, and irreversible once it starts
- Deep cuts: any slice that goes through the hide reduces its value or ruins that section
- Dull blades: force and skidding cause slips that cut the skin
- Dragging or folding: creasing a fresh hide can leave permanent marks
- Poor salting: uneven salt leaves damp pockets where bacteria grow
Notice that only one of these is about cutting skill. The rest are about handling and timing. That is the honest picture of what ruins hides.
Can you skin an alligator without a special knife?
Yes, a sharp, slightly flexible knife with a thin blade works well. The technique matters far more than the specific tool, though a blade that holds an edge makes clean work easier.
How long do you have to skin an alligator after harvest?
There is no single official time limit, but the hide should be cooled as quickly as conditions allow and skinned promptly. Heat is the main enemy, so warm weather shortens the safe window considerably.
Does the alligator hide need to be salted right away?
Salt it as soon as the hide is off and cooled, because delay allows bacterial growth. Follow your state wildlife agency or tannery guidance for how much salt to use and how long to cure it.
Can a nicked alligator hide still be sold?
Often yes, but value drops with every cut, and a deep cut through the hide can ruin that section. Buyers grade hides partly on surface quality, so fewer cuts means a better price.
Frequently Asked Questions
Can you skin an alligator without a special knife?
Yes, a sharp, slightly flexible knife with a thin blade works well. The technique matters far more than the specific tool, though a blade that holds an edge makes clean work easier.
How long do you have to skin an alligator after harvest?
There is no single official time limit, but the hide should be cooled as quickly as conditions allow and skinned promptly. Heat is the main enemy, so warm weather shortens the safe window considerably.
Does the alligator hide need to be salted right away?
Salt it as soon as the hide is off and cooled, because delay allows bacterial growth. Follow your state wildlife agency or tannery guidance for how much salt to use and how long to cure it.
Can a nicked alligator hide still be sold?
Often yes, but value drops with every cut, and a deep cut through the hide can ruin that section. Buyers grade hides partly on surface quality, so fewer cuts means a better price.