
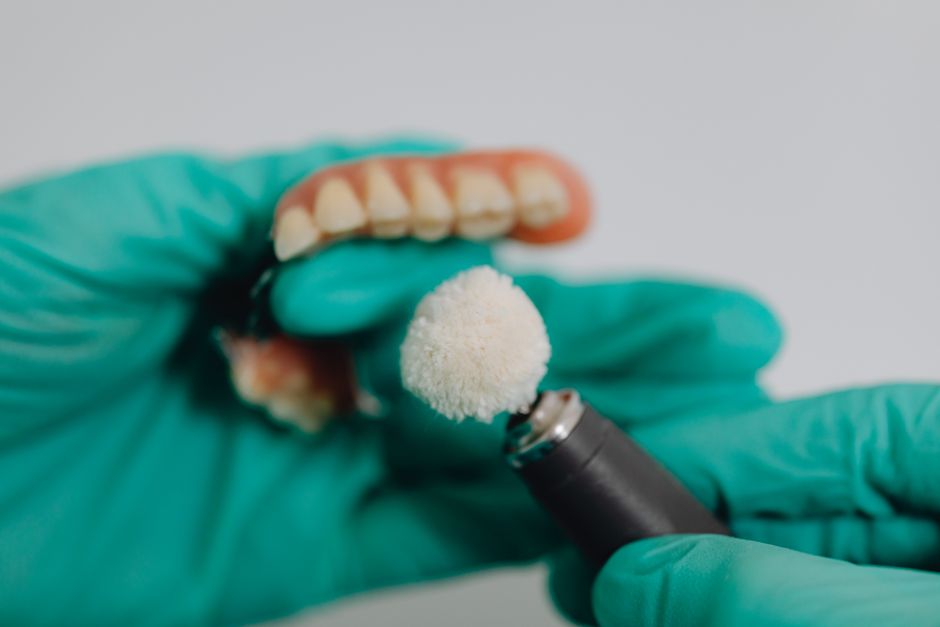
Setting denture teeth is the step where a wax try-in becomes a finished prosthesis, and the technique is less about artistic flair than about controlled, repeatable measurements. The core method is to position each tooth against a marked reference line on the occlusal rim, verify the vertical dimension and centric relation, then check the arrangement from the front, the side, and the tissue side before processing. Most errors trace back to a single cause: the tooth was placed before the foundation was verified.
What Is the Basic Technique for Setting Denture Teeth?
The technique follows a fixed sequence, and skipping a step is what creates most failures. The denture base must be stable and the occlusion rims must be correctly adjusted before any tooth touches wax.
First, the midline, the high lip line, and the canine lines are marked on the wax rim while the patient is present. These marks become the only reliable guide for tooth position later. A common mistake is marking them roughly, then trying to correct placement by eye during the setup.
Next, the incisal edge of the maxillary central incisors is set to the high lip line, usually with the patient smiling and the lip at rest. The cervical portion is then positioned so the tooth sits naturally against the residual ridge. The remaining anterior teeth follow the curve of the arch, with the canine tips aligned to the marked canine lines.
Posterior teeth are set after the anterior group. The maxillary posteriors follow the residual ridge crest, and the mandibular posteriors are arranged to achieve a balanced or neutrocentric occlusion depending on the clinical approach. Each tooth is seated in wax and checked against its neighbors before moving on.
The setup is then verified in the mouth. The clinician checks vertical dimension of occlusion, centric relation, phonetics, and esthetics. Only after that verification should the case move to processing.
How Do You Set the Anterior Teeth Correctly?
Anterior tooth position determines whether the denture looks natural or obviously artificial, and it is also where the most visible errors occur.
The maxillary central incisors set the tone. Their incisal edges should follow the high lip line, and their labial surfaces should support the upper lip without pushing it forward. If the teeth are set too far labially, the lip protrudes and the patient looks overfilled. If they are set too far palatally, the lip collapses inward and the face looks aged.
The midline should align with the patient’s facial midline, not with the center of the arch. These two points do not always coincide. A setup that centers the teeth on the ridge but ignores the facial midline will look wrong in photographs and in conversation.
Incisal guidance and anterior coupling matter for function as well as appearance. In a typical setup, the maxillary anteriors overlap the mandibular anteriors slightly, and the incisal edges create a shallow guidance path during protrusion. If this contact is too steep, the denture tips during function. If it is absent, the patient loses anterior guidance entirely and the posterior teeth take the full load.
Common anterior errors
- Teeth set to the wrong midline, ignoring the facial midline
- Incisal edges placed above or below the high lip line
- Excessive labial inclination that pushes the lip forward
- No anterior coupling, leaving the patient without guidance
- Canines set outside the marked canine lines
How Do You Set Posterior Teeth Without Creating Occlusal Errors?
Posterior tooth placement is where occlusion is built, and it is unforgiving. A small error here becomes a large error in function.
The maxillary posterior teeth should sit over the crest of the residual ridge. This matters because the ridge is the load-bearing surface. Teeth set buccal to the crest create a tipping force during chewing. Teeth set lingual to the crest crowd the tongue and reduce the space available for a stable bolus.
The mandibular posteriors are arranged to meet the maxillary posteriors in a consistent occlusal scheme. Whether the clinician uses bilateral balanced occlusion or a neutrocentric concept, the goal is the same: stable contact in centric relation and controlled contacts during excursions.
Centric relation must be verified before the posterior teeth are finalized. If the mandible was recorded in a strained or deflected position, the entire posterior setup will be built to the wrong relationship. This is the most consequential error in the technique because it is invisible until the patient wears the denture.
After the posteriors are set, the clinician checks for premature contacts and balancing interferences. Any contact that prevents even, simultaneous closure in centric relation should be corrected before processing.





What Are the Most Common Errors in Denture Teeth Setup?
Errors cluster around a few predictable points, and most of them are detectable at the try-in stage if the clinician knows what to look for.
Incorrect vertical dimension is the most serious. If the vertical dimension of occlusion is too great, the patient feels the dentures are too tall and may report soreness, difficulty speaking, or a strained appearance. If it is too small, the patient looks overclosed and may develop angular cheilitis from the reduced vertical space. The vertical dimension should be established during the jaw relation records, not improvised during the setup.
Incorrect centric relation produces a denture that shifts when the patient closes. The patient may report that the dentures “won’t stay put” or that one side lifts during function. This is a recording error, not a tooth-setting error, but it shows up in the setup.
Wrong midline and canine lines are esthetic errors that are easy to prevent and hard to fix after processing. They are almost always caused by inadequate marking at the rim stage.
Improper tooth position relative to the ridge creates instability. Teeth placed off the ridge crest produce tipping forces that accelerate ridge resorption and cause discomfort.
Inadequate wax containment allows teeth to shift during flasking and processing. A tooth that moves a fraction of a millimeter during processing can create a contact that was not present at the try-in.
Why Does the Try-In Matter So Much?
The try-in is the last point where errors can be corrected cheaply. Once the denture is processed, correcting a setup error means grinding acrylic, remounting, or in some cases remaking the prosthesis.
At the try-in, the clinician evaluates the setup in the patient’s mouth with the patient present. Vertical dimension, centric relation, esthetics, phonetics, and lip support are all assessed together. The patient can see the teeth and comment on the appearance. Adjustments made at this stage take minutes. Adjustments made after processing take hours and sometimes require a new appointment.
Research on denture satisfaction has consistently found that patient involvement in the esthetic try-in is associated with higher acceptance of the final prosthesis. The try-in is not a formality. It is the quality control step.
How Does Tooth Selection Affect the Setup?
Tooth selection constrains what the setup can achieve. The mold, shade, and material of the teeth all limit the range of acceptable positions.
Tooth mold determines the size and shape of the teeth, which affects how they fit the arch and how they contact each other. A mold that is too large for the arch forces the clinician to set teeth outside the ridge crest or to overlap them unnaturally. A mold that is too small leaves spaces that look artificial.
Shade selection is usually done before the setup, and it should be done under the lighting conditions the patient will encounter most often. Teeth that look correct under operatory lighting can look too bright or too dark in daylight.
Material matters for wear. Acrylic teeth wear faster than composite or porcelain teeth, which changes the occlusion over time. This is not a setup error, but it is a factor the clinician should account for when planning the case.
What Should You Check Before Processing?
Before the case leaves the try-in stage, a short checklist catches most errors.
- Vertical dimension of occlusion matches the established record
- Centric relation contact is even and simultaneous on both sides
- Midline aligns with the facial midline
- Incisal edges follow the high lip line
- Canine lines match the marked positions
- Posterior teeth sit over the ridge crest
- No premature contacts or balancing interferences
- Phonetics are acceptable, especially sibilant sounds
- Lip support looks natural at rest and when smiling
- Wax containment is adequate for processing
If any item fails, the setup should be corrected before the case moves forward. Processing a setup with a known error does not fix the error. It makes it permanent.
Frequently Asked Questions
What is the most common error when setting denture teeth?
Incorrect vertical dimension of occlusion is the most common serious error, and it usually originates in the jaw relation records rather than the tooth setup itself. A vertical dimension that is too great or too small causes both functional and esthetic problems that are difficult to correct after processing.
Why do denture teeth need to be set over the ridge crest?
Placing posterior teeth over the ridge crest directs chewing forces along the load-bearing surface of the residual ridge. Teeth set outside the crest create tipping forces that can accelerate ridge resorption and cause denture instability.
Can denture teeth be repositioned after processing?
Repositioning after processing is possible but limited, usually requiring grinding, remounting, or in some cases remaking the prosthesis. This is why the try-in stage is the preferred point for correcting setup errors.
How is the midline determined for denture teeth?
The midline is aligned with the patient’s facial midline, which is marked while the patient is present and the wax rim is in place. Centering the teeth on the arch instead of the facial midline is a common esthetic error.
