
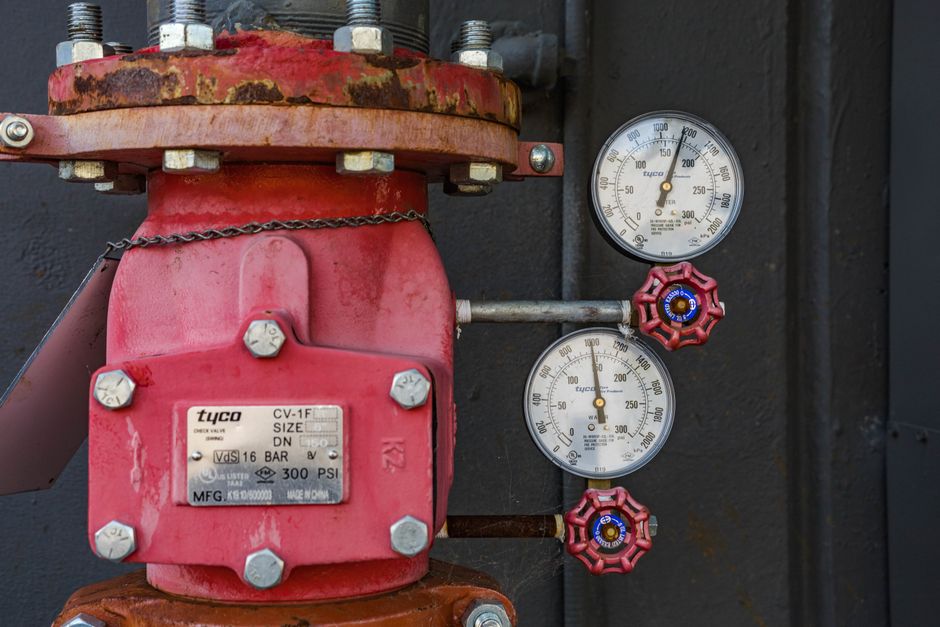
Reading a valve diagram starts with knowing that the tag tells you what the valve is, the symbols show how it works, and the ports show where fluid or air flows in and out. To read any valve diagram, first locate the tag for the valve’s size and pressure rating, then identify the symbol’s squares to count the positions, and finally match the numbered ports (typically 1, 2, 3, 4, 5) to the arrows inside the squares. Once you understand that each square represents a valve position and each arrow shows the flow path in that position, the entire diagram becomes readable.
What Do the Squares in a Valve Symbol Mean?
The squares are the most important part of any pneumatic or hydraulic valve symbol. Each square represents one valve position. A valve with two squares is a 2-position valve. A valve with three squares is a 3-position valve.
The squares show the state of the valve when it is in that position. The arrows inside the squares show which ports are connected to each other. If the arrow points from left to right, flow goes from the left port to the right port. If the arrow points at an angle, the flow path is shifted.
When a square shows a blocked port, you will see a “T” shape or a line that stops inside the square. That line means the port is closed in that position. This is how you know the valve can stop flow, not just redirect it.
How Do Port Numbers Work on Valve Diagrams?
Port numbers follow a standard system in most pneumatic diagrams. Port 1 is the pressure inlet, where air or fluid enters the valve. Port 2 and port 4 are the working ports that connect to the cylinder or actuator. Port 3 and port 5 are the exhaust ports.
In a 5/2 valve, the numbers are almost always the same. Port 1 is supply. Ports 2 and 4 go to the actuator. Ports 3 and 5 vent to the atmosphere. This numbering is consistent across most manufacturers, so once you learn it, you can read most diagrams.
Some valves use different numbering. Hydraulic valves sometimes use ports labeled A, B, P, and T instead of numbers. P is pressure, T is tank, and A and B are the working ports. The logic is the same even though the labels differ.
What Does 5/2 or 3/2 Mean on a Valve Tag?
The first number in a valve designation tells you how many ports the valve has. The second number tells you how many positions it has. A 5/2 valve has 5 ports and 2 positions. A 3/2 valve has 3 ports and 2 positions.
This designation is usually printed directly on the valve tag. It is the fastest way to understand what the valve does before you even look at the symbol. A 5/2 valve is the most common type for controlling a double-acting cylinder. A 3/2 valve is common for single-acting cylinders or pilot signals.
The tag also lists the pressure rating, usually in bar or psi. This tells you the maximum pressure the valve can handle. Never assume a valve can handle more pressure than its tag states. The tag information is the manufacturer’s certified specification.





How Do I Read the Arrows and Flow Paths?
Arrows inside the squares are the flow paths. In the normal position, which is the position the valve returns to when no signal is applied, the arrows show the default flow. In the actuated position, the arrows shift to show the new flow path.
In a 5/2 valve, the normal position usually connects port 1 to port 2 and port 4 to port 5. When the valve is actuated, the symbol shifts so port 1 connects to port 4 and port 2 connects to port 3. This reversal of flow is what extends and retracts a double-acting cylinder.
Pay attention to the direction the arrow points. An arrow pointing toward a port means flow enters that port. An arrow pointing away means flow exits. When you trace the path from port 1 through the arrow to the working port, you are reading the complete circuit.
What Do the Actuator Symbols Mean on the Sides?
The symbols on the left and right sides of the squares show how the valve is actuated. A manual actuator looks like a lever or a button. A solenoid actuator looks like a coil with a diagonal line through it. A spring actuator looks like a zigzag line with an arrow.
Spring return is the most common actuation method to understand. The spring symbol on one side means the valve returns to that position when the actuation force is removed. This is the “normal” position. If a valve has solenoids on both sides, it is a detented valve that stays in its last position.
Pilot actuation uses a triangle symbol. A pneumatic pilot uses a small triangle with a line. A hydraulic pilot uses a filled triangle. These symbols tell you the valve is shifted by air pressure or fluid pressure rather than by electricity or a lever.
How Do I Read a Valve Tag Correctly?
The valve tag is a metal or plastic plate attached to the valve body. It lists the model number, port sizes, pressure range, and flow rating. The model number often encodes the valve type, such as 5/2 or 3/2, directly in the name.
Port sizes on the tag are listed as thread sizes, such as 1/4″ NPT or G1/8. This tells you what fittings the valve accepts. The flow rating, usually listed in liters per minute or cubic feet per minute, tells you how much air the valve can pass at a given pressure.
Some tags include a wiring diagram for solenoid valves. This diagram shows which pin connects to which coil. This is essential for installation because wiring a solenoid backward can prevent the valve from shifting.
Common Mistakes When Reading Valve Diagrams
The most common mistake is confusing the normal position with the actuated position. The normal position is always the one with the spring symbol or the one shown on the left for a spring-return valve. The actuated position is the other square.
Another mistake is assuming port numbers are universal across all manufacturers. While the 1, 2, 3, 4, 5 system is standard in ISO symbols, some manufacturers use different numbering for specialized valves. Always check the tag or the data sheet before wiring or piping.
A third mistake is ignoring the exhaust ports. Ports 3 and 5 on a 5/2 valve must be piped or muffled. If they are blocked, the valve cannot exhaust air, and the cylinder will not move properly. The diagram shows these ports clearly, so read them carefully.
How To Read Valve Diagrams Ports Symbols Tags in Practice
Start with the tag to confirm the valve type and ratings. Then look at the symbol to count the positions and identify the actuator type. Finally, trace the flow path in each position using the port numbers.
Write down the port connections for each position. For a 5/2 valve, write “Position 1: 1-2, 4-5” and “Position 2: 1-4, 2-3.” This simple checklist prevents wiring and piping errors during installation.
Practice with a few different valve symbols. Once you have read ten or fifteen diagrams, the pattern becomes automatic. The system is logical and consistent, and the tag gives you the ground truth for the specific valve in your hand.
Frequently Asked Questions
What does the first number in a valve designation mean?
The first number is the total number of ports on the valve. For example, a 5/2 valve has 5 ports total.
How can I tell which position is the normal position on a valve diagram?
The normal position is the square with the spring symbol or the square shown on the side with the spring actuator. This is the default state when no force is applied.
Are port numbers the same on all valve diagrams?
Most pneumatic valves follow the ISO standard where port 1 is supply, ports 2 and 4 are working ports, and ports 3 and 5 are exhaust. Some hydraulic valves use letters like P, T, A, and B instead.
What does a “T” symbol inside a valve square mean?
A “T” symbol or a line that stops inside the square means that port is blocked in that position. No flow can pass through that port when the valve is in that state.
