
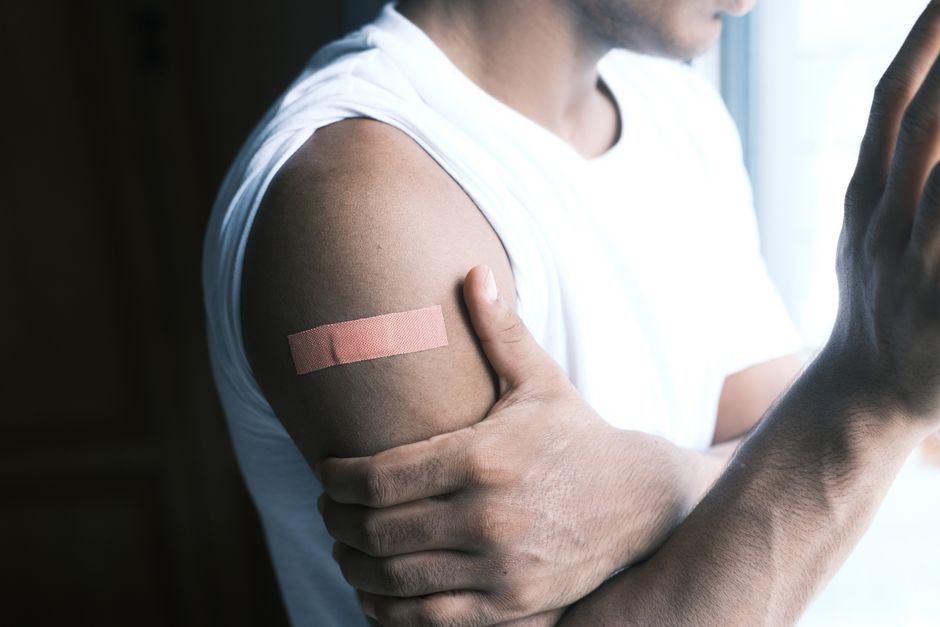
Putting a rectangular bandage around your wrist is not complicated, but it requires a specific technique to stay put. The wrist bends and moves constantly, which is why standard bandages often peel off within hours. The correct method involves cutting the bandage’s adhesive tails lengthwise, crossing them over the pad, and wrapping them around the wrist at opposing angles. This creates a secure “X” shape that moves with your skin rather than fighting against it.
Why Do Regular Bandages Fail on the Wrist?
The wrist is one of the hardest places to keep a bandage attached. Your skin here stretches and bunches with every hand movement. A standard rectangular bandage placed straight across will experience constant tugging at its edges.
Research on wound care dressings shows that adhesive failure happens fastest on joints. The wrist bends in multiple directions — up, down, and side to side. A bandage that cannot accommodate this motion will lift at the corners within minutes to hours. The CDC notes that proper wound covering is important for healing, but only if the bandage actually stays in place.
The shape of a rectangular bandage is part of the problem. Its straight edges create stress points. When you bend your wrist, the bandage’s center stretches while the edges stay rigid. That tension pulls the adhesive loose.
How To Put A Rectangular Bandaid Around Your Wrist: Step by Step
This method works for standard sized rectangular fabric or flexible plastic bandages. You will need clean scissors and dry skin.
Step 1: Clean and dry the wound area. Moisture is the enemy of adhesion. Pat the skin completely dry around the cut or scrape. Do not apply lotion or ointment near the edges of the bandage.
Step 2: Cut the adhesive tails lengthwise. Take a rectangular bandage and cut each adhesive end down the middle, stopping just before the pad. You are creating two “tails” on each side of the pad. This is the key step that most people miss.
Step 3: Position the pad over the wound. Place the absorbent pad directly on the cut. Do not touch the pad with your fingers if possible.
Step 4: Cross the tails diagonally. Take the top left tail and pull it down and to the right across your wrist. Take the bottom left tail and pull it up and to the left. Repeat on the other side. You want the tails to form an “X” over the pad and around your wrist.
Step 5: Press firmly for 30 seconds. Body heat helps the adhesive bond. Hold each tail down with your finger for a few seconds.
This technique works because the diagonal tails distribute tension evenly. When you move your wrist, the bandage shifts with the skin instead of pulling loose.
What Type of Bandage Works Best for the Wrist?
Not all rectangular bandages are the same. The material and adhesive quality matter more than the brand name. Fabric bandages generally outperform plastic ones on the wrist because they stretch slightly. Plastic bandages are rigid and will pop off faster.
| Bandage Type | Stretch | Stays on Wrist | Best For |
|---|---|---|---|
| Fabric / woven | Moderate | 4-8 hours | Active use, joints |
| Flexible plastic | Low | 2-4 hours | Short term, non-bending areas |
| Waterproof plastic | Very low | 1-3 hours | Quick showers only |
| Silicone adhesive | High | 8-12 hours | Sensitive skin, long wear |
Silicone adhesive bandages are newer on the market. Some studies suggest they cause less skin irritation and stay on longer. However, they cost more. For most people, a good fabric bandage with the cut-and-cross method works well enough for daily activities.





What Common Mistakes Cause Bandages to Fail?
Most people make one of three errors when trying to keep a bandage on their wrist. The first is placing the bandage straight across without cutting the tails. A straight bandage on a curved joint is a mechanical mismatch. It will fail.
The second mistake is wrapping the bandage too tight. People think tighter means more secure. But tight bandages on the wrist can restrict blood flow and cause the skin to swell slightly. That swelling pushes the bandage off from underneath. If the skin around the bandage looks white or feels numb, it is too tight.
The third mistake is applying the bandage to damp skin. Even invisible moisture from hand washing or sweating will weaken the adhesive. The Journal of Wound Care has published data showing that adhesive strength drops by roughly 50% on moist skin compared to dry skin. Wait five minutes after washing your hands before applying a new bandage.
Does the Wrist’s Movement Affect Wound Healing Under the Bandage?
This is a question that comes up often. The short answer is yes, but not in the way most people think. Movement does not slow healing by much if the wound is small and clean. The bigger issue is that a bandage that keeps falling off exposes the wound to dirt and bacteria.
A study published in the British Journal of Dermatology looked at healing rates under different dressing types. They found that keeping a wound consistently covered and moist led to faster healing than letting it dry out and scab over. A bandage that stays in place for 24 hours is better than one you replace every few hours.
That is why the method matters. A properly applied rectangular bandage on the wrist can stay on through a full day of typing, cooking, and light exercise. An improperly applied one will fall off before lunch. The healing advantage comes from consistent coverage, not from the bandage itself.
What About Allergies and Skin Reactions?
Some people develop red, itchy skin under bandages. This is usually a reaction to the adhesive, not the pad. Acrylate adhesives are the most common culprit. They are found in most standard bandages.
If you know you have sensitive skin, look for bandages labeled “hypoallergenic” or “silicone based.” These use different adhesives that are less likely to cause a reaction. The American Academy of Dermatology recommends doing a patch test if you are unsure. Place a small piece of the bandage on your inner arm for a few hours. If no redness appears, it is likely safe for your wrist.
One non-obvious point: the wrist skin is thinner than the skin on your arm or leg. It absorbs chemicals more easily. If you react to adhesives, you may notice it first on your wrist. Switching to a silicone bandage often solves this problem entirely.
When Should You Not Use a Rectangular Bandage on Your Wrist?
Rectangular bandages work for small cuts, scrapes, and blisters. They do not work for larger wounds, deep punctures, or injuries that require pressure to stop bleeding. If a wound is wider than the bandage pad, do not try to force it. Use a larger dressing or gauze with medical tape instead.
Signs you need medical attention rather than a bandage include:
- Bleeding that does not stop after 10 minutes of direct pressure
- A cut deeper than a quarter inch
- Visible fat, muscle, or bone in the wound
- Signs of infection like redness spreading from the wound, warmth, or pus
- A wound caused by a dirty or rusty object
For everyday minor cuts, a rectangular bandage applied with the cut-and-cross method is sufficient. For anything more serious, see a healthcare provider. A bandage is not a substitute for proper medical care.
Frequently Asked Questions
Can I put a rectangular bandage on my wrist if I have hairy skin?
Yes, but it will hurt more to remove. Shaving the area gently first can help the bandage stick better and cause less pain when pulled off.
How long should I keep a rectangular bandage on my wrist?
Change it once a day or anytime it gets wet or dirty. Leaving it on longer than 24 hours increases the risk of skin irritation.
Will the cut-and-cross method work with any size rectangular bandage?
It works best with bandages that have adhesive tails at least one inch long on each side. Very small bandages may not have enough adhesive to wrap securely.
Can I exercise with a rectangular bandage on my wrist?
Light exercise is fine, but heavy sweating will loosen the adhesive. Reapply a fresh bandage after workouts for best results.
