
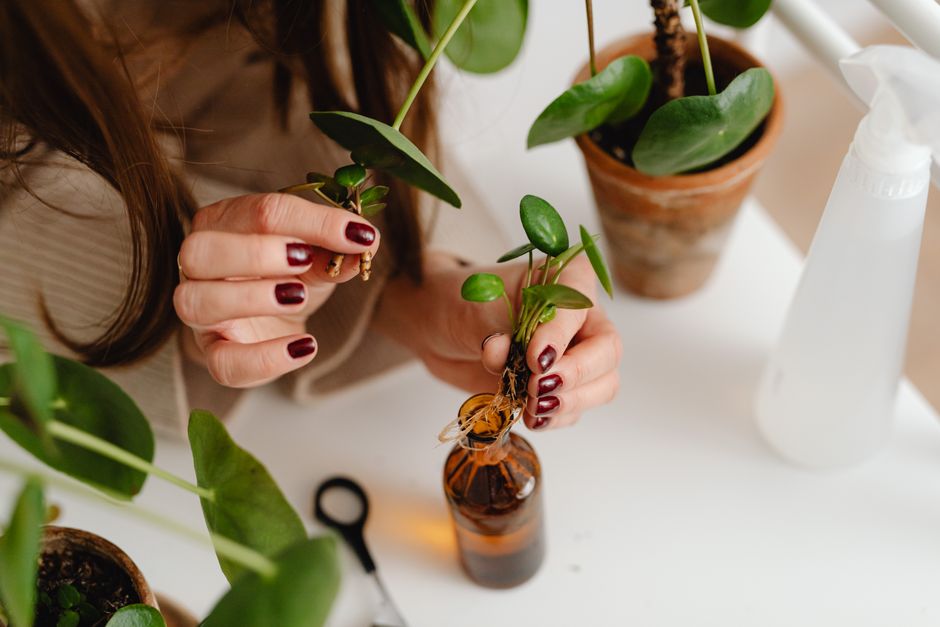
Kalanchoe plants root easily from cuttings, and most people can produce a new plant in two to four weeks using nothing more than a stem segment, a small pot, and well-draining soil. The process is simple: take a cutting, let the cut end callus over for a few days, plant it in coarse potting mix, keep the soil barely moist, and place it in bright indirect light. Leaf cuttings also work, but they take longer and are less reliable for most home growers. The sections below walk through each step, explain why it works, and cover the mistakes that cause most propagation attempts to fail.
What You Need Before You Start Propagating Kalanchoe
Kalanchoe is a succulent, which shapes nearly everything about how you propagate it. Succulent tissue holds water, so cuttings rot easily when kept wet. That single fact drives most of the choices below — the soil type, the watering schedule, and why you let the cut end dry before planting.
Gather these items first:
- A healthy parent plant with no soft or discolored stems
- Clean, sharp scissors or a knife
- A small pot with drainage holes
- Coarse potting mix — a cactus or succulent blend, or regular mix cut with extra perlite
- Optional: rooting hormone powder
The parent plant matters more than most people expect. A cutting from a plant that is already struggling is more likely to rot or fail to root. Choose a stem that is firm, green, and free of pests. If the parent plant has been outdoors, check the undersides of leaves and the stem joints for insects before bringing any cutting inside.
How To Propagate Kalanchoe Step By Step Instructions
The method below is the standard approach for stem cuttings, and it works for the common florist kalanchoe sold in grocery stores and garden centers.
Step 1: Choose and cut a stem. Pick a stem with at least two or three sets of leaves. Using clean scissors, cut just below a leaf node — the small bump where a leaf attaches to the stem. Nodes contain the tissue that produces new roots and shoots, so a cutting without one is far less likely to succeed. A cutting of roughly 3 to 5 inches is a practical size.
Step 2: Remove the lower leaves. Strip the leaves from the bottom inch or two of the cutting. Any leaf that sits below the soil line will rot and can take the whole cutting with it.
Step 3: Let the cut end callus. This is the step people skip, and it is one of the most important. Leave the cutting in a dry spot out of direct sun for a few days until the cut surface dries and forms a scab, or callus. In humid conditions this can take longer. The callus seals the wound and reduces the chance of rot once the cutting meets moist soil.
Step 4: Optional rooting hormone. Dipping the callused end in rooting hormone powder can encourage faster root development in some plants. The evidence for kalanchoe specifically is limited, and many growers root kalanchoe successfully without it. It is a reasonable option, not a requirement.
Step 5: Plant the cutting. Fill a small pot with coarse, well-draining mix. Poke a hole in the soil with a pencil or your finger, insert the cutting so the bottom nodes are buried, and firm the soil gently around the stem. You can also root the cutting in a glass of water, but water-rooted cuttings tend to produce roots that are more fragile and need a careful transition to soil.
Step 6: Water lightly and place in bright indirect light. Water once so the soil is barely moist, not soaked. Keep the pot in a spot with bright light but out of harsh direct sun, which can dry out a cutting before it has roots. A windowsill that gets filtered light works well.
Step 7: Wait and check for roots. Do not tug at the cutting. After about two to four weeks, give the stem a very gentle upward pull. If you feel resistance, roots have formed. At that point you can begin watering a little more normally.
How Long Does It Take For Kalanchoe Cuttings To Root?
Most stem cuttings root in two to four weeks under good conditions. Temperature, light, and how well the cut was allowed to callus all affect the timeline. In cool rooms or low light, rooting can take longer.
Leaf cuttings are slower. A single leaf can take several weeks to produce roots and then additional weeks to grow a new shoot. For most home growers, stem cuttings are the faster and more dependable route.
Once roots are established, the plant will begin putting out new leaves. This is the clearest sign that the cutting has taken. A cutting that stays green but produces no new growth for many weeks may be alive but stalled — often because it is too wet, too dark, or too cold.





Why Do Kalanchoe Cuttings Rot Or Fail?
Overwatering is the most common cause of failure. Succulent cuttings sitting in consistently wet soil are prone to rot, which shows up as a soft, dark, mushy stem. Once rot sets in, the cutting usually cannot be saved.
Other common problems:
- Planting before the cut calluses. A fresh, open wound in moist soil is an easy target for rot.
- Heavy, water-retaining soil. Standard houseplant mix holds too much moisture for succulents unless you add perlite or sand.
- Too much direct sun. A cutting without roots cannot take up water fast enough to replace what strong sun pulls out.
- Cold temperatures. Rooting slows in cool conditions. A comfortably warm room supports faster root growth.
If a cutting does rot, discard it and start again with a fresh, firm stem. Do not reuse the same wet soil.
Can You Propagate Kalanchoe From A Single Leaf?
Yes, kalanchoe can be grown from a single leaf, though it is slower and less reliable than a stem cutting. Remove a healthy leaf with a clean cut close to the stem, let it callus for a few days, and lay it on top of moist, well-draining soil. Some growers bury the base of the leaf slightly. Keep the soil lightly moist and out of direct sun.
The leaf may produce roots within a few weeks, but a new shoot can take considerably longer. Not every leaf will succeed. This method is worth trying if you have leaves to spare, but if your goal is a new plant quickly, use a stem cutting instead.
How To Care For New Kalanchoe Plants After Rooting
Once roots have formed, the cutting can be treated more like an established plant, but ease into it. Increase watering gradually rather than suddenly soaking the soil. Move the plant toward brighter light over a week or two.
Kalanchoe generally prefers bright light and infrequent watering. Let the top of the soil dry out between waterings. Watering on a fixed schedule tends to cause problems; checking the soil is more reliable.
Fertilizer is not needed right away. A rooted cutting has enough reserves to grow for a while, and feeding too early can stress young roots. When you do start, use a diluted fertilizer and follow the product label rather than guessing at a dose.
One detail worth knowing: many kalanchoe plants sold in stores are treated to bloom on a set schedule, and getting a home-propagated plant to flower again depends on day length and light exposure. That is a separate topic from rooting a cutting, but it is useful to know that a new plant may not bloom on the same timeline as the one it came from.
Common Mistakes To Avoid When Propagating Kalanchoe
Most failures come down to a handful of avoidable errors. Keeping the cutting too wet is the biggest one. Watering a cutting the way you would water a fully rooted plant will usually cause rot before roots form.
Skipping the callus period is another frequent mistake. It is tempting to plant the cutting right away, but the few days of drying genuinely reduce rot risk.
Using dull or dirty tools can crush the stem and introduce problems. Clean, sharp cuts heal better. Finally, handling the cutting too much — checking for roots by pulling or digging — can damage the delicate new roots just as they form. Patience does most of the work here.
Frequently Asked Questions
How do you propagate kalanchoe step by step?
Cut a 3 to 5 inch stem just below a leaf node, remove the lower leaves, and let the cut dry for a few days until it calluses. Plant it in coarse, well-draining soil, water lightly, and keep it in bright indirect light until roots form in two to four weeks.
Can you root kalanchoe cuttings in water?
Yes, kalanchoe cuttings can root in water, but the roots tend to be more fragile and need a careful transition to soil. Rooting directly in well-draining soil is generally more reliable for home growers.
How long does it take for kalanchoe cuttings to root?
Most stem cuttings root in about two to four weeks under warm, bright conditions. Leaf cuttings take longer and produce a new shoot more slowly.
Why is my kalanchoe cutting rotting?
Rot is usually caused by too much moisture, often from planting before the cut calluses or using soil that holds water. Let the cut dry first, use a coarse mix, and keep the soil only barely moist.
