
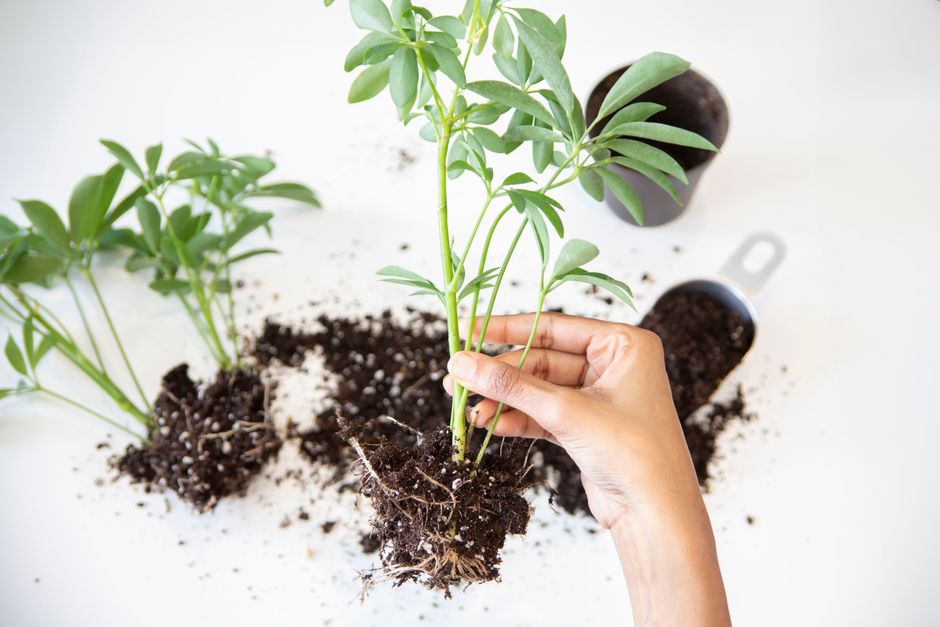
Drift roses are a popular choice for gardeners who want low-growing, repeat-blooming color without a lot of fuss. Propagating them from cuttings is a practical way to get more plants for free, and it is a straightforward process once you understand the basics. The most reliable method is taking semi-hardwood cuttings in late summer or early fall, treating them with rooting hormone, and placing them in a moist, well-draining growing medium. With consistent moisture and patience, most cuttings will root within four to eight weeks, giving you new plants that are genetically identical to the parent.
What Are Drift Roses and Why Do They Root Well?
Drift roses are a specific series of groundcover roses bred by Star Roses and Plants. They are a cross between full-size groundcover roses and miniature roses, resulting in plants that stay compact—typically 1.5 to 2 feet tall and 2 to 3 feet wide. They are known for their disease resistance and continuous blooming from spring through fall.
Like most roses, Drift roses are not grown from seed if you want identical plants. Seeds from a Drift rose will not produce a plant that looks like the parent because the parent is a hybrid. Cuttings are the only practical way to clone the exact plant you already have. The good news is that roses are among the easier woody plants to root from cuttings, and Drift roses respond well to standard propagation techniques.
When Is the Best Time to Take Cuttings?
Timing matters more than almost any other factor. The best window is late summer to early fall, typically from August through October in most US climates. During this period, the current season’s growth has begun to mature and turn slightly woody at the base. This is called semi-hardwood.
Cuttings taken too early in the season, when the stems are still soft and green, tend to rot before they root. Cuttings taken too late, when the stems have become fully hard and woody, root much more slowly. Semi-hardwood strikes the right balance: the stem is firm enough to survive the rooting process but still young enough to respond quickly to rooting hormone.
Morning is the best time of day to take cuttings. The plant is fully hydrated after the night, and the stems contain the most moisture. Avoid taking cuttings during the heat of the afternoon when the plant is stressed from water loss.
Step-by-Step Guide to Taking and Preparing Cuttings
You will need a few basic supplies before you start. Clean, sharp pruning shears are essential. A dull blade crushes the stem tissue, which invites rot. You will also need a small pot or tray, a well-draining rooting medium, rooting hormone powder or gel, and a clear plastic bag or dome to maintain humidity.
Follow these steps to take your cuttings:
- Select a healthy stem. Look for a stem that is about the thickness of a pencil. It should be free of disease, pests, and flowers. A stem that has recently finished blooming is ideal.
- Cut at a 45-degree angle. Make the cut just below a leaf node. The node is the point where leaves attach to the stem. This area contains concentrated meristem tissue, which is where new roots will emerge.
- Trim the cutting to 6-8 inches long. Remove all but the top two sets of leaves. The remaining leaves will photosynthesize and feed the cutting while it roots. Remove any flower buds, as they redirect energy away from root production.
- Scrape the bottom inch of the stem. Use a clean knife to lightly scrape off the outer bark layer on the bottom inch. This exposes the cambium layer, which is more responsive to rooting hormone.
- Dip the bottom in rooting hormone. Shake off any excess powder. Rooting hormone contains auxins, which are plant hormones that stimulate root development. It is not strictly required, but it significantly increases the success rate.
Prepare your cuttings quickly after cutting. The less time they spend out of the soil, the better their chances.





Choosing the Right Rooting Medium and Pot
The rooting medium matters as much as the cutting itself. Regular garden soil is too heavy and holds too much water, which leads to rot. A good rooting medium needs to hold moisture while also draining freely.
A mix of equal parts perlite and peat moss works well. Perlite provides drainage and aeration, while peat moss retains moisture. Coarse sand mixed with perlite is another option. Avoid using potting soil alone, as it is too dense for young cuttings.
Choose a small pot with drainage holes. A 3-4 inch pot is ideal for a single cutting, or you can use a larger tray for multiple cuttings. Fill the pot with your rooting medium and water it thoroughly before planting. The medium should be moist but not soaking wet.
Make a hole in the medium with a pencil or your finger. This prevents the rooting hormone from being scraped off when you insert the cutting. Insert the cutting about 2 inches deep, firm the medium around it, and water gently.
Creating the Right Environment for Rooting
Roses root best in high humidity and consistent moisture. The cutting has no roots, so it cannot take up water from the soil. It must absorb moisture through its leaves until roots form. High humidity reduces water loss from the leaves and keeps the cutting alive during this critical period.
Place a clear plastic bag over the pot, or use a propagation dome if you have one. Make sure the bag does not touch the leaves, as this can cause rot. You can support the bag with small sticks or wire hoops. Leave the bag slightly open at the bottom to allow some air circulation.
Place the pot in a location with bright, indirect light. A windowsill that receives morning sun is ideal. Direct afternoon sun will overheat the cutting inside the bag and cook it. The ideal temperature range is 65-75°F. If your home is cooler than this, a heat mat placed under the pot can improve rooting success.
Check the cuttings every few days. The medium should stay moist but not waterlogged. Open the bag briefly to allow fresh air in, which prevents fungal growth. Remove any leaves that yellow or rot immediately, as they can spread disease to the healthy tissue.
How Long Until Roots Form?
Rooting typically takes four to eight weeks. You can check for roots by gently tugging on the cutting. If you feel resistance, roots have formed. Another method is to gently lift the cutting and look for roots at the bottom of the pot. Do not check too often, as disturbing the cutting can damage fragile new roots.
Once roots have formed, the cutting needs to be weaned off the high-humidity environment. Open the bag a little more each day over the course of a week. This gradual process, called hardening off, helps the new plant adjust to normal room humidity. After a week of gradual exposure, remove the bag completely.
Keep the new plant in its pot for another few weeks to allow the root system to develop. Then you can transplant it to a larger pot or directly into the garden. The best time to plant outdoors is in spring, after the last frost. If you rooted your cuttings in fall, keep them indoors over the winter and plant them out in spring.
Common Mistakes and How to Avoid Them
Most propagation failures come down to a few repeatable mistakes. Understanding these will improve your success rate significantly.
Overwatering is the number one killer of cuttings. Soggy medium deprives the stem of oxygen and invites rot. The medium should feel like a wrung-out sponge, not a puddle. If water pools at the bottom of the pot, you have overwatered.
Too much direct sun is the second most common mistake. Cuttings have no roots to replace the water they lose through their leaves. Direct sun accelerates water loss and can kill the cutting within hours. Bright, indirect light is always safer.
Skipping the rooting hormone reduces your odds. While some cuttings will root without it, the hormone dramatically improves success rates. It is inexpensive and widely available at garden centers. Use a fresh container of hormone, as old powder loses potency.
Taking cuttings from weak or diseased plants is another common error. A stressed parent plant produces stressed cuttings. Always take cuttings from a healthy, vigorous plant that has been watered regularly.
Finally, be patient. Some cuttings simply fail, even when you do everything right. A success rate of 50-70% is normal for rose cuttings. Take more cuttings than you need and expect some losses.
Frequently Asked Questions
Can I propagate drift roses from cuttings in water?
Yes, but soil rooting is more reliable. Cuttings rooted in water often develop weak roots that struggle to transition to soil, and the success rate is generally lower than with a proper rooting medium.
Do drift rose cuttings need rooting hormone?
Rooting hormone significantly increases the chance of success, but it is not strictly required. If you skip it, take more cuttings to compensate for the lower success rate.
Can I take drift rose cuttings in spring?
Spring cuttings are possible but less reliable. Soft, green growth from spring is more prone to rot, and the success rate is lower than with semi-hardwood cuttings taken in late summer or early fall.
How many drift rose cuttings should I take?
Take at least twice as many cuttings as the number of plants you want. A 50-70% success rate is normal, so taking extra cuttings ensures you end up with enough plants.
