
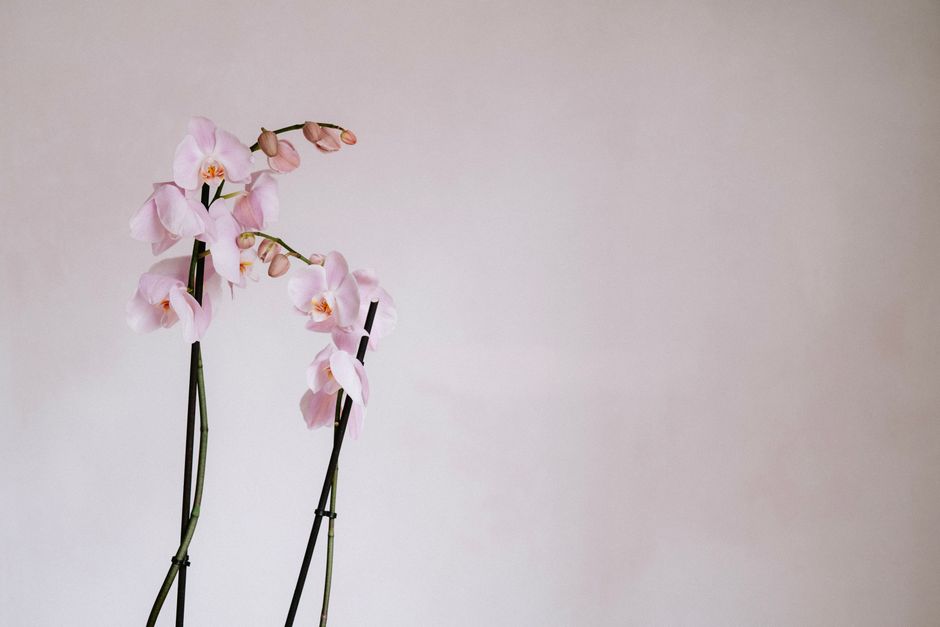
Pressing an orchid without wrecking it comes down to three things: get the flower into the press fast, dry it slowly under even pressure, and keep it away from heat and light. Orchids have thin, delicate petals with high water content, and those petals brown and wrinkle faster than almost any other flower. Speed and patience both matter, and they matter in that order.
The good news is that orchids press beautifully when you handle them correctly. The bad news is that most failures happen in the first hour, not the first week. Once you understand why orchid petals behave the way they do, the method becomes simple and repeatable.
Why Do Orchid Petals Lose Their Color When Pressed?
Orchid petals are mostly water. That water is held inside thin cells, and the color comes from pigments dissolved in the cell fluid. When a petal dries slowly, those cells break down unevenly and the pigments oxidize. The result is the familiar brown, translucent mess.
Heat speeds this up. So does direct sunlight. Ultraviolet light breaks down the pigments that give many orchids their color, particularly the reds, pinks, and purples. A flower left in a sunny window while drying will fade even if everything else is done right.
There is another factor people rarely consider. Orchid petals are thin enough that they dry from both sides at once, which means they can crinkle before they have a chance to set flat. That crinkling traps air and creates the brittle, curled look that pressed orchids sometimes get.
The fix is not a secret technique. It is fast, even drying in the dark, with enough pressure to keep the petal flat while the water leaves.
How To Press Orchids Without Losing Color Or Shape?
Pick the flower at its freshest. A bloom that has already started to fade will not press well no matter what you do. Cut it in the morning after any dew has dried, when the petals are firm and fully open.
Work on a flat surface. Place the flower face down or face up depending on how you want the final piece to look. Most people press orchids face down so the front of the flower shows when the finished piece is lifted.
Arrange the petals exactly how you want them to stay. Once the flower dries, the shape is locked in. Use a small paintbrush or tweezers to spread the petals and flatten any folds. Do not use your fingers if you can avoid it, because the oils on your skin can leave marks on thin petals.
Place the flower between two sheets of absorbent paper. Blotting paper works well. So does plain unprinted newsprint. Avoid paper with ink that can transfer, and avoid paper towels with a heavy embossed pattern that can leave a texture imprint on the petals.
Sandwich the paper between two pieces of rigid, flat material such as cardboard or mat board. Then apply weight. A stack of heavy books works. So does a proper flower press with tightened bolts.
Change the paper every day for the first two or three days. This is the step most people skip, and it is the step that most affects color retention. Wet paper keeps the flower in a humid pocket, and that humidity is what turns petals brown.
After the first few days, change the paper every two or three days until the flower is completely dry. Store the press in a dark, dry spot away from radiators, windows, and vents.
How Long Does It Take To Press An Orchid?
Most orchid flowers take two to four weeks to dry completely. Thin-petaled varieties can finish faster. Thick, waxy flowers like some Cattleya and Phalaenopsis types take longer because they hold more water.
Do not rush the process by adding heat. A warm oven, a hair dryer, or a sunny windowsill will brown the petals. The color you are trying to save is the first thing heat destroys.
You will know the flower is done when it feels dry and slightly stiff, with no cool or damp spots when you touch it. If any part still feels soft, it needs more time. Lifting a flower too early is one of the most common reasons pressed orchids curl at the edges later.




What Is The Best Way To Keep The Color Bright?
Keep the flower out of light while it dries. This is the single most effective thing you can do for color. Darkness slows the breakdown of the pigments that give orchids their color.
Change the absorbent paper often, especially in the first few days. Dry paper equals dry flower equals better color. Wet paper equals browning.
Do not press flowers that are wet from rain or dew. Surface moisture invites mold and speeds up browning. Let the flower air dry for a short time indoors before pressing if it is damp.
Some people report better color retention when they press flowers quickly after cutting. This lines up with what we know about how plant pigments degrade. The longer a cut flower sits out, the more its cells break down, and the less color survives the pressing process.
Once the flower is fully dry, store the finished piece flat, in the dark, and away from humidity. A sealed frame or an album page protected from light will keep the color for years. Ultraviolet light will fade even a perfectly pressed orchid over time.
Common Mistakes That Ruin Pressed Orchids
- Pressing a flower that is already wilting or past its peak
- Using paper that is not absorbent, which traps moisture against the petals
- Leaving the flower in a sunny spot to dry
- Not changing the paper in the first few days
- Removing the flower before it is fully dry
- Stacking too many flowers in one press without enough paper between them
- Using too little weight, which lets petals curl as they dry
Each of these mistakes causes the same two problems: browning and curling. Avoiding them is most of the work.
Do All Orchid Types Press The Same Way?
No. Orchid flowers vary a lot in thickness and water content, and that changes how they press.
Thin-petaled orchids press quickly and hold shape well. Thick, waxy flowers take longer and are more likely to hold moisture in the center, which can lead to browning if the paper is not changed often enough.
Very large flowers may need to be pressed in sections or supported with extra paper to keep the petals from folding. Small flowers can often be pressed whole with no adjustment.
If you are unsure how a particular orchid will behave, press a single test flower first. This costs you one bloom and tells you exactly how that type dries in your conditions.
Does The Pressing Method Affect How Long The Color Lasts?
It does, but not in the way most people expect. A flower that dries slowly and evenly tends to hold its color longer than one that dries fast under heat. Slow drying preserves the pigment structure better, even though it takes more patience.
Once dried, the biggest threat to color is light. A pressed orchid kept in a dark album can hold its color for years. The same flower displayed in direct sun can fade noticeably within months.
Humidity is the second threat. Moisture in the air can cause dried petals to soften and darken over time. Keeping finished pieces in a dry space matters as much as how you pressed them.
Frequently Asked Questions
Can you press an orchid without it turning brown?
Yes, if you press it fresh and change the absorbent paper every day for the first few days. Browning comes mostly from trapped moisture and heat, both of which you can control.
Should you press orchids in the dark?
Yes. Light breaks down the pigments that give orchid petals their color, so keeping the press in a dark spot helps preserve it. A closet or cabinet works well.
How do you keep a pressed orchid from curling?
Apply even pressure across the whole flower and leave it in the press until it is completely dry. Removing it early is the main cause of curling edges.
Do you need a flower press, or can you use books?
A stack of heavy books works fine as long as the weight is even and the flower sits between absorbent paper and rigid boards. A proper press just makes it easier to keep steady pressure.
