
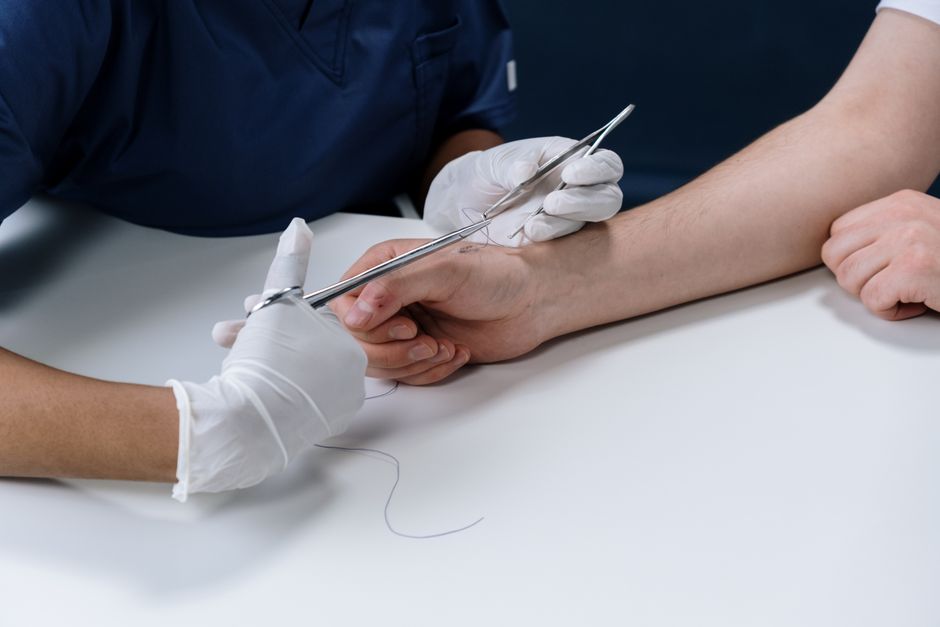
Learning to suture is a hands-on skill, and the only safe place to practice the actual technique is on synthetic skin pads, pig skin, or fruit — never on yourself or another person. Real wounds need a clinician. What you can do at home is build the muscle memory, learn the instrument handling, and understand the wound science behind why sutures work. That foundation is what this guide covers.
Can You Safely Learn Suturing At Home?
You can safely practice the mechanics of suturing at home on non-living materials. You cannot safely close a real wound on yourself or anyone else without clinical training and, in most cases, a license to do so.
The distinction matters. Suturing a live wound involves more than tying knots. It requires assessing wound depth, checking for tendon or nerve damage, deciding whether the wound is clean enough to close, confirming tetanus status, and recognizing signs of infection. Those are clinical judgments. A practice pad teaches you how thread moves through tissue. It does not teach you when to close a wound and when to leave it open.
What home practice does offer is real value. Medical and nursing students use the same basic materials you can buy. Suturing is a motor skill, and motor skills improve with repetition. If your goal is to prepare for a clinical course, a wilderness first aid certification, or a career in medicine, practicing at home is a reasonable and common approach.
If your goal is to treat your own injuries, that is a different situation. Closing a wound incorrectly can trap bacteria, create a worse scar, or hide an injury that needed surgical repair. Seek care for any wound that is deep, gaping, bleeding steadily, or located on the face, hands, or joints.
What Supplies Do You Need To Start Practicing?
You need four things: a needle holder, suture thread with a needle attached, forceps, and something to stitch. A practice pad or a piece of pig skin works best. Pig skin is the closest widely available material to human skin in thickness and resistance, which is why it is used in many training settings.
Here is what each item does:
- Needle holder — a locking clamp that grips the needle. It does the work your fingers cannot.
- Suture with attached needle — the thread and needle come as one sterile unit. You do not thread a needle the way you would with sewing.
- Forceps — used to lift the wound edge so you can see where the needle enters.
- Practice material — a silicone pad, a suture training block, or pig skin from a butcher.
Suture thread comes in many types, and the choice matters in real medicine. Absorbable sutures break down in the body over time. Non-absorbable ones must be removed. Thickness is measured by a sizing system where smaller numbers mean finer thread. For practice, a mid-range non-absorbable suture on a cutting needle is a reasonable starting point because it holds its shape and is easy to see.
You do not need a medical supply license to buy practice sutures in most US states, but some vendors restrict sales. Prices vary widely. A basic practice kit often costs less than a single textbook chapter’s worth of coffee.
How Do You Tie A Basic Suture Knot?
The instrument tie is the knot most beginners learn first. It uses the needle holder instead of your fingers, which keeps the thread under control and works well in tight spaces.
Here is the sequence in plain terms:
- After the needle passes through both wound edges, pull the thread through until a short tail remains.
- Hold the long end of the thread with your non-dominant hand and the needle holder in your dominant hand.
- Wrap the thread once around the needle holder jaws.
- Grasp the short tail with the needle holder and pull it through the loop to form the first throw.
- Repeat the wrap in the opposite direction for the second throw.
- Repeat again in the original direction for the third throw.
The alternating direction is not a style choice. It is what makes the knot hold. Three throws in alternating directions create a square knot that resists slipping. Three throws all in the same direction create a weaker knot that can unravel.
The most common beginner mistake is pulling too hard. Excessive tension cuts through the tissue or practice material and leaves a poor result. The knot should sit flat and snug, not tight enough to pucker the edges.
What Is The Correct Technique For Placing A Stitch?
Simple interrupted sutures are the standard starting point. Each stitch is independent, so if one fails the others still hold. That is why they are used so often in emergency and primary care settings.
The steps are consistent across most training programs:
- Grip the needle about two-thirds of the way back from the tip with the needle holder.
- Enter the skin at roughly a right angle, about a quarter inch from the wound edge.
- Rotate your wrist to drive the needle through rather than pushing it straight in.
- Exit at the same distance on the opposite side and at the same depth.
- Pull enough thread through to tie your knot without struggling.
The rotation motion is the part beginners find hardest. Pushing a needle straight through requires force and causes the needle to bend or the tissue to tear. Rotating the wrist uses the curve of the needle to follow a natural path.
Spacing between stitches should be roughly equal to the distance from the wound edge. Even spacing distributes tension across the wound. Uneven spacing concentrates force on individual stitches, which can cause the wound to pull apart.
Why Does Wound Care Matter More Than The Stitch Itself?
A well-placed suture on a contaminated wound will still fail. Wound cleaning and infection prevention matter as much as technique, and in some cases more.
Before any wound is closed, it needs irrigation to remove debris and bacteria. In clinical settings this is done with sterile saline under pressure. The wound is also inspected for foreign material, and tetanus status is checked. These steps happen before the first stitch goes in.
After closure, the wound needs to stay clean and dry for the first day or two. Signs of infection include increasing redness, warmth, swelling, pain that worsens rather than improves, and pus. Fever is a more serious sign. Anyone with these symptoms after a wound closure should seek medical care promptly.
Suture removal timing depends on where the wound is. Areas with good blood supply and thin skin heal faster. Areas under tension or over joints take longer. A clinician decides removal timing based on the specific wound. There is no single number that applies to every case.
What Are The Limits Of Home Practice?
Home practice builds hand skill. It does not build clinical judgment, and that gap is the real limitation.
Some things you cannot learn from a pad:
- How to tell a clean wound from a contaminated one
- How to check for nerve or tendon injury beneath a cut
- When a wound should be left open to heal rather than closed
- How to manage bleeding that does not stop
- How to recognize and treat infection
Training programs pair practice with supervised clinical experience for exactly this reason. The motor skill is the easy part. Knowing when and whether to use it is the hard part.
If you are considering a career in medicine, nursing, emergency services, or veterinary work, home practice can help you arrive more prepared. If you are trying to avoid a trip to urgent care, home suturing is not a shortcut. Wound care that goes wrong can cost far more than the visit you were trying to skip.
Frequently Asked Questions
Can I teach myself to suture at home?
You can learn the mechanical technique on practice materials like silicone pads or pig skin. You cannot safely translate that skill to real wounds without supervised clinical training.
What can I use to practice suturing at home?
Silicone practice pads, suture training blocks, and pig skin from a butcher are common options. Pig skin is closest to human skin in feel.
Do I need a license to buy suture supplies?
Most US states do not require a license to purchase practice sutures, though some vendors restrict sales. Check your state rules before ordering.
Is it dangerous to suture your own wound?
Yes. Closing a wound without assessing depth, contamination, and underlying damage can trap bacteria or hide a serious injury. Seek professional care for any wound that is deep or gaping.