
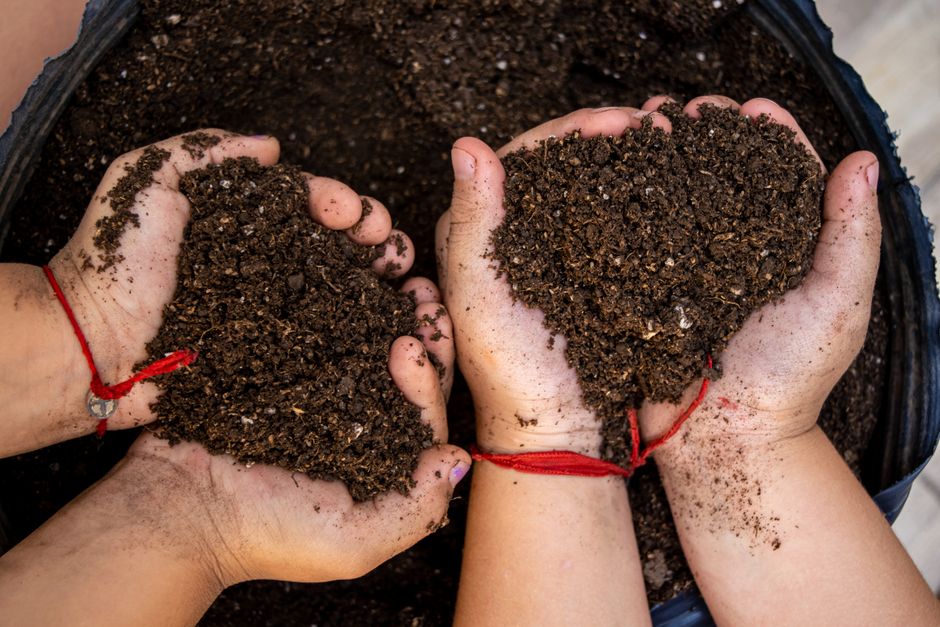
Organizing a community garden starts with finding land, getting permission to use it, and gathering a core group of people who will share the work. From there you test the soil, plan the plots and shared spaces, set clear rules, and assign jobs so the garden does not depend on one person. Most successful gardens take several months of planning before the first seed goes in the ground.
What Is the First Step in Starting a Community Garden?
The first step is confirming that you have legal access to land. Everything else — beds, water, tools, members — depends on a secure site. Without written permission, you risk losing the whole project after people have invested money and months of work.
Start by listing possible sites. Common options include land owned by a city parks department, a school, a church, a housing authority, or a private owner willing to lease. Vacant lots can work, but ownership is often unclear. Checking county property records is a reasonable first move to find out who actually controls the parcel.
Once you identify an owner, ask for permission in writing. A simple letter of agreement or a short lease is enough for many gardens. It should spell out how long you can use the site, who pays for water, and what happens if the owner decides to sell or develop. Some cities have formal programs that lease public land to neighborhood groups for a nominal fee. Rules vary widely by municipality, so contact your local parks or planning department to find out what exists where you live.
Water access deserves early attention. A garden without a reliable water source is not viable. Find out whether there is a working spigot, whether you can connect to a municipal line, and who pays the bill. Rain barrels can supplement but rarely replace a steady supply.
How Do You Build a Core Group of Volunteers?
A community garden needs a small committed group before it needs a large one. Three to five reliable people can carry a project through planning. A crowd of interested names that never shows up again cannot.
Recruit through places where neighbors already gather — block meetings, faith communities, libraries, schools, and local social media groups. Be specific about what you are asking. “Help us plan a garden” is vague. “Come to a one-hour meeting on Saturday to decide where the beds go” gives people something concrete to say yes to.
Look for a mix of skills rather than a mix of enthusiasm alone. Someone who has gardened before is useful. So is someone who is good at paperwork, someone who can talk to city offices, and someone who can keep a simple budget. A garden is a small organization, and organizations need administration as much as they need digging.
Expect turnover. People move, get busy, or lose interest. A garden that depends on one charismatic organizer tends to collapse when that person steps back. Build in shared roles from the start so no single person holds the whole thing together.
How Do You Test the Soil and Plan the Site?
Soil testing is not optional for a new community garden. Urban soils can carry lead, arsenic, and other contaminants from past industrial use, old paint, or vehicle exhaust. You cannot tell by looking or smelling.
Contact your state’s cooperative extension service or a commercial lab about a soil test. Many extensions offer low-cost testing for heavy metals and basic nutrients. Test before you plant anything you intend to eat.
If results show contamination, you have options. Raised beds with imported clean soil and a barrier fabric at the bottom are a common approach for growing food on questionable ground. Some gardeners grow only non-edible ornamentals in contaminated soil. The right choice depends on what the test shows and what you plan to grow, so discuss results with your extension office rather than guessing.
Site planning comes next. Walk the land at different times of day to see how much sun it gets. Most vegetables need six or more hours of direct sun. Note where water pools after rain, where the wind hits hardest, and how people will get in and out.
Sketch a layout that includes:
- Individual plots or shared rows, depending on how your group wants to work
- Paths wide enough for a wheelbarrow and, ideally, a wheelchair
- A water source and hose reach
- A tool storage area or shed
- Space for compost
- A gathering spot, even if it is just a bench
Shared plots suit groups that want to garden together and split the harvest. Individual plots suit people who want their own space and their own decisions. There is no single right answer. Many gardens use a mix.
How Do You Write Rules and Assign Jobs?
Written rules prevent most conflicts before they start. A short document covering the basics is more useful than a long one nobody reads.
Most garden agreements cover plot fees, water use, weeding expectations, pesticide policy, and what happens if someone abandons a plot. Fees typically go toward water, insurance, tools, and shared supplies. The amount varies enormously by region and site, so set yours based on actual costs rather than copying another garden’s number.
Abandonment is the most common problem. A plot left unweeded spreads weeds and pests to neighbors. A clear rule — for example, that a plot unused for a set period reverts to the waitlist after notice — protects everyone. Decide the specifics as a group and write them down.
Assign roles rather than hoping people volunteer. Common roles include a coordinator, a treasurer, a water manager, and a compost manager. Rotate them yearly so knowledge spreads and no one burns out. Hold a short meeting at the start of each season to confirm who is doing what.
Insurance is worth investigating early. Many landowners, especially cities and schools, require the garden group to carry liability coverage. Some municipalities include community gardens under their existing policy. Others expect the group to buy its own. Ask before you sign anything.
What Does a Realistic First Season Look Like?
Your first season is a test run, not a finished product. Expect to spend more time on infrastructure than on harvesting.
Plan to build beds, run water lines, and set up storage before planting much. Many new gardens start with a small number of plots and expand once they see what works. Starting small reduces the risk of overcommitting money and volunteer hours.
Timing matters. In most climates, preparing ground and building beds in fall or early spring gives you a better start than beginning mid-season. If you are launching in summer, consider using the first year mainly for site prep and soil building.
Keep simple records. Track what you spent, what you grew, and what problems came up. That information makes the second year far easier and helps when you apply for grants or ask the city for continued support.
One thing worth knowing: community gardens are often described as solving food access, but the evidence on how much they actually change household food security is limited and mixed. They reliably provide fresh produce, physical activity, and neighborhood connections. Claims that they close local food gaps on their own are not well supported.
How Do You Keep a Community Garden Going Long Term?
Longevity comes from structure, not enthusiasm. Gardens that survive for decades tend to have clear rules, shared leadership, and a steady way to cover costs.
Recruit new members every year rather than only when plots open up. A waitlist keeps interest alive and gives you replacements when people leave. Outreach to nearby schools, senior centers, and community groups can keep a garden connected to its neighborhood.
Money is the quiet challenge. Water bills, insurance, tools, and repairs continue every year, whether or not members stay motivated. Some gardens hold small fundraisers, seek local grants, or partner with a nonprofit or parks department. Whatever the method, a garden with no funding plan is fragile.
Finally, document what you learn. A simple binder or shared file with your rules, budget history, plot map, and lessons from past seasons saves the next group of organizers an enormous amount of time. The garden outlasts the people who started it only if the knowledge does too.
Frequently Asked Questions
How long does it take to start a community garden?
Most gardens take several months of planning before planting, and often a full year before the site is fully set up. Land permission, soil testing, and funding usually take longer than people expect.
Do you need permission to start a community garden?
Yes. You need written permission from whoever owns the land, whether that is a city, school, church, or private owner. Without it, the garden can be removed at any time.
How much does it cost to run a community garden?
Costs vary widely by region and site, mainly driven by water, insurance, and tools. Many gardens charge small annual plot fees to cover these shared expenses.
Is community garden soil safe to grow food in?
Not always. Urban soil can contain lead and other contaminants, so testing before planting is important. Raised beds with clean imported soil are a common solution when tests show a problem.