
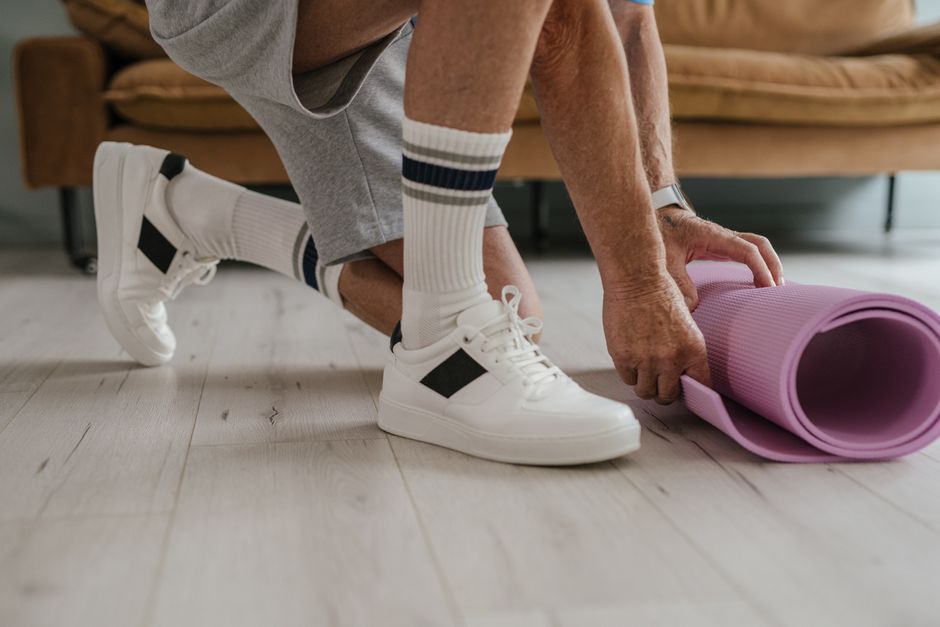
Slippery socks are a real fall risk, especially on hardwood, tile, or stairs. The fix is simple: add a grippy material to the sole of the sock so friction increases. Three methods work well for most people — silicone caulk dots, puffy fabric paint, and peel-and-stick grip pads — and each takes under an hour with no sewing required.
Why Do Socks Slip On Floors?
Socks slip because the fibers most socks are made from — cotton, wool, bamboo, polyester blends — create very little friction against smooth surfaces. On carpet, the pile gives your foot something to push against. On hardwood, laminate, tile, or vinyl, there is almost nothing for the fabric to grip.
Bare feet actually grip better than socks on most hard floors. Skin has natural oils and texture that create resistance. A sock covers that up and replaces it with a smooth knit surface. The result is a low-friction interface between your foot and the floor.
This matters more than most people realize. The Centers for Disease Control and Prevention identifies falls as a leading cause of injury among older adults, and household falls are among the most common. Slippery socks are a contributing factor in many of them, particularly on stairs and in bathrooms.
Young children learning to walk or run are also at higher risk. So are people recovering from surgery, taking medications that affect balance, or dealing with neuropathy in the feet. If any of those apply, non-slip socks are not a comfort upgrade — they are a safety measure.
Method 1: Silicone Caulk Dots
Silicone caulk is the most durable DIY option. It bonds to fabric, stays flexible after curing, and holds up to repeated washing better than most alternatives. A single tube costs a few dollars and will treat many pairs of socks.
Use 100% silicone caulk, not latex or acrylic caulk. Latex caulk cracks and peels off fabric over time. Silicone stays rubbery.
Here is the process:
- Turn the socks inside out and slide a piece of cardboard inside so the caulk does not bleed through to the other side.
- Apply small dots of silicone — roughly the size of a pencil eraser — across the heel and ball of the foot. Those are the two areas that make the most floor contact.
- Space the dots about half an inch apart. Too close and they merge into one smooth blob, which defeats the purpose.
- Let the silicone cure fully. Check the tube for the manufacturer’s stated cure time, which is typically 24 hours for a full cure. Do not wear or wash the socks before then.
After curing, the dots create raised rubbery bumps that grip the floor. You can add more dots later if you want more traction.
One practical note: silicone caulk has a strong vinegar-like odor while curing. Work in a ventilated area, or let the socks cure in a garage or utility room.
Method 2: Puffy Fabric Paint
Puffy fabric paint — the kind sold in craft stores for decorating t-shirts — works as a grip surface once it dries. It is softer than silicone and less durable, but it is cheap, widely available, and easy to apply.
The steps are nearly identical to the silicone method:
- Turn the socks inside out and place cardboard inside.
- Squeeze small dots or short lines of puffy paint onto the heel and ball of the foot.
- Keep dots separated so they dry as individual grips rather than a flat sheet.
- Let the paint dry completely, usually several hours. Follow the instructions on the bottle.
Puffy paint grips well on smooth floors but wears down faster than silicone. Expect to reapply after a number of washes, or sooner if the socks get heavy use. It also tends to stiffen slightly as it ages.
This method works best for light-duty use — around the house, for a child who needs a little extra traction, or for socks that will not be washed constantly. For daily wear on hard floors, silicone holds up longer.



Method 3: Peel-And-Stick Grip Pads
Adhesive grip pads are the fastest option. You can buy sheets or pre-cut shapes designed for exactly this purpose, or cut your own from a roll of non-slip material. No curing time, no mess.
Peel the backing off, press the pad firmly onto the sole of the sock, and you are done. Most pads are designed to go on the bottom of the foot at the heel and ball.
The tradeoff is durability. Adhesive pads can loosen after repeated washing, especially in hot water or a dryer. Some brands hold up well; others peel within a few washes. If you go this route, wash the socks inside out in cool water and air dry them to extend the life of the adhesive.
This method is a good fit for people who want a quick fix, do not want to wait for curing, or are treating socks they do not plan to wash often. It is also the easiest option for someone with limited hand strength or dexterity, since there is no squeezing or precision work.
Which Method Holds Up Best?
Durability depends on the material, how often the socks are washed, and how they are washed. Here is a general comparison:
| Method | Durability | Cost | Setup Time | Best For |
|---|---|---|---|---|
| Silicone caulk | Highest | Low | Longest (cure time) | Daily wear, hard floors |
| Puffy fabric paint | Moderate | Low | Moderate | Light use, kids |
| Peel-and-stick pads | Lowest | Varies | Fastest | Quick fixes |
For most households, silicone caulk gives the best return for the effort. It costs little, lasts the longest, and grips well on the surfaces where slipping is most dangerous.
How Should You Wash Non-Slip Socks?
Turn the socks inside out before washing. This protects the grip material from rubbing against other clothes and from the agitator in a top-loading machine.
Wash in cool or warm water, not hot. High heat softens adhesives and can make silicone or paint more prone to peeling. Skip the fabric softener — it leaves a residue that can make grip surfaces slick.
Air drying is gentler than machine drying. If you do use a dryer, choose a low heat setting. Repeated high heat is the most common reason DIY grip treatments fail early.
Check the grip surfaces every few washes. If dots or pads start to lift, you can usually press them back down or add a fresh layer on top.
When Store-Bought Non-Slip Socks Make More Sense
DIY methods work well, but they are not the right answer for everyone. Commercially made non-slip socks have grip material applied by the manufacturer, usually in a pattern that covers more of the sole than most people can replicate at home.
For someone at high fall risk — an older adult, a person recovering from surgery, or anyone with a balance or mobility condition — a manufactured non-slip sock is generally the safer choice. The grip is more consistent, and there is no risk of a DIY dot peeling off at the wrong moment.
DIY is a reasonable option for healthy adults who want a little more traction around the house, for children, and for anyone who already owns socks they like and want to upgrade. It is also useful for people who cannot find non-slip socks in their size or preferred style.
Either way, the principle is the same: increase friction between the sock and the floor. The material matters less than whether it stays put.
Frequently Asked Questions
What can I put on socks to make them non-slip?
Silicone caulk, puffy fabric paint, and peel-and-stick grip pads all work. Silicone caulk is the most durable of the three.
Do I need to sew anything to make socks non-slip?
No. All three methods use materials that bond or stick to the fabric without sewing.
How long does silicone caulk take to dry on socks?
Follow the cure time on the tube, which is typically around 24 hours for a full cure. Do not wear or wash the socks before then.
How do I wash non-slip socks without ruining the grip?
Turn them inside out, wash in cool or warm water, skip fabric softener, and air dry or use low heat. High heat and fabric softener are the main causes of grip failure.
