
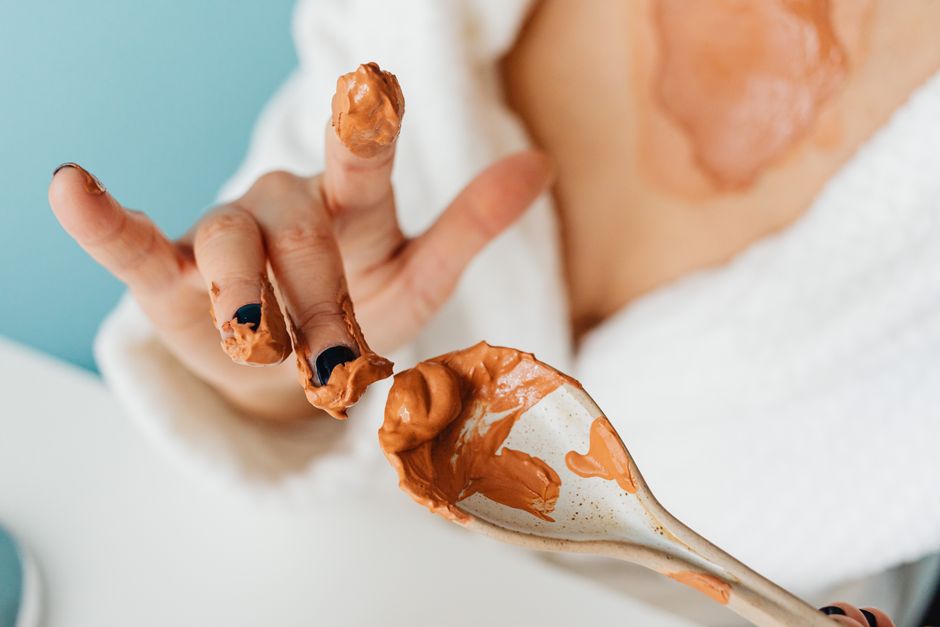
Making natural clay from dirt at home is a simple process of separating clay particles from sand and silt using water. You dig soil, mix it with water, let the heavy particles sink, and pour off the clay-rich water. The clay settles out of that water, and once it dries, you have workable clay for pottery, crafts, or building projects.
What Kind of Dirt Contains Clay?
Not all dirt contains clay. Sandy soil and rich topsoil often have very little. You need subsoil — the layer just below the dark topsoil — because that is where clay particles accumulate.
Look for areas where water pools after rain or where the ground feels slippery when wet. A simple test: wet a handful of soil and try to roll it into a snake. If it holds together and feels smooth, it likely contains clay. If it crumbles instantly, it is mostly sand or silt.
Red, orange, or yellow soil often contains iron oxides, which give clay its color. Gray or blue-gray clay is common near riverbanks and lakebeds. The color does not change how the clay works, but it affects the final fired or dried color.
The Basic Water Separation Method
This method works because clay particles are much smaller and lighter than sand or silt. When you mix dirt with water, the heavy particles sink quickly. The clay stays suspended in the water longer.
Start by digging a bucket of subsoil. Remove rocks, roots, and large debris by hand. Break up any clumps so the soil is loose and crumbly.
Fill a large bucket about one-third full with the dry soil. Add water until the bucket is nearly full. Stir vigorously for several minutes. A paint mixer attached to a drill works well, but a strong stick works fine too.
Let the mixture sit for about one minute. This allows sand and coarse silt to settle to the bottom. The cloudy water above contains the clay.
Pouring Off the Clay Water
After the one-minute wait, carefully pour the cloudy water into a second bucket. Stop pouring before the settled sand at the bottom starts to come out. Do not disturb the sediment layer.
Repeat the process with the remaining dirt in the first bucket. Add more water, stir again, wait one minute, and pour off the cloudy water. You can do this several times until the water stays fairly clear.
Now you have a bucket of clay-laden water. This is called the clay slip. The sand and silt left behind in the first bucket can be discarded or returned to the ground.





Letting the Clay Settle
Leave the clay slip undisturbed for several hours or overnight. The clay particles will slowly settle to the bottom of the bucket. The water above will become clearer as the clay drops out.
Once the water looks mostly clear, carefully pour off the excess water. Try not to disturb the soft clay layer at the bottom. You can also use a siphon hose to remove the water more gently.
What remains is a thick, soupy clay. This is not ready to use yet. It contains too much water and needs to dry further.
Drying and Conditioning the Clay
Pour the wet clay onto a plaster bat, a canvas sheet, or a thick towel. Plaster absorbs water quickly. Canvas and towels work more slowly but are easier to find at home.
Let the clay dry until it reaches a dough-like consistency. It should hold its shape when squeezed but not stick to your hands. This typically takes several hours to a couple of days depending on humidity and the thickness of the clay layer.
Once it reaches the right consistency, knead it like bread dough. This removes air bubbles and makes the clay uniform. If it is too stiff, add a few drops of water. If it is too sticky, let it dry a bit longer.
Test your clay by forming a small coil and bending it. If it cracks badly when bent, it may need more aging or a small amount of sand added. Some natural clays are very plastic and work beautifully right away. Others are short or crumbly and need adjustment.
Processing Clay for Purity
The basic method removes sand and gravel, but fine silt can remain. For higher-quality clay, use a finer sieve or a piece of mesh fabric during the pouring step. Pour the clay slip through the sieve into the second bucket.
For even cleaner clay, repeat the entire settling process. Let the clay settle, pour off the water, re-mix the clay with fresh water, wait one minute, and pour it through the sieve again. Each pass removes more impurities.
This extra step matters if you plan to fire the clay in a kiln. Fine silt can cause cracking or weak spots in fired pottery. For air-dry crafts or building projects, one pass is usually sufficient.
Testing Your Homemade Clay
Before committing to a big project, test a small sample. Roll a coil about the thickness of your finger. Bend it into a circle about the size of a silver dollar. If it cracks severely, the clay has too much silt or sand.
Form a small pinch pot and let it dry completely. Check for cracks as it dries. If it cracks, the clay may be drying too fast or may need more aging.
Some natural clays improve with aging. Store the clay in a sealed plastic bag for a week or two. Bacteria and organic matter in the clay break down over time, which can increase plasticity. This is a traditional practice used by potters for centuries.
Firing Considerations and Safety
Natural clay from your yard is not the same as commercially prepared pottery clay. It may contain organic matter, soluble salts, or minerals that behave unpredictably in a kiln.
Firing natural clay requires careful testing. Small test tiles should be fired before any larger pieces. Some natural clays fire well at low temperatures, around 1800°F to 2000°F. Others may bloat, crack, or melt at those temperatures.
Never fire clay in a home oven. Kitchen ovens do not reach the temperatures needed to vitrify clay, and the process can release fumes that are unsafe indoors. If you want to fire your clay, use a proper ceramic kiln with ventilation.
Air-dry projects do not require firing. You can make beads, small sculptures, or decorative tiles and let them dry slowly. They will be fragile but usable for display purposes.
Common Problems and Fixes
If your clay cracks while drying, it may be drying too quickly. Cover it with plastic or a damp cloth to slow the process. Cracks can also come from too much sand or silt in the clay.
If your clay is too sticky, it may have too much water. Spread it thinner on your drying surface. If it remains sticky after drying, it may contain a high amount of very fine clay particles, which is generally good but requires more drying time.
If your clay will not hold a shape, it may have too much silt. Run the slip through a finer sieve or repeat the settling process. Adding a small amount of commercial ball clay can improve plasticity, but this changes the nature of your natural clay.
If the clay smells bad, that is normal. Organic matter in the soil is decomposing. The smell usually fades as the clay dries. Storing the clay in a sealed container can make the smell stronger, so use a breathable cloth cover instead.
Is Homemade Clay Worth the Effort?
Making clay from dirt is a slow, physical process. A bucket of soil may yield only a few handfuls of usable clay. The quality varies from one location to another and can change seasonally.
For craft projects, teaching children about natural materials, or connecting with traditional methods, homemade clay is rewarding. For serious pottery, commercial clay is more consistent and reliable.
The process itself teaches something valuable. You see exactly where your materials come from and what it takes to transform raw earth into a usable substance. That understanding changes how you look at every clay object you encounter.
Frequently Asked Questions
How long does it take to make clay from dirt?
The active work takes about an hour, but the full process takes one to two days. Most of that time is waiting for the clay to settle and dry.
Can I use any dirt from my backyard?
Only subsoil with visible clay content will work. Topsoil and sandy soil produce little or no usable clay, so test a small sample first.
Do I need special equipment to make clay at home?
No, basic buckets, water, and a stirring stick are enough. A drill with a paint mixer attachment speeds up the stirring but is not required.
Can I fire homemade clay in a regular oven?
No, home ovens cannot reach the temperatures needed to fire clay properly. Use a dedicated ceramic kiln if you want to fire your pieces.
