
Making liquid soap at home comes down to four stages: dissolving a solid soap base or making soap from oils and lye, diluting the result with water, thickening it, and preserving it so bacteria do not grow. The cold-process method takes weeks to cure, while the melt-and-pour method takes about an hour. Both produce real liquid soap if you measure carefully and handle one dangerous ingredient with respect.
This guide walks through both routes, explains why the chemistry matters, and is honest about the parts most tutorials skip — like why homemade liquid soap often separates, and why skipping a preservative is a genuine safety problem rather than a minor shortcut.
What You Need Before You Start
Two ingredients in soap making can hurt you if handled carelessly: sodium hydroxide (lye) and potassium hydroxide (also called caustic potash). Solid bar soap uses sodium hydroxide. Liquid soap uses potassium hydroxide, because the potassium salt stays soluble in water while the sodium version does not.
Lye is genuinely dangerous in its raw form. It causes severe chemical burns on skin and permanent damage to eyes. It also reacts with water to produce heat and fumes. This is not a reason to avoid soap making. It is a reason to treat the process like what it is: a small chemical operation.
Basic safety items:
- Safety goggles that seal against the face, not just glasses
- Rubber or nitrile gloves
- A long-sleeved shirt and closed shoes
- A well-ventilated space, ideally near an open window or outdoors
- White vinegar on hand to neutralize spills
Equipment you will need for the oil-and-lye route includes a digital scale accurate to 0.1 grams, a stainless steel or heat-safe plastic container for the lye solution, a slow cooker or large pot, a stick blender, and a thermometer. Never use aluminum — lye reacts with it and produces flammable hydrogen gas.
If any of that sounds like more than you want to take on, the melt-and-pour route below avoids lye entirely and still makes usable liquid soap.
Method 1: Melt-and-Pour Liquid Soap
This is the beginner route. You start with a pre-made solid soap base — often called a melt-and-pour base — that already contains saponified oils. You are not making soap from scratch; you are reshaping soap that already exists.
Steps:
- Grate or finely chop a bar of pure soap base. Avoid bars with added moisturizers, synthetic fragrances, or lotions, which behave unpredictably when diluted.
- Add the grated soap to a pot with distilled water. A common starting ratio is about 1 part soap to 4 parts water by weight, but this varies by base. Start thicker than you think you need.
- Heat gently over low heat, stirring until fully dissolved. Do not boil. Boiling drives off water and can scorch the soap.
- Remove from heat and let it cool. It will be thin and watery at this stage.
- Let it sit for 12 to 24 hours. It will thicken as it cools and settles.
- If it is too thick, add distilled water a little at a time. If too thin, gently reheat and add a small amount of grated soap.
One thing most tutorials get wrong: dilution ratios are not universal. Two soap bases from different suppliers can need very different amounts of water. Treat any recipe ratio as a starting point, not a rule.
Method 2: Liquid Soap From Scratch With Potassium Hydroxide
This is the traditional method and it produces a more customizable soap. It also requires working with lye, and it takes longer than most people expect.
The core chemistry is simple. Oils are triglycerides — fat molecules with three fatty acid chains attached to a glycerol backbone. Potassium hydroxide breaks those chains off and bonds with them, forming soap. The glycerol is left behind as a byproduct, which is part of why handmade soap feels different from many commercial bars.
Steps:
- Weigh your oils precisely. Never estimate. Soap calculators exist that will give you exact lye amounts for a specific oil blend — use one rather than working it out by hand.
- Wear full protective gear. Slowly add potassium hydroxide to distilled water, never the reverse. The mixture will heat up and release fumes. Stir until dissolved.
- Let both the lye solution and the oils come to similar temperatures, generally in the range of 120 to 140 degrees Fahrenheit for this process. Follow the specific temperatures your recipe gives.
- Combine and blend with a stick blender until the mixture reaches “trace” — the point where it thickens enough that a drizzle left on the surface holds its shape for a moment.
- Cook the paste. This is the part that takes patience. You can use a slow cooker on low, stirring occasionally, for several hours until the mixture becomes a thick, translucent gel. Some makers use a faster stovetop method with a double boiler.
- Test the paste. A small amount dissolved in distilled water should produce clear soap with a pH around 9 to 10. If it is cloudy or the pH is much higher, the soap has not finished reacting.
- Dilute the paste with distilled water, again starting conservatively. Heat gently and stir until dissolved.
- Let it sit for several days. Sediment will settle. Skim or siphon off the clear liquid on top.
If the pH of your finished soap is above roughly 10, do not use it on skin. Excess unreacted lye is the most common failure in homemade liquid soap and it is not something you can fix by adding fragrance or oil after the fact. You need to neutralize it carefully or start over.



Why Does Homemade Liquid Soap Separate or Turn Cloudy?
Separation is the most common complaint, and it usually has one of three causes.
Too much water. Diluted soap is a suspension, not a true solution. When there is more water than the soap can hold, the soap molecules cluster and rise or sink. The fix is to use less water next time, not to add thickener to a batch that is already over-diluted.
Incomplete saponification. If the paste was not cooked long enough, some oils never turned into soap. Those free oils separate out. This is most common with the from-scratch method and is why the cook time matters.
Hard water or added ingredients. Minerals in tap water react with soap and create cloudiness. Adding too much fragrance oil, essential oil, or glycerin can also push a stable batch out of balance. Distilled water is not optional here — it is one of the few ingredients where substitution reliably causes problems.
Cloudiness alone is not a safety issue. Separation that keeps happening after reheating usually means the recipe needs adjusting.
Do You Really Need a Preservative?
Yes, if the soap contains water and will be stored for more than a short time. This is where a lot of homemade soap advice is simply wrong.
Any product that contains water can support microbial growth. That includes diluted liquid soap. Bacteria, mold, and yeast can grow in a soap bottle, particularly around the pump and in the water layer. Soap itself does disrupt many microbes, but it does not sterilize the product it sits in.
Commercial liquid soaps contain preservatives for this reason. A homemade batch stored in a pump bottle in a bathroom is a favorable environment for growth over weeks and months.
If you plan to use the soap within a few days, refrigeration and small batches reduce the risk. If you want it to last, you need a preservative formulated for water-based products. Not all preservatives work in high-pH soap — many break down at the pH liquid soap sits at. This is a real constraint and one that home soap makers often discover the hard way.
Vitamin E and grapefruit seed extract are widely marketed as natural preservatives. Neither is an effective broad-spectrum preservative for a water-based product. That claim circulates constantly and it is not supported.
How Should You Store and Use It?
Store liquid soap in clean, dry containers with pump tops. Glass or PET plastic both work. Avoid metal containers, which can react with the soap over time.
Keep it out of direct sunlight and away from heat. A bathroom cabinet is fine. A windowsill is not.
Watch for these signs that a batch has gone bad:
- A sour or off smell
- Visible mold, especially dark spots or fuzzy growth
- Separation that will not reincorporate after gentle reheating
- Discoloration that is not from your fragrance or colorant
If any of those appear, throw the batch out. Do not try to salvage it by adding more preservative after the fact. Preservatives are meant to prevent growth, not reverse it.
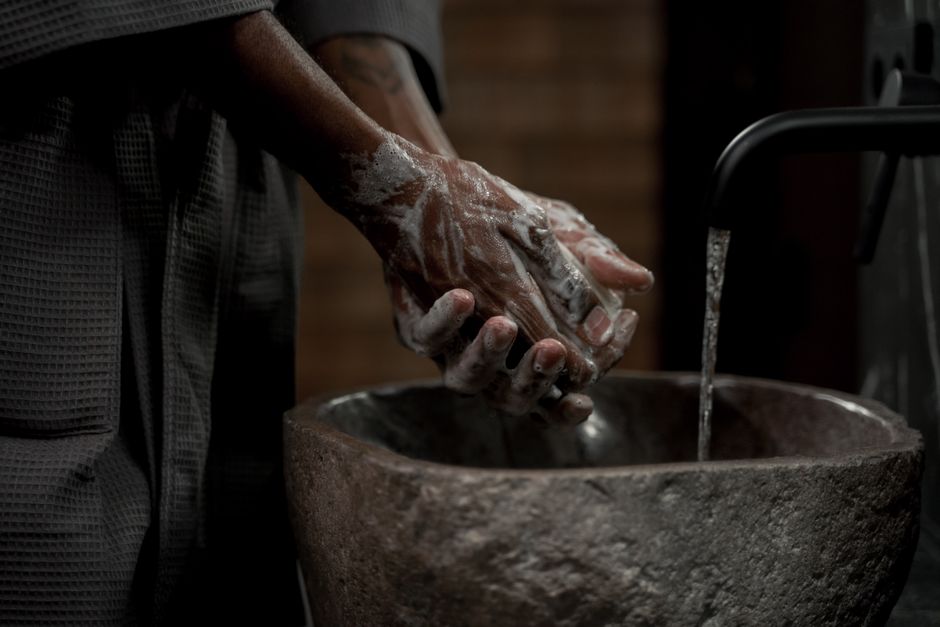
For hand washing, the mechanical action of lathering and rinsing does most of the work. The soap helps lift oils and dirt so water can carry them away. That is true whether the soap is homemade or store-bought — the difference is in how it feels and what is in it, not in how well it cleans.
Frequently Asked Questions
Can I make liquid soap without lye?
Yes, by melting and diluting a pre-made solid soap base. You are not creating soap from scratch in that method, but you do end up with usable liquid soap.
How long does homemade liquid soap last?
Without a preservative, a diluted batch is best used within a few days and kept refrigerated. With a preservative suited to high-pH water-based products, it can last several months if stored away from heat and light.
Why did my liquid soap turn into a solid gel?
You used too little water during dilution, or the paste was not fully cooked before diluting. Reheat gently and add distilled water a small amount at a time until it reaches the consistency you want.
Is homemade liquid soap safe for skin?
It is safe if the pH is in the right range, generally around 9 to 10, and the batch is properly preserved. Soap with a higher pH can irritate or burn skin and should not be used.
