
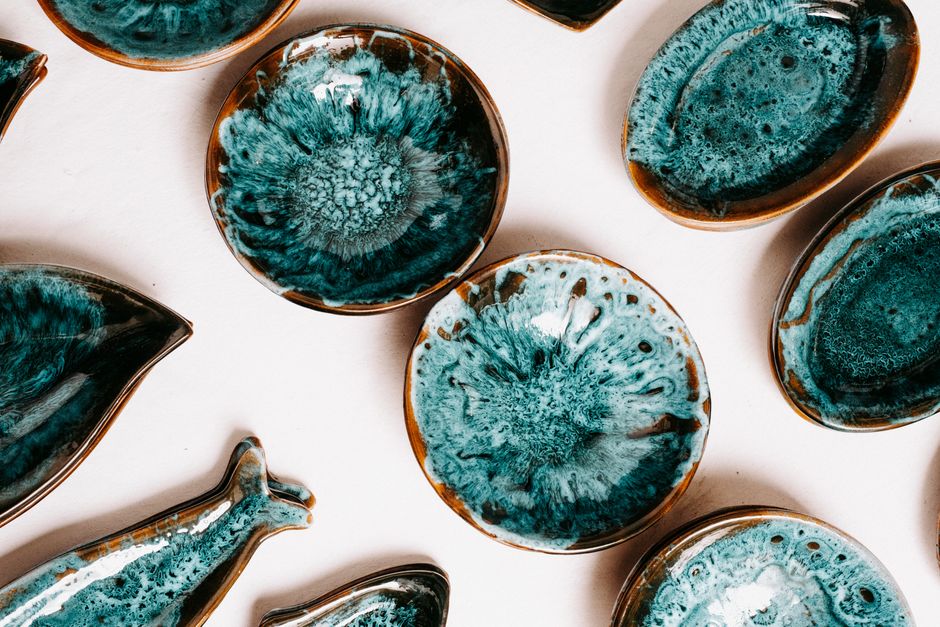
Ceramic glazes are thin layers of glass fused onto clay, and making your own comes down to three things: a recipe of measured raw materials, careful mixing with water, and test tiles fired before you commit a finished piece. The basic process hasn’t changed in centuries. You weigh powdered minerals, add water, mix to a creamy consistency, apply the slurry to a test tile, and fire it to see what the heat actually does.
What surprises most beginners is how little the recipe alone tells you. A glaze is not a paint. Its final appearance depends on the kiln’s top temperature, how fast it cooled, the clay body underneath, and how thickly you applied it. Two potters using the same recipe can get a glossy blue from one kiln and a dry green from another.
This guide covers how recipes are built, how to mix them safely, and how to test before you risk a real piece.
How To Make Ceramic Glazes Recipes Mixing Testing
A glaze recipe is a list of materials by weight, usually adding up to 100 parts. That is the foundation. Everything else — the water, the mixing, the testing — exists to find out whether that recipe works in your kiln on your clay.
What the numbers mean
Most recipes are written as a percentage or parts list. For example, a simple clear glaze might list feldspar, silica, whiting, and kaolin in specific proportions. Each material plays a role. Feldspar and whiting act as fluxes that help the glaze melt. Silica forms the glass. Kaolin keeps the raw glaze suspended in water so it does not settle into a brick at the bottom of the bucket.
You do not need to memorize chemistry to mix a glaze. But understanding that fluxes lower the melting point, silica builds the glass, and alumina stiffens the melt helps you troubleshoot when something goes wrong.
Where recipes come from
Reliable recipes come from published glaze books, ceramic supply companies, university ceramics programs, and established online glaze databases. Starting from a known, tested recipe is far safer than inventing one from scratch. Inventing a glaze that melts properly at your kiln’s temperature is genuinely difficult without training.
Mixing step by step
- Weigh each dry material on a scale accurate to 0.1 grams.
- Add the dry ingredients to a bucket and mix them dry first.
- Add water gradually — usually roughly the same weight as the dry materials, then adjust.
- Stir thoroughly, then let it sit before sieving.
- Screen the slurry through a mesh sieve to break up lumps.
The target consistency is often compared to heavy cream or milk. If it drips off a stirring stick in a thin, even stream, it is close. Too thick and it goes on lumpy. Too thin and it runs off the pot.
Is Mixing Ceramic Glaze Dangerous?
Yes, the dry materials can be hazardous, and the main risk is inhalation. This is the part beginners most often underestimate.
Raw glaze ingredients are fine powders. Some contain materials that are toxic if inhaled or ingested, including certain metal compounds used for color. Silica dust itself is a known respiratory hazard with long-term exposure. The danger is not usually from touching the powder. It is from breathing the dust when you scoop, pour, or sweep.
Safety practices that matter:
- Wear a fitted respirator rated for fine particulates when handling dry materials.
- Mix in a well-ventilated area, ideally with local exhaust.
- Never eat, drink, or smoke in the glaze area.
- Clean up with wet methods — a damp cloth or mop — not dry sweeping.
- Wash hands after handling materials.
Once mixed into a water slurry, the dust risk drops sharply. The slurry itself should still be handled with care. Some glaze materials can be absorbed through skin, and repeated skin contact is worth avoiding. Gloves are a reasonable precaution.
If you are pregnant, breastfeeding, or have a respiratory condition, talk to a doctor before working with raw glaze materials. No clinical guidelines currently exist for safe exposure levels in hobby potters specifically, so the cautious approach is to minimize dust and skin contact.
How Do You Test a Glaze Before Using It?
You test on small tiles, not on finished work. This is the single most important habit in glazing, and skipping it is how pots get ruined.
Making test tiles
Roll or press flat tiles from the same clay body you plan to use. Add a small hole so you can hang and keep them. Label each tile with the recipe name, batch number, and date. Write the label on the tile in a way that survives firing, or keep a matching paper record.
Testing application thickness
Apply the glaze at different thicknesses across the tile, or make several tiles with thin, medium, and thick coats. Glaze behavior changes dramatically with thickness. A glaze that looks perfect thin may run off the bottom when applied thick.
Firing and recording
Fire the tiles the same way you fire your work — same kiln, same temperature, same schedule. After firing, record what you see: color, surface, whether it ran, whether it crazed, whether it fit the clay without shivering or peeling.
Crazing is a network of fine cracks in the glaze surface. Shivering is when glaze flakes off. Both usually point to a mismatch between the glaze and the clay body, not to a mixing mistake. Keeping a fired tile library lets you compare over time and spot patterns.




Why Does the Same Recipe Look Different Every Time?
Because a glaze is a chemical system reacting to heat, not a fixed color. Small changes in the kiln shift the result.
Key variables:
- Top temperature — a difference of even a cone or two changes how much the glaze melts.
- Cooling speed — slow cooling lets crystals form, which can change color and surface.
- Kiln atmosphere — oxidation versus reduction changes how metal oxides behave.
- Clay body — iron in the clay can bleed through and tint a glaze.
- Application thickness — thicker glaze often darkens and can run.
This is why a recipe is a starting point, not a guarantee. Two potters with the same recipe and different kilns can get genuinely different results. Neither is wrong.
What Is the Difference Between Glaze and Underglaze?
They do different jobs. Glaze is the glassy top layer that seals and finishes the surface. Underglaze is a colored decoration applied under the glaze, closer to the clay.
Underglazes are typically pigments mixed with clay and flux. They are painted or drawn onto the raw or bisque-fired pot, then covered with a clear or translucent glaze. The glaze protects the decoration and gives it a glossy finish.
A common mistake is applying underglaze too thickly or using a glaze that is too opaque, which hides the design. Testing matters here too — underglaze colors often shift or fade depending on the glaze over them and the firing temperature.
Do You Need Special Equipment to Make Glazes?
You need a few basics, but nothing exotic. A digital scale accurate to 0.1 grams is the most important tool. A set of buckets, a stirring stick, a mesh sieve, and a respirator cover most beginner needs.
A kiln is essential for firing, but many potters share kiln access through studios or community programs rather than owning one. You do not need a laboratory. You do need patience and a willingness to test.
Some materials are sold pre-mixed as dry glaze base or as ready-to-use liquid glaze. These remove the weighing and dust-handling steps, which is a reasonable path for someone who wants to glaze without managing raw powders.
How Do You Keep Records That Actually Help?
Write down everything, every time. The potters who improve fastest are the ones who can look back and see exactly what changed.
Record the recipe with exact weights, the water added, the batch date, the clay body, the application method and thickness, the firing temperature and schedule, and the result. Keep a fired tile for each batch. Photograph tiles in consistent lighting so you can compare color honestly.
Without records, a good result is luck. With records, it becomes repeatable.
Frequently Asked Questions
Can I make ceramic glaze at home safely?
Yes, with proper precautions, because the main risk is inhaling fine dust from dry materials. A fitted respirator, good ventilation, and wet cleanup methods reduce that risk substantially.
How do I test a glaze before putting it on a finished pot?
Fire small test tiles made from the same clay body, applying the glaze at different thicknesses. Record the results and keep the tiles so you can compare future batches.
Why did my glaze turn out different from the recipe photo?
Because firing temperature, cooling speed, kiln atmosphere, clay body, and application thickness all change the result. The recipe is a starting point, not a fixed outcome.
Do I need to wear a mask when mixing glaze?
Yes, a respirator rated for fine particulates is recommended whenever you handle dry glaze materials. Once mixed into a water slurry, the dust risk drops sharply.
