
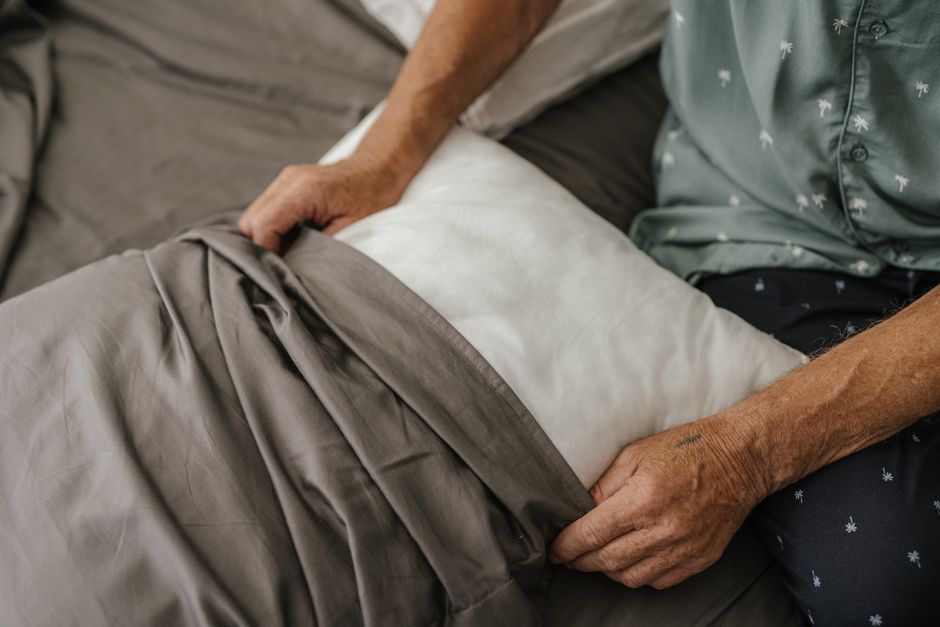
You can make a working arm sling from a pillowcase in about five minutes with no sewing and no special tools. Fold a pillowcase into a triangle, drape the long edge under the injured arm, and tie the two ends behind the opposite side of the neck. Adjust the depth so the hand sits higher than the elbow, then pad the neck strap with a folded cloth to protect the skin.
A pillowcase is a reasonable stand-in when you need to support an arm right now and don’t have a proper sling. It is not a permanent solution. This guide covers how to build one, how to fit it correctly, and when a homemade sling is the wrong choice.
What You Need Before You Start
Most pillowcases will work. A standard size holds an adult forearm and hand without much trouble. A king-size case gives more fabric to work with but can be bulky once folded.
Gather these items:
- One clean pillowcase
- Two safety pins, or a strip of tape if pins aren’t available
- A folded cloth, small towel, or piece of soft fabric for padding the neck strap
- Scissors, only if you need to trim excess fabric
A pillowcase has an open end and a closed end. The closed end is the corner that forms the point of your triangle. The open end is where the fabric layers separate. Keep that in mind as you fold.
How To Make An Arm Sling From A Pillowcase At Home Step By Step
The whole process takes a few minutes. Work slowly and check the fit before you tie anything tight.
Step 1: Fold the pillowcase into a triangle
Lay the pillowcase flat. Fold it in half diagonally so the closed bottom corner meets the open top corner. You now have a triangle with a long folded edge and one pointed end.
If the fabric is thick, press the fold flat with your hand so it holds its shape.
Step 2: Position the triangle under the arm
Have the person sit or stand upright. Slide the long folded edge of the triangle under the injured arm, running from the elbow toward the hand. The pointed end of the triangle should hang down past the elbow.
Bend the elbow to about 90 degrees. This is the angle a sling is designed to hold.
Step 3: Bring the top corner over the shoulder
Take the corner of the triangle that sits near the elbow and bring it up and over the shoulder on the same side as the injury. This corner becomes the back of the neck strap.
Step 4: Bring the front corner up to meet it
Take the other corner — the one near the hand — and bring it up in front of the chest to meet the first corner behind the neck. The two ends should meet near the top of the shoulder on the uninjured side.
Step 5: Tie the ends behind the neck
Tie the two corners together behind the neck on the side opposite the injury. A square knot holds better than a simple bow and is less likely to slip. Leave enough slack that the strap rests on the shoulder, not against the throat.
Step 6: Check the hand position
The hand should sit slightly higher than the elbow. This position uses gravity to reduce swelling and takes strain off the shoulder joint. If the hand hangs lower than the elbow, untie and shorten the strap.
Step 7: Pad the neck strap and secure the point
Slide a folded cloth or small towel under the strap where it crosses the back of the neck. This reduces rubbing and pressure on the skin.
Finally, pin or tape the pointed end of the triangle so it doesn’t flap loose. Fold it up toward the elbow and secure it with a safety pin. If you don’t have a pin, tuck the point under the front edge of the sling.
How Tight Should an Arm Sling Be?
Snug enough to support the arm’s weight, loose enough that you can slide two fingers under the neck strap. That is the practical test.
A sling that is too tight digs into the neck, restricts blood flow, and becomes painful within minutes. One that is too loose lets the arm drop, which defeats the purpose.
Check the fingers after tying. They should be warm and normal in color. If they look pale, blue, or feel numb or tingling, the sling is too tight or positioned wrong. Loosen it and recheck. Numbness or color change that doesn’t resolve after loosening needs medical attention.





What a Sling Does and What It Doesn’t Do
A sling supports the weight of the arm and keeps the elbow bent. That’s its job. It limits movement at the shoulder and elbow, which can reduce pain and protect an injury while it heals.
A sling is not a treatment. It does not repair a fracture, heal a sprain, or fix a dislocation. Those need a proper diagnosis. A sling only holds the arm in a position that makes the injury easier to manage.
There is a common belief that a sling should be worn until the arm feels completely normal again. That isn’t always right. Prolonged immobilization can lead to shoulder stiffness, and some clinicians now recommend starting gentle movement sooner for certain injuries rather than keeping the arm slung for weeks. The right timeline depends on what is actually injured, so it’s a question for a clinician, not a general rule.
When a Pillowcase Sling Is Not Enough
A homemade sling is a temporary measure. It works for minor sprains, a suspected minor strain, or as a stopgap until you can get evaluated.
Get medical care instead of relying on a pillowcase sling if any of these apply:
- The arm or shoulder is visibly deformed
- There is severe pain, or the person cannot move the arm at all
- The hand or fingers are numb, cold, pale, or blue
- There is an open wound, heavy bleeding, or bone showing through the skin
- The injury followed a fall from height or a high-impact accident
- There is swelling that keeps getting worse
A pillowcase sling should not be used to “wait and see” on a possible fracture or dislocation. Those need imaging and proper treatment. Using a sling to delay care can make some injuries worse.
Tips for Wearing a Pillowcase Sling Comfortably
Small adjustments make a big difference over hours of wear.
- Repad the neck strap every few hours. The skin behind the neck is thin and rubs easily.
- Check the fingers for warmth and color each time you adjust the sling.
- Keep the elbow at roughly 90 degrees. Letting it drop strains the shoulder.
- Remove the sling for sleep only if a clinician tells you to. For many injuries, keeping the arm supported at night is more comfortable.
- Don’t wear it longer than needed. Ask a clinician how long support is appropriate for the specific injury.
Making the Sling More Secure
A pillowcase sling can shift, especially with a heavier arm or an active person. A few additions help.
Pin the point of the triangle to the front edge of the sling so it doesn’t swing. If you have a long strip of cloth or a belt, you can wrap it around the torso and over the sling to hold the arm closer to the body. This is sometimes called a swathe. It limits movement more than the sling alone.
If the pillowcase keeps slipping off the shoulder, the strap is probably too loose or the knot is sitting too high on the neck. Retie it so the knot rests on the side of the neck, not the back.
Frequently Asked Questions
Can I make an arm sling from a pillowcase without sewing?
Yes. A pillowcase sling needs no sewing at all. You fold it into a triangle, tie the two corners behind the neck, and secure the loose point with a safety pin or by tucking it in.
Should the hand be higher or lower than the elbow in a sling?
The hand should sit slightly higher than the elbow. This position helps reduce swelling and takes strain off the shoulder.
How long can I wear a pillowcase arm sling?
Use it only as a temporary measure until you can get the injury checked. How long a sling should stay on depends on the specific injury, so follow a clinician’s guidance rather than a fixed number of days.
What are the warning signs that an arm sling is too tight?
Numbness, tingling, pale or blue fingers, or fingers that feel cold mean the sling is too tight or positioned wrong. Loosen it and recheck, and seek medical care if the symptoms don’t go away.
