
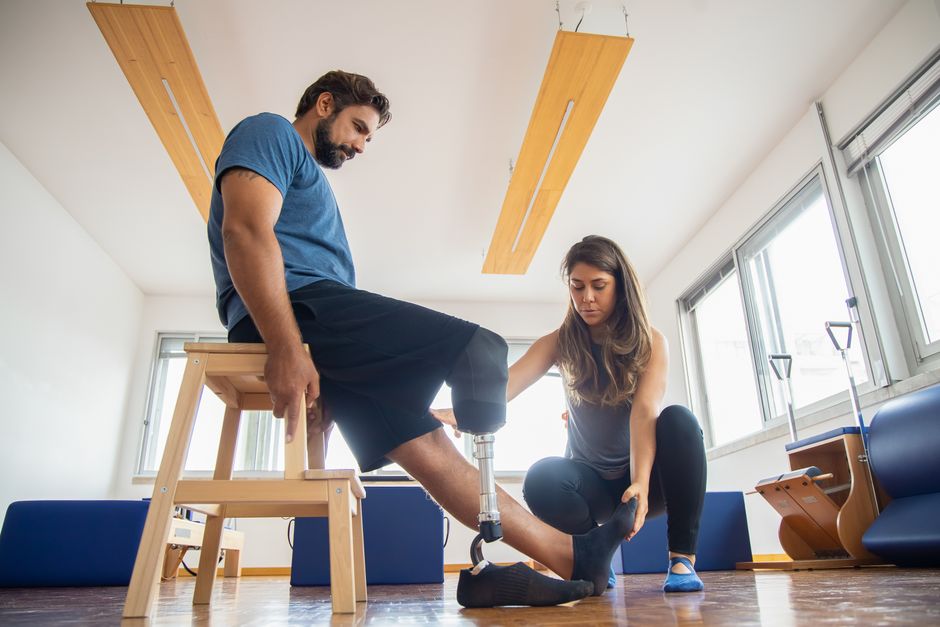
Building a prosthetic arm for a school project means creating a model that copies how a real arm works, not a medical device. Most students build a body-powered design using cardboard, foam, string, and rubber bands. The strings act like tendons. When you pull them, the fingers curl. The project shows how muscles, joints, and cables work together to grip and lift objects.
What Is a Prosthetic Arm and What Does It Actually Do?
A prosthetic arm is an artificial replacement for a missing or partially missing arm. Real prosthetic limbs fall into two main groups: body-powered and electric. Body-powered arms use cables and a shoulder harness. The user moves their shoulders to pull the cables, which opens or closes a hook or hand. Electric arms use motors and sensors. Some respond to muscle signals picked up by electrodes on the skin, a method called myoelectric control.
Your school project will almost certainly be a body-powered model. That is the right choice. It teaches the same mechanical idea that real body-powered prostheses use, and it costs very little.
One thing worth understanding early: a real prosthetic arm does not restore a normal hand. Even advanced myoelectric arms are limited in fine motor control, and many users find a simple hook more useful for daily tasks than a hand with fingers. That gap between what looks impressive and what works well is a genuine engineering problem, not just a school project limitation.
What Materials Do You Need to Make a Prosthetic Arm?
You can build a working model from items you likely already have. The goal is a structure that holds its shape, joints that bend, and a control line that moves the fingers.
- Structure: cardboard, foam board, or a plastic bottle cut into sections
- Joints: brass fasteners, wire, or zip ties to create pivots at the elbow and knuckles
- Fingers: straws, craft sticks, or rolled paper tubes
- Control lines: string, fishing line, or thin elastic cord
- Return force: rubber bands to pull fingers back open
- Grip surface: foam or rubber bands wrapped around the fingertips
- Tools: scissors, hot glue, tape, a hole punch
Fishing line works better than string for control lines because it stretches less. If your line stretches, the fingers will not move as far when you pull. Rubber bands handle the return motion. Without them, fingers stay curled once pulled.
How Do You Build the Arm Step by Step?
Build from the fingertips inward. That way you can test each joint before adding the next part.
Step 1: Cut the fingers. Make four fingers and one thumb. Each finger needs two or three segments so it can curl like a real finger. Real fingers have three joints, but two segments are enough for a model.
Step 2: Connect the segments. Punch a hole through each segment and join them with a brass fastener or a loop of wire. The joint should pivot freely but not wobble. Test it with your hand before moving on.
Step 3: Build the palm and forearm. Cut a palm piece wide enough to hold all four fingers side by side. Add a forearm section long enough to reach from the wrist to the elbow. Attach the fingers to the palm with fasteners.
Step 4: Add the thumb. Place the thumb so it faces the fingers. This is what allows a real grip. A hand with fingers but no opposing thumb cannot pinch or hold most objects.
Step 5: Run the control lines. Tie one end of your fishing line to the tip of each finger. Run the line along the back of the finger, through a guide on the palm, and down the forearm. Guides matter. Without them, the line takes a shortcut and the finger will not curl properly.
Step 6: Add rubber bands. Attach a rubber band to each finger so it springs back open when you release the line. This copies how the muscles and tendons on the back of a real hand extend the fingers.
Step 7: Attach the pull ring or harness. Tie all the control lines to one point. Pull that point and every finger curls at once. You can attach it to a ring you pull with your other hand, or to a loop that fits over your shoulder like a real body-powered harness.
Step 8: Test and adjust. Pick up a foam cup, a pencil, and a small ball. If the grip slips, add foam to the fingertips. If fingers do not curl enough, shorten the control line or move the guide closer to the joint.





How Does a Real Prosthetic Arm Work Compared to Your Model?
Your model and a real body-powered prosthesis share the same core idea: a cable pulls a mechanism that closes a hand or hook. The difference is in materials, precision, and control.
| Feature | School Model | Real Prosthesis |
|---|---|---|
| Power source | Hand pull or shoulder harness | Shoulder harness or electric motors |
| Control | Single cable, all fingers together | Cable or muscle-signal sensors |
| Materials | Cardboard, foam, string | Carbon fiber, silicone, metal |
| Grip | Simple pinch or wrap | Adjustable tension, sometimes powered grip |
| Cost | A few dollars | Thousands of dollars |
Myoelectric arms use sensors called electrodes that sit against the skin. They pick up the small electrical signals your muscles make when you flex. The signal tells a motor to open or close the hand. This sounds simple, but the signal is faint and noisy, which is why myoelectric control can feel slow or unreliable for some users.
How Can You Make Your Project More Realistic or Impressive?
Once the basic arm works, small changes make a big difference in how it looks and functions.
- Add a wrist joint that rotates, so the hand can turn like a real wrist
- Use two control lines, one to close the hand and one to open it, instead of rubber bands
- Wrap the fingers in rubber or silicone to improve grip
- Build the forearm to scale using your own arm as a reference
- Add a simple sensor and small motor if your class allows electronics
A realistic look is nice, but function is what earns marks in most science fairs. A model that reliably picks up a cup beats one that looks perfect but cannot grip. Judges tend to ask what problem the design solves and how you tested it.
What Should You Explain About Prosthetic Arms in Your Presentation?
The strongest presentations explain the engineering trade-offs, not just the build. Anyone can describe what they made. Fewer students can explain why they made the choices they did.
Cover these points:
- How body-powered and electric prostheses differ
- Why opposing thumbs matter for grip
- Why control lines need guides to work
- What limits real prosthetic arms, such as weight, cost, and control precision
- What you would change if you built it again
If you want one honest point to include: prosthetic technology has improved a lot, but no current arm fully matches a natural hand in fine control and sensation. That is a real limitation engineers are still working on, and it is more interesting than pretending the problem is solved.
Frequently Asked Questions
What is the easiest material to make a prosthetic arm for a school project?
Cardboard and foam board are the easiest materials because they are cheap, light, and simple to cut. Fishing line works better than string for the control lines because it stretches less.
How do you make the fingers move on a model prosthetic hand?
Run a line from each fingertip through a guide on the palm and down the arm, then pull all the lines together to curl the fingers. Rubber bands pull the fingers back open when you release the line.
Do real prosthetic arms work the same way as a school model?
Body-powered prostheses use the same cable-and-harness idea your model uses, just with stronger materials and better precision. Electric prostheses use motors and sensors that read muscle signals instead of a pull cable.
How long does it take to build a prosthetic arm for a project?
A basic working model can be built in a few hours, though adding joints, grip surfaces, and testing takes longer. There is no standard build time because it depends on the design and materials you choose.
