
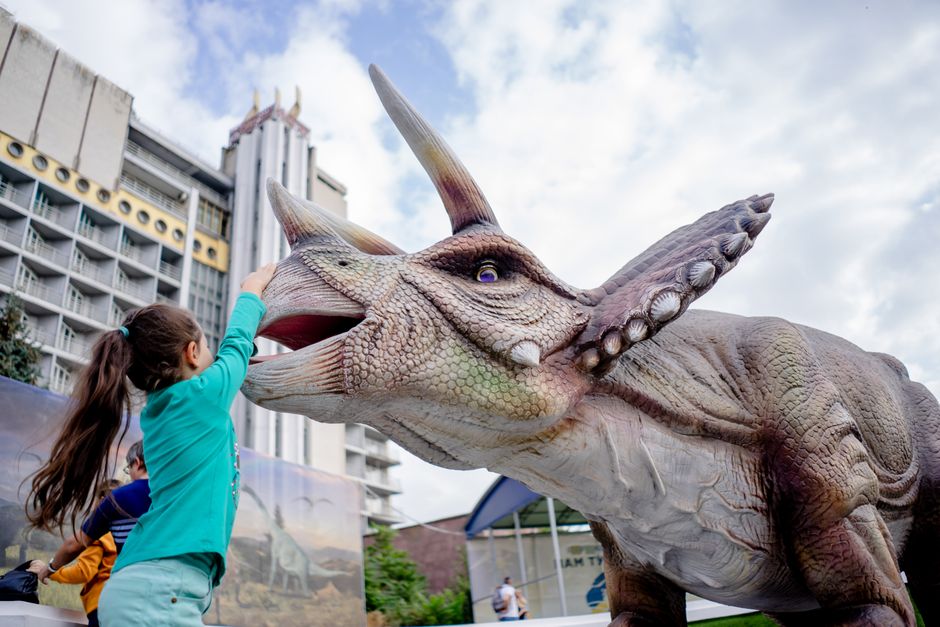
Making a realistic dinosaur tail comes down to three things: the right silhouette, a surface that reads as skin rather than fabric, and a natural curve. Start with a lightweight foam core shaped to taper from wide base to narrow tip. Cover it with a textured skin layer, add a flexible spine so it bends instead of sticking out stiff, and finish with paint that creates depth. The difference between a costume tail and a convincing one is almost always in the taper and the texture, not the color.
This is a craft project, so the guidance here is about materials, structure, and finish. Nothing below involves health or safety claims beyond basic workshop sense. Where a material has real handling risks, those are noted plainly.
What Materials Give a Dinosaur Tail a Realistic Look?
EVA foam is the workhorse material for most convincing tails. It is lightweight, holds a carved shape, takes paint well, and can be heat-formed into curves. Craft foam sheets in a few thicknesses let you build a tapered core and a textured outer layer.
Here is a practical material breakdown:
- Core structure: EVA foam (craft or floor-mat density) for the body, or upholstery foam for a softer, rounder tail.
- Flexible spine: thick aluminum wire, plastic tubing, or a length of garden hose run through the center so the tail holds a curve.
- Skin texture: foam clay, hot-glue stippling, or a patterned impression made with a textured roller or mesh.
- Paint: acrylics for base color, then washes and dry-brushing for depth.
- Sealant: a flexible clear coat so paint does not crack when the tail bends.
The single most common mistake is choosing a heavy material. A tail that weighs too much sags, pulls at the attachment point, and looks lifeless. Lightweight foam keeps the shape and lets you build a natural arc.
How Do You Shape a Tapered Dinosaur Tail?
Taper is what makes a tail read as animal rather than prop. Real tails narrow gradually from the base to the tip, and the change is smooth, not stepped. Cut your core as a long wedge rather than a uniform tube.
Sketch the profile first on paper at full length. Mark the base width, the tip width, and the point where the tail curves most. Transfer that outline to foam and cut slightly oversized, then sand or carve to the final shape.
For a curved tail, heat the foam gently with a heat gun and bend it over a form, holding until it cools. EVA foam holds a set curve this way. Work in a ventilated space, because heating foam releases fumes. Do not overheat it to the point of melting or burning.
If you want a segmented look, cut shallow grooves across the tail at intervals that get closer together toward the tip. This mimics how a real tail’s structure tightens toward the end, and it adds visual interest without extra weight.
How Do You Add Realistic Skin Texture?
Texture is where a flat foam tail becomes convincing. Dinosaur skin, as reconstructed from fossil impressions, was not smooth. It showed scales, bumps, and folds of varying size. You do not need to copy a specific species, but irregular texture reads as more natural than a uniform pattern.
Three approaches work well:
- Foam clay: press small amounts onto the surface and smooth it into scale-like bumps. It dries lightweight and takes paint.
- Hot glue: lay down small dots and short lines, then let them set. Once painted, they read as raised scales and skin ridges.
- Impression: press a textured object, such as mesh, burlap, or a textured roller, into warmed foam to leave a pattern.
Vary the size of your texture. Large bumps along the back, smaller ones toward the sides, and finer detail near the tip. Add a few deeper creases where the tail would naturally bend, because skin folds at joints. That detail is subtle but it is what separates a good tail from a great one.
How Should You Paint a Dinosaur Tail to Look Natural?
Natural animal coloration is rarely one flat color. It shifts across the body, often darker on top and lighter underneath. Build your paint in layers rather than trying to get the final color in one pass.
Start with a base coat in a mid-tone. Then apply a darker wash into the recesses of your texture so the raised areas catch light and the grooves read as shadow. Dry-brush a lighter tone over the high points. This is the same technique model makers use, and it works because it mimics how light actually hits a textured surface.
Add a subtle darker banding or mottling along the back if you want a natural look. Keep the underside lighter. Seal the whole tail with a flexible matte clear coat. Glossy finishes tend to look plastic, so matte or satin reads more like skin.
One clarification worth knowing: there is no single “correct” dinosaur color. Pigment preserved in some fossils suggests certain dinosaurs had patterned or even reddish coloring, but reconstructing exact coloration from fossils is an area of active research with real limits. You have creative room here.
How Do You Attach and Wear a Dinosaur Tail?
A realistic tail still has to move with the body, or the illusion breaks. The attachment matters as much as the shape.
Most costume tails attach at the lower back with a belt or a harness. Build a firm base plate into the tail and connect it to a wide strap so the weight spreads out. A narrow strap concentrates pressure and the tail swings awkwardly.
Run your flexible spine from the base plate through the length of the tail. This lets the tail hold a curve and sway slightly as you move, which looks far more natural than a rigid tail. Leave the very tip slightly flexible so it does not look stiff.
Test the balance before you finish. Walk, turn, and sit down while wearing it. Adjust the spine and attachment until the tail follows your movement instead of fighting it.
What Separates a Realistic Dinosaur Tail From a Costume One?
The difference usually comes down to a few specific details. Most homemade tails get the color roughly right but miss the structure and texture that make the eye believe it.
The details that matter most:
- Smooth taper: a gradual narrowing from base to tip, not a stepped or uniform shape.
- Irregular texture: varied scale size and a few natural creases rather than a uniform pattern.
- Layered paint: shadow in the recesses and lighter highlights on raised areas.
- Flexible movement: a spine that lets the tail curve and sway.
- Matte finish: a surface that reads as skin, not plastic.
None of these require expensive tools. They require attention to how a real animal surface looks and behaves. Get the taper and texture right and the paint will do the rest.
Frequently Asked Questions
What is the best material for a realistic dinosaur tail?
EVA foam is the most practical choice because it is lightweight, holds a carved shape, and takes paint well. Upholstery foam works for a softer tail but is harder to taper cleanly.
How do I make a dinosaur tail curve naturally?
Run a flexible spine such as thick aluminum wire or plastic tubing through the center of the tail. This lets it hold a curve and sway slightly as you move instead of staying rigid.
How do you make fake dinosaur skin texture?
Press foam clay, hot glue dots, or a textured object into the surface to create raised scales and ridges. Vary the size of the texture so it looks irregular rather than uniform.
Do I need to seal a painted dinosaur tail?
Yes, a flexible matte or satin clear coat protects the paint and keeps it from cracking when the tail bends. A glossy finish tends to look plastic, so matte reads more like real skin.
