
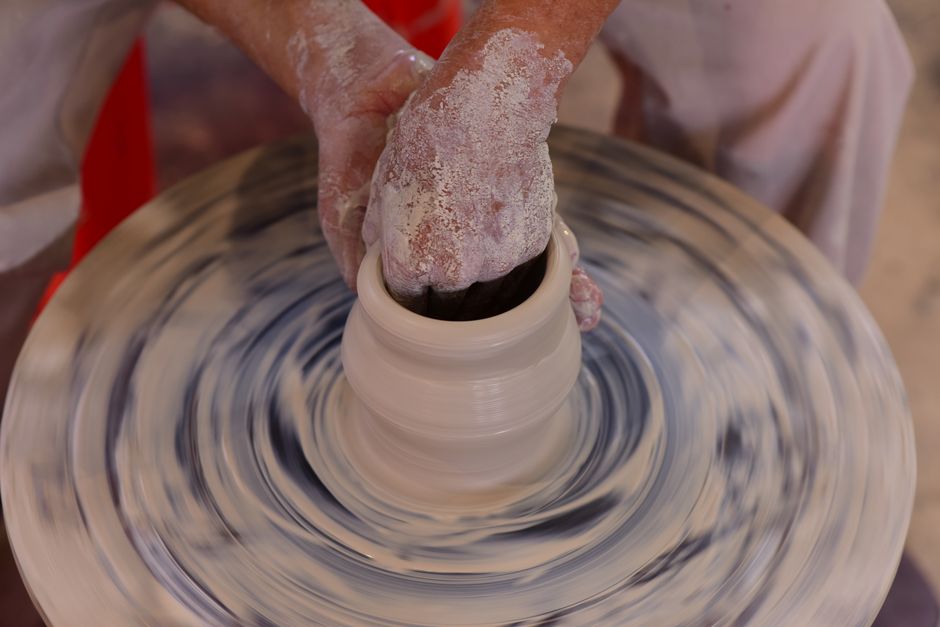
Making a cup out of clay without a wheel is entirely possible using simple hand-building techniques that have been used for thousands of years. The two most reliable methods are pinching and coil building. A pinch pot is the fastest way to shape a small cup with your hands alone. Coil building gives you more control over the height and shape, making it ideal for taller mugs. You can create a fully functional, food-safe cup at home with air-dry clay or with pottery clay that you fire in a kiln. The process requires patience, steady hands, and a few basic tools you likely already own.
What Materials Do You Need?
Before you start, gather the right supplies. The clay you choose matters more than any other decision in this project.
Air-dry clay is the best option for beginners and for anyone without access to a kiln. It hardens naturally at room temperature over 24 to 72 hours. It requires no special equipment and is widely available at craft stores. However, air-dry clay is not food-safe unless the package specifically states otherwise. It is porous and can absorb liquids, which makes it risky for holding beverages. If you plan to drink from the cup, you need pottery clay.
Pottery clay (earthenware, stoneware, or porcelain) requires firing in a kiln at high temperatures. You can shape the cup at home, but you must bring it to a pottery studio or professional kiln service for bisque firing and glazing. This is the only way to make a cup that is truly safe for drinking.
Beyond clay, you need:
- A small bowl of water for moistening your hands
- A wooden or plastic knife for cutting clay
- A smooth surface like a wooden board or canvas cloth
- A sponge or soft cloth for smoothing
- A rolling pin if you plan to make a flat base
That is the complete list. No wheel required.
How To Make A Cup Out Of Clay Without A Wheel Using The Pinch Method
The pinch method is the oldest and simplest way to form a cup. It works best for small cups that hold roughly 4 to 6 ounces. Start with a ball of clay about the size of a tennis ball. Knead it briefly to remove air bubbles. If you skip this step, the cup may crack during drying or firing.
Press your thumb into the center of the ball, stopping about half an inch from the bottom. This thickness becomes the base of your cup. Now rotate the clay in one hand while gently squeezing the walls between your thumb and fingers. Work slowly and evenly. Each rotation should compress the clay slightly and raise the walls a little higher. Keep your hands slightly damp to reduce friction.
As the walls rise, check the thickness regularly. Aim for walls that are about a quarter-inch thick. If they get too thin, the cup may collapse. If they are too thick, the cup will be heavy and may crack during firing. Pinch from the bottom toward the rim, never from the rim down. This keeps the base from thinning out.
Once the cup reaches your desired height, smooth the rim by pressing it gently between your thumb and index finger. A wet sponge can help remove fingerprints and create a clean surface. Let the cup dry slowly, covered loosely with plastic wrap for the first day, to prevent cracking.
How To Make A Taller Cup Using Coils
Coil building is the better method for taller mugs or cups with more complex shapes. It gives you precise control over the height and allows you to build walls that remain even from base to rim.
Start by rolling out a flat slab of clay for the base. Use a rolling pin and aim for a thickness of about a quarter-inch. Cut a circle roughly 3 to 4 inches in diameter. This will be the bottom of your cup.
Next, roll long snakes of clay, each about the thickness of your index finger. Keep them uniform. If a coil is thicker in some spots than others, your cup walls will be uneven. Roll each coil on a flat surface with even pressure from the center outward.
Attach the first coil to the edge of the base. Score both surfaces with a fork or a needle tool — this means scratching crosshatch patterns into the clay. Apply a small amount of water or slip (clay mixed with water into a paste) to the scored areas. Press the coil firmly onto the base. This creates a mechanical and chemical bond that prevents the cup from separating.
Continue stacking coils, one on top of the other. Blend each joint together with your fingers or a small tool so the coils disappear into a single wall. If you leave the coils visible, the cup will have a textured, ribbed look. That is a valid aesthetic choice. For a smooth cup, blend thoroughly.
After every two or three coils, stop and check the shape. Use your hands to gently compress the walls inward or outward as needed. Let the cup firm up for 30 minutes if it starts to sag. This resting period allows the clay to stiffen enough to support more weight.





How To Finish The Cup: Drying, Trimming, And Attaching A Handle
When the cup is fully shaped, let it dry until it reaches the leather-hard stage. This is the point where the clay is firm enough to hold its shape but still slightly damp. It feels like cold cheese. At this stage, you can trim the rim with a needle tool to make it perfectly level. You can also carve designs or add texture.
If you want a handle, now is the time to attach it. Roll a short coil about 3 inches long. Flatten the ends. Score both the handle ends and the side of the cup where the handle will attach. Apply slip and press the handle firmly into place. Support the handle with a small rolled piece of clay or a foam wedge while it dries. Handles often fall off during drying or firing if the joint is weak, so take your time with this step.
Drying must be slow and even. Fast drying causes cracks. Cover the cup loosely with plastic wrap for the first 24 to 48 hours, then remove the wrap and let it air dry completely. A small cup may take 5 to 7 days to dry fully. A larger mug can take up to two weeks. The cup is ready for firing only when it feels bone dry and room temperature to the touch — no cool spots.
Can You Make The Cup Food-Safe Without A Kiln?
This is the most important question, and the answer is clear: no. Air-dry clay, polymer clay, and oven-bake clay are not food-safe for drinking vessels. They remain porous even after curing. Liquids can seep into the walls, where bacteria can grow. No sealant, varnish, or paint marketed for crafts changes this fact. These products are not designed for repeated contact with food and drink.
To make a cup that is safe to drink from, you must use pottery clay fired in a kiln to the correct temperature for that specific clay body. After the first firing (bisque firing), you apply a food-safe glaze and fire it again. The glaze creates a glass-like, non-porous surface that protects both you and the clay. A properly glazed cup is dishwasher-safe and safe for hot and cold beverages.
If you do not have access to a kiln, look for a local pottery studio that offers kiln rental or firing services. Community centers, art schools, and independent potters often fire work for a fee. The cost is usually modest, often around $10 to $20 per piece depending on size and location.
If you are making a decorative cup or a pencil holder, air-dry clay is perfectly fine. Just do not drink from it.
Common Mistakes And How To Avoid Them
Every beginner makes the same few errors. Knowing them in advance saves you time and frustration.
Cracks during drying are the most common problem. They happen when the clay dries unevenly or too quickly. Thin parts dry faster than thick parts, and the shrinkage pulls the clay apart. Keep the cup covered for the first day or two and allow plenty of time for full drying. Do not rush this stage.
Thin walls collapse under the weight of the cup. Check the wall thickness frequently while you work. If you can see light through the clay when you hold it up to a lamp, it is too thin. Press the walls gently back together to thicken them.
A wobbly base happens when the bottom is uneven. Before the cup dries, place it on a flat surface and press down gently. If it rocks, trim the base with a knife while the clay is still soft.
Handles falling off is almost always a scoring problem. You must scratch both surfaces deeply and apply enough slip. A shallow score is not enough. Press the handle on firmly and let the joint dry slowly.
Frequently Asked Questions
How long does it take to make a clay cup by hand?
Shaping the cup takes 30 to 60 minutes for a beginner. Drying takes 5 to 14 days, and kiln firing adds another 1 to 2 weeks if you use pottery clay.
What is the best clay for a beginner without a wheel?
Air-dry clay is easiest for practice because it needs no kiln. For a cup you can actually drink from, use pottery clay and have it fired professionally.
Can I use a regular oven to fire my clay cup?
No. Oven-bake polymer clay does not become food-safe, and pottery clay requires kiln temperatures around 1800 to 2300 degrees Fahrenheit that a home oven cannot reach.
Why did my clay cup crack while drying?
Most cracks come from drying too fast or unevenly. Cover the cup loosely with plastic for the first day and let it dry slowly over a week or more.
