
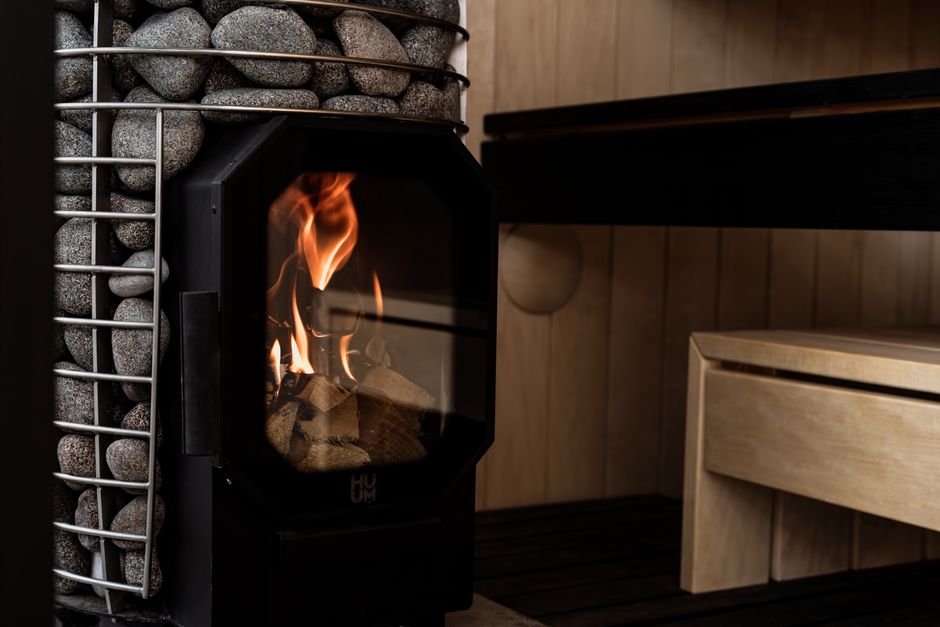
Lighting a fire in a fireplace the right way starts with a clean firebox, an open damper, and the correct wood. You build the fire using a top-down method, which means placing the largest logs on the bottom and the kindling and tinder on top. This setup lights easily, burns cleaner, and produces less smoke than traditional bottom-up fires.
Why the Top-Down Method Works Better
Most people build fires the old way: tinder at the bottom, kindling on top, logs above that. That method works, but it burns fast and produces more smoke. The top-down method flips the order. Large logs sit on the grate, then smaller logs, then kindling, then tinder on the very top.
When you light the tinder, the flames catch the kindling below it. The kindling ignites the smaller logs, and the heat radiates down to the larger logs. This creates a longer, steadier burn. The fire establishes a good coal bed early, which is what actually heats your home.
Top-down fires also produce less smoke because the flames start above the cooler air. Smoke rises through the flames and gets burned off before it enters the chimney. You get a cleaner burn with less creosote buildup in your flue.
Preparing the Fireplace Before You Light Anything
Start with a cold fireplace. Remove old ashes, but leave a thin layer — about an inch — on the floor of the firebox. This layer insulates the firebox floor and helps reflect heat back into the fire.
Check the damper. It must be fully open before you light anything. A closed damper will fill your home with smoke. If you are not sure whether the damper is open, hold a lit match near the flue opening. If the smoke pulls upward, the draft is working. If it blows back into the room, wait or warm the flue first.
Cold chimneys often have a weak draft. The air inside the flue is heavier than the warm air outside, so smoke goes nowhere. Warm the flue by holding a rolled-up piece of newspaper under the damper opening for a minute. The rising heat starts the draft, and your fire will light more easily.
Choosing the Right Wood
Wood is the single biggest factor in how well your fire burns. You need seasoned hardwood. Seasoned means the wood has been split and dried for at least six to twelve months. Freshly cut wood — green wood — contains too much moisture. It hisses, smokes heavily, and produces creosote.
Good options include oak, maple, ash, hickory, and beech. These hardwoods burn hot and produce long-lasting coals. Softwoods like pine and fir light quickly but burn fast and create more creosote. You can use softwood for kindling, but use hardwood for the main logs.
Test your wood before buying. Seasoned wood is lighter than green wood. The bark peels away easily. When you knock two pieces together, seasoned wood makes a sharp crack. Green wood makes a dull thud. If you are unsure, buy a moisture meter. Wood should read below 20 percent moisture content to burn cleanly.
-
 Natural Remedies for Constipation: 10 Science-Backed Options
 -
How to Loosen a Bowel Blockage at Home. Easy Tips To Follow
-
Can Intermittent Fasting Cause Constipation? Benefits, Pros & Cons
-
Pulmo Balance Reviews 2026: Legit Lung Support Or Not?
-
Constipation Relief During Pregnancy: Why It happens & Tips




Step-by-Step: How To Light A Fire In A Fireplace The Right Way
Follow these steps in order. Each step builds on the last.
Step 1: Open the damper fully. Confirm the draft works before you arrange anything.
Step 2: Place two large logs parallel on the grate. Leave a few inches of space between them so air can flow underneath.
Step 3: Lay a third log across the top of the first two. This creates a stable base that allows air to move through the stack.
Step 4: Add a second layer of slightly smaller logs. Place them perpendicular to the first layer. Keep the same spacing pattern.
Step 5: Put kindling on top. Use small, dry sticks about the thickness of your finger. Arrange them in a crisscross pattern across the top layer.
Step 6: Place tinder on the very top. Use dry newspaper twisted into loose rolls, or commercial fire starters. Do not use lighter fluid, gasoline, or any accelerant. These create dangerous flare-ups and release toxic fumes.
Step 7: Light the tinder in several places. One match is rarely enough. Light two or three spots so the fire catches evenly.
Step 8: Leave the glass door open or slightly ajar for the first few minutes. This gives the fire the oxygen it needs to establish. Once the fire is burning steadily, close the door or adjust the screen.
What Not to Do When Lighting a Fireplace Fire
Several common mistakes make fires harder to light and more dangerous to burn.
Never use accelerants. Gasoline, lighter fluid, and kerosene cause explosive flare-ups. The vapors can ignite and flash back at you. Even charcoal starter fluid is unsafe in a fireplace.
Never burn trash, cardboard, or treated wood. Cardboard produces heavy smoke and floating embers. Treated wood releases toxic chemicals when burned. Painted wood is also dangerous because the paint fumes are harmful to inhale.
Do not cram the firebox full of wood. Fires need air. Overloading the firebox restricts airflow and creates a smoky, inefficient burn. Two to three logs at a time is usually enough.
Do not leave a fire unattended. Every year, house fires start from unattended fireplaces. Never leave the room while the fire is burning. If you must leave, extinguish the fire completely.
How to Keep the Fire Burning Well
Once your fire is established, you need to manage it. Add logs one at a time. Place the new log at the back of the firebox, not on top of the flames. This lets it dry and preheat before it ignites.
Use a fireplace tool to spread the coals evenly. A flat, even coal bed burns hotter and more consistently than a pile of coals in one spot. When the flames die down and the coals glow red, add another log.
Check the glass door. If it gets black and sooty, the fire is not burning cleanly. This usually means the wood is too wet or the air supply is restricted. Open the damper wider and make sure the wood is seasoned.
When to Close the Damper
Leave the damper fully open while the fire burns. Do not close it partway to slow the burn. This creates a smoke backup and increases creosote buildup.
When the fire is completely out and the ashes are cool to the touch, close the damper. This prevents warm air from your home from escaping up the chimney. If you close the damper while embers still glow, you risk filling the room with carbon monoxide.
Wait at least a few hours after the last flame dies before closing the damper. When in doubt, leave it open. Losing some warm air is safer than carbon monoxide exposure.
Seasonal Maintenance for Safe Fires
A clean fireplace is a safe fireplace. Have your chimney inspected and cleaned once a year by a certified chimney sweep. This removes creosote buildup, which is the leading cause of chimney fires.
Creosote is a dark, tar-like substance that forms when wood burns incompletely. It coats the inside of the chimney flue. Over time, it can ignite and cause a chimney fire that spreads to the rest of the house.
Between professional cleanings, check the firebox for cracks. Inspect the damper to make sure it opens and closes properly. Look at the mortar between bricks. If you see gaps or crumbling mortar, have it repaired before the next burning season.
Frequently Asked Questions
How long should wood season before burning?
Wood should season for at least six to twelve months after being split. Properly seasoned wood has a moisture content below 20 percent and burns with minimal smoke.
Can I use newspaper to start a fireplace fire?
Yes, dry newspaper is an effective tinder. Roll it into loose balls or twists and place it on top of the kindling. Avoid glossy pages, which release more smoke and chemicals when burned.
Why does my fireplace smoke when I light it?
Smoke usually means the chimney draft is too weak or the flue is cold. Open the damper fully and warm the flue with a rolled newspaper held under the damper opening before lighting the fire.
Is it safe to leave fireplace ashes in the firebox?
A thin layer of ash — about one inch — is fine and actually helps reflect heat. But remove excess ash regularly, and always store removed ashes in a metal container away from the house. Ashes can stay hot enough to start a fire for days.
