
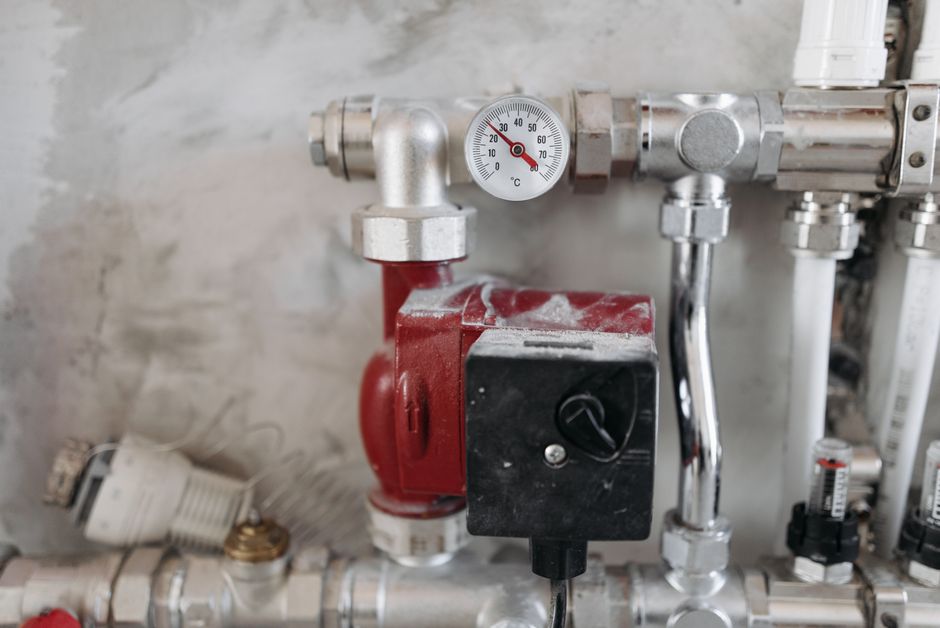
Installing a pressure reducing valve is a straightforward plumbing project that protects your home’s pipes and appliances from damage caused by high incoming water pressure. The process involves shutting off the main water supply, cutting into the main line, and soldering or threading the valve into place. Most homeowners with basic plumbing skills can complete this job in a few hours with the right tools.
Why Does Your Home Need a Pressure Reducing Valve?
Municipal water systems often deliver water at pressures between 60 and 80 psi. Many homes receive water at even higher pressures. This force can strain pipes, cause leaks, and shorten the life of appliances like washing machines, dishwashers, and water heaters.
A pressure reducing valve, sometimes called a PRV, lowers incoming water pressure to a safe level. Most valves are set to deliver water at 50 psi. This protects your plumbing system while still providing adequate water flow for showers, faucets, and appliances.
Signs that your home may need a PRV include banging pipes when water turns off, dripping faucets, running toilets, or frequent appliance failures. If you suspect high pressure, a simple gauge that threads onto an outdoor spigot can tell you your home’s pressure in minutes.
What Tools and Materials Do You Need?
Before starting, gather everything you need. Running to the hardware store mid-project wastes time and can leave your water shut off longer than necessary.
- Pressure reducing valve (match your pipe size, typically 3/4 inch)
- Pipe cutter or hacksaw
- Adjustable wrenches
- Teflon tape or pipe joint compound
- Propane torch and solder (for copper pipe)
- Pipe fittings as needed (couplings, adapters)
- Bucket and towels for residual water
- Pressure gauge for testing after installation
Check your local building codes before purchasing. Some jurisdictions require a licensed plumber to install a PRV. Others allow homeowners to do the work but may require an inspection.
How To Install A Pressure Reducing Valve: Step-by-Step
Step 1: Shut off the main water supply. Locate the main shutoff valve, usually near the water meter or where the main line enters your home. Turn it clockwise until it stops. Open the lowest faucet in the house to drain remaining water from the pipes.
Step 2: Locate the installation point. The PRV should be installed on the main water line, after the shutoff valve and before any branch lines. Most homes install it right after the main shutoff. This ensures all water entering the home passes through the valve.
Step 3: Measure and cut the pipe. The valve has a specific length. Measure this distance on your pipe and mark it. Cut out this section using a pipe cutter for copper or PEX pipe. For copper pipe, make sure the cut ends are square and clean.
Step 4: Prepare the pipe ends. For copper pipe, clean the ends with emery cloth until they shine. Apply flux to both the pipe ends and the inside of the valve connections. For threaded connections, wrap Teflon tape clockwise around the pipe threads.
Step 5: Install the valve. Pay attention to the arrow on the valve body. It indicates the direction of water flow. The arrow must point away from the water source and toward the house. For copper pipe, heat the joint with a propane torch and apply solder. For threaded connections, thread the valve onto the pipe and tighten with wrenches.
Step 6: Close the bypass valve if present. Some PRVs have a bypass feature for servicing. Make sure this is closed before turning water back on. If your valve has an adjustment screw, leave it at the factory setting for now.
Step 7: Turn the water back on slowly. Open the main shutoff valve gradually. Check all connections for leaks. Tighten fittings slightly if needed. Air will need to be purged from the system, so open faucets throughout the house until water flows steadily.
Step 8: Adjust the pressure. Attach a pressure gauge to an outdoor spigot or laundry tub faucet. Turn on the water and read the pressure. Most PRVs are preset to 50 psi. If adjustment is needed, loosen the locknut on the adjustment screw and turn the screw clockwise to increase pressure or counterclockwise to decrease it. Tighten the locknut when done.





Soldering vs. Threaded Connections: Which Is Right?
Copper pipe typically requires soldering. This is the most common installation method in older homes. Soldering creates a permanent, leak-free connection when done correctly. It requires a propane torch and basic soldering skills.
Threaded connections are common on galvanized steel pipe. These are simpler to install because they do not require heat. However, you may need to adapt from the existing pipe material to the valve’s connection type.
PEX pipe uses crimp or push-fit connections. These are the easiest for DIY installation. Many modern PRVs come with push-fit connections that simply snap onto PEX or copper pipe. Check the manufacturer’s instructions to confirm compatibility with your pipe material.
If your home has a mix of pipe materials, you will need transition fittings. These adapt from one material to another. They are available at most hardware stores and are straightforward to install.
Common Mistakes To Avoid
Installing the valve backward is the most common error. The arrow on the valve body must point in the direction of water flow. Installing it backward prevents water from entering the home entirely.
Not supporting the valve is another frequent mistake. A PRV adds weight to the pipe. If the pipe is not supported, the weight can cause the pipe to sag or stress the connections. Use pipe supports or brackets to secure the valve and nearby pipe.
Skipping the pressure test is a mistake that leads to future problems. Always verify the output pressure after installation. A valve set too high defeats the purpose. A valve set too low gives weak water pressure throughout the house.
Failing to check local codes can create serious problems. Some municipalities require permits for this work. Others restrict who can perform it. An unpermitted installation can complicate home sales or insurance claims.
How To Know If Your Pressure Reducing Valve Is Working
After installation, monitor your home’s water pressure over several days. A pressure gauge gives an accurate reading. Attach it to an outdoor spigot and check the pressure with no other water running in the house.
Normal household pressure should be between 40 and 60 psi. If your gauge reads above 60 psi, adjust the valve down. If it reads below 40 psi, you may have a different issue like a partially closed valve or a plumbing restriction.
Listen for changes in your plumbing. Banging pipes, called water hammer, should stop after installation. Dripping faucets and running toilets should also resolve if high pressure was the cause. If these problems continue, they may stem from worn fixtures or other issues unrelated to pressure.
PRVs do not last forever. Most have a lifespan of 10 to 15 years. If your home already has a PRV and you are experiencing high-pressure symptoms, the valve may have failed. A plumber can test the valve and replace it if needed.
When To Call a Professional
Some situations warrant professional help. If your main water line is buried in concrete or located in a difficult-to-reach area, a plumber has better tools and experience. If your home has a complex plumbing layout, a mistake could cause significant water damage.
If you are not comfortable soldering copper pipe, hire a professional. A poorly soldered joint can leak and cause water damage behind walls. The cost of a plumber is often worth the peace of mind.
Some homes have a pressure reducing valve already installed but located in an accessible spot. Replacing an existing valve follows the same steps as a new installation. However, if the old valve is corroded or stuck, removal can be challenging. A plumber can handle this safely.
Maintenance Tips for Your New Valve
PRVs require minimal maintenance, but a few simple steps extend their life. Check the pressure gauge annually to confirm the valve is still set correctly. Pressure can drift over time.
Keep the area around the valve clear. Dust, debris, and moisture can corrode the adjustment mechanism over time. Wipe the valve clean occasionally with a dry cloth.
Some PRVs have a strainer or filter screen that catches debris. Check the manufacturer’s instructions to see if yours does. If so, clean it periodically to prevent clogging.
If you notice the pressure creeping up over time, the valve may be failing. This is normal wear and tear. Replacement is more cost-effective than repairing a damaged plumbing system.
Frequently Asked Questions
Where should a pressure reducing valve be installed?
Install it on the main water line immediately after the main shutoff valve and before any branch lines. This ensures all water entering the home passes through the valve.
What pressure should a pressure reducing valve be set to?
Most valves are set to 50 psi, which is safe for household plumbing. The acceptable range is typically 40 to 60 psi.
How long does it take to install a pressure reducing valve?
Most installations take 2 to 4 hours for a DIY homeowner. The time depends on your pipe material and whether you need to make adjustments to the existing plumbing.
Can I install a pressure reducing valve myself?
Yes, if you have basic plumbing skills and the right tools. However, check local codes first, as some areas require a licensed plumber for this work.
