
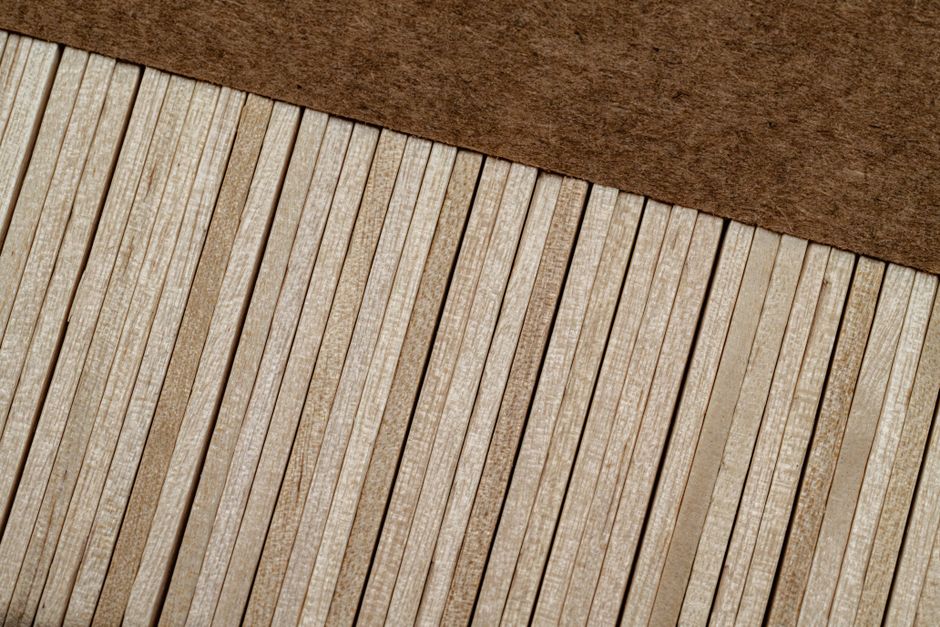
Bubbles in veneer come from trapped air and uneven glue spread, not from bad luck. To glue veneer to wood without bubbles, apply a thin, even layer of glue to both surfaces, let it dry until it feels only slightly tacky, and press the veneer down gradually from the center outward using a roller or squeegee. Then keep the whole panel under steady, even pressure until the adhesive fully cures. Most bubbles are made in the first 30 seconds of contact, so how you lay the veneer down matters as much as the glue you choose.
Why Does Veneer Bubble When Glued To Wood?
Air and moisture get trapped between the veneer and the core, and the adhesive grabs before they can escape. Veneer is thin — often less than a millimeter — so it cannot push trapped air sideways the way a thick board can. The bubble is simply a pocket the pressure never reached.
Three things cause most of them. The first is uneven glue spread: a thick blob in one spot and a dry patch nearby. The second is laying the sheet flat and pressing from one edge, which pushes a wave of air ahead of the veneer. The third is moisture. Water-based glues swell the wood fibers, and as the panel dries, the veneer can lift where the bond was weak.
There is a detail many people miss. Veneer has a grain direction, and it moves across that grain far more than along it. Glue that sets hard and rigid can fight that natural movement. Over time, that stress can show up as a raised ridge or a small bubble — even if the panel looked perfect on day one.
What Glue Should You Use For Veneer?
For most flat work, a quality PVA wood glue or a dedicated veneer glue works well. For heat-sensitive or curved work, many woodworkers use urea-formaldehyde or a two-part resin adhesive. Each has trade-offs in open time, moisture, and how much it lets the veneer move.
PVA glues are easy to use and clean up with water. They bond strongly to wood. The catch is moisture: they can add water to thin veneer and cause it to swell. Some woodworkers use a thin sizing coat first to limit how much soaks in.
Contact cement grabs instantly and needs no long clamping. That speed is also its weakness. Once contact cement touches, it holds, so you get one chance to position the sheet. Any air trapped at that moment stays trapped. It also stays somewhat flexible, which some finishers dislike under certain topcoats.
Two-part resin and urea-formaldehyde adhesives offer long open times and strong, rigid bonds. They are common in commercial veneering. They also involve fumes and require proper ventilation and handling care. Read the manufacturer’s safety data before use.
There is no single “best” glue. The right choice depends on the veneer thickness, the core material, whether the surface is flat or curved, and how much working time you need. Match the adhesive to the job rather than assuming one product covers everything.
How Do You Prepare The Surfaces Before Gluing?
A clean, flat, slightly textured surface gives glue something to grip. Sand the core to a consistent flatness, then remove all dust. Glue bonds to dust poorly, and a dust layer can create a weak spot that later lifts.
Check the core for flatness with a straightedge. A dip or crown in the substrate means the veneer cannot sit flush, and no amount of pressure will fix a gap that is built into the panel. Flatten or replace the core first.
Let the veneer and the core reach the same temperature and humidity before you start. Veneer that is drier or wetter than the core will change size after bonding. That movement is a common cause of later lifting and small bubbles.
If you are using a water-based glue on thin veneer, some woodworkers apply a thin sizing coat to the core and let it dry first. This limits how much moisture soaks into the veneer. It is common practice rather than a strict rule, and results vary by wood species.
How To Glue Veneer To Wood Without Bubbles
The method is simple: spread glue evenly, lay the veneer down progressively, and press from the middle outward. The order matters more than the force.
Start with an even coat. Use a roller, a notched spreader, or a brush to get a consistent film. Avoid puddles and dry patches. If your glue calls for glue on both surfaces, apply it to both and follow the open time on the label.
Let the glue reach the right tack. For many PVA glues, that means the film turns from wet and shiny to slightly dull and tacky. Laying veneer onto wet glue is a common cause of bubbles and glue squeeze-through. Follow the product’s stated open time rather than guessing.
Lay the veneer down from one edge and lower it gradually, like closing a book. Let the far edge settle last. This gives trapped air a path to escape instead of sealing it under the sheet.
Press from the center outward with a roller or squeegee. Work in overlapping strokes toward the edges. This drives air and excess glue ahead of the tool and out the sides.
Then apply even, full-surface pressure. Clamping cauls, a vacuum bag, or a veneer press all work. Pressure needs to be uniform across the whole panel — a clamp in the middle with nothing at the edges leaves the edges vulnerable. Keep the panel under pressure for the full cure time the adhesive specifies, not just until it feels stuck.
Can You Glue Veneer Without A Vacuum Press?
Yes. A vacuum bag is convenient and gives even pressure, but it is not required. Flat cauls and clamps, or a heavy flat weight, can work for small and flat panels.
The key is even pressure across the entire surface. Stack a flat, rigid board over the veneer, then distribute weight or clamps evenly. Use a press plate or caul that is flat and stiff enough not to flex. A flexible caul concentrates force in the middle and leaves the edges loose.
For curved work, shaped cauls or a vacuum bag are usually needed because flat clamping cannot follow a curve. For small repairs, a flat weight left in place for the full cure time is often enough.
Whatever method you use, keep pressure on until the glue has fully cured. Removing clamps early is a quiet cause of bubbles that appear a day or two later.
What Causes Bubbles After The Glue Has Dried?
Bubbles that appear later usually point to moisture, movement, or an incomplete bond. The glue may have grabbed at the edges while the center never fully bonded. As the panel dries or the seasons change, that weak spot lifts.
Water-based glue is a frequent culprit on thin veneer. The veneer takes on moisture, swells, and then shrinks as it dries. If the bond is uneven, the shrinking veneer pulls away where it was weakest.
Wood movement is the other factor. Veneer and core expand and contract at different rates, especially across the grain. A rigid glue line resists that movement, and the stress can show up as a raised area over time.
Temperature and humidity swings speed this up. A panel that looked flat in a dry shop can lift in a humid room. Letting materials acclimate and keeping the finished piece in stable conditions both help.
How Do You Fix A Bubble In Veneer?
Small bubbles can sometimes be repaired without removing the sheet. Larger or loose areas usually need to be cut out and re-glued. The right approach depends on the size and whether the veneer is still bonded around the edges.
For a small, soft bubble, some woodworkers slit the veneer with a sharp blade along the grain and work a little glue underneath. Then they press it flat and clamp until cured. This is common practice, but it is fiddly and results vary. The slit can show under a finish if it is not done carefully.
For a larger bubble, cut out the loose area, clean off old glue, and glue in a matching patch. Feather the edges so the repair blends. This takes patience but gives a more reliable result than trying to force a big bubble flat.
Prevention is far easier than repair. Even spread, gradual lay-down, center-out pressing, and full cure time under even pressure prevent most bubbles before they start.
What Mistakes Cause The Most Veneer Bubbles?
Too much glue is the most common mistake. A thick layer cannot all escape, and the excess traps air and creates a soft, uneven bond. A thin, even film bonds better than a heavy one.
Pressing from the edge inward is the second. It pushes a wave of air toward the center and seals it there. Always work from the middle outward.
Removing pressure too early is the third. Glue that feels set may not be cured. Follow the label’s full cure time.
Skipping acclimation is the fourth. Veneer and core at different moisture levels will move after bonding. Let both settle in the same space before you start.
Finally, using a flexible caul or uneven clamps concentrates pressure in one spot. Flat, rigid cauls and evenly spaced clamps give the uniform pressure that flat veneer needs.
Frequently Asked Questions
Can you glue veneer with regular wood glue?
Yes, standard PVA wood glue works for most flat veneer projects. Keep the coat thin and even, and remember that water-based glue can add moisture to thin veneer.
How long should veneer stay clamped?
Keep it clamped for the full cure time the adhesive manufacturer specifies, not just until it feels stuck. Cure times vary by product, so check the label.
Why does my veneer bubble after gluing?
Most late bubbles come from uneven glue spread, trapped moisture, or removing pressure before the glue fully cures. Wood movement across the grain can also lift weak spots over time.
Can you glue veneer without a vacuum press?
Yes, flat cauls and evenly spaced clamps or weights can work for flat panels. The requirement is uniform pressure across the whole surface for the full cure time.
