
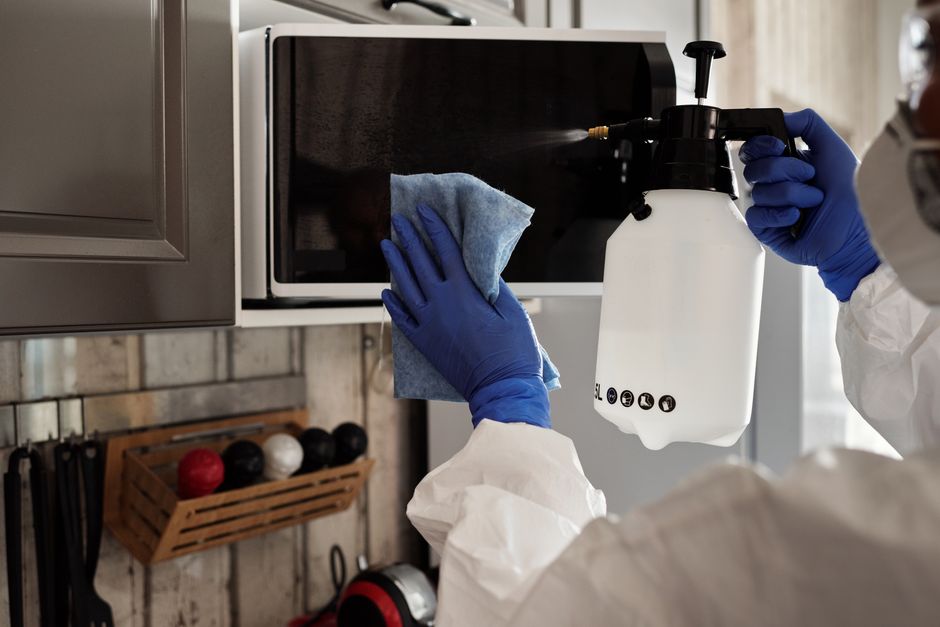
To get burnt odor out of a microwave, start by removing the source: wipe away any loose charred bits, then heat a bowl of water with lemon juice or white vinegar until it steams for several minutes. Leave the door closed for a few minutes so the steam loosens residue from the walls and ceiling, then wipe everything down. Finish by leaving the door open to air it out and replacing the charcoal filter if your model has one.
That basic sequence handles most burnt smells because it targets both the physical residue and the airborne particles causing the odor. The details below explain why each step matters and what to do when a smell keeps coming back.
Why Does a Microwave Hold Onto Burnt Smells So Long?
A microwave is a small, sealed metal box with limited airflow, and that design is exactly why odors linger. When food burns, smoke particles and volatile compounds settle onto the interior walls, ceiling, and door seal. The enclosed space traps them.
Most of the interior is painted steel or stainless steel, and the ceiling often has a perforated cover over the vent. Grease and smoke residue collect in those small holes and crevices. A quick wipe of the flat surfaces misses them.
The vent path matters too. Microwaves pull air through the cavity to cool the magnetron and exhaust moisture. Smoke gets drawn into that path, which can leave odor deposits in areas you cannot easily see. Recirculating models pass air back into the kitchen through a charcoal filter, and that filter can hold onto smoke smell.
One detail worth knowing: microwaves heat food by exciting water molecules, but they do not sterilize the interior. A burnt smell is a residue problem, not a germ problem. Cleaning products aimed at “sanitizing” the microwave are solving something that was not the issue.
What Is the Fastest Way To Get Burnt Odor Out Of Microwave?
The steam-and-wipe method is the standard first approach, and it works because heat and moisture soften dried, baked-on residue so it lifts off instead of smearing.
Here is the sequence:
- Unplug the microwave or make sure it is off and cool enough to touch.
- Remove the glass turntable and its ring, then wash them in the sink with dish soap.
- Wipe out any loose ash, crumbs, or charred pieces with a damp paper towel. Do not scrub dry — you will spread soot.
- Fill a microwave-safe bowl with about two cups of water. Add a few tablespoons of white vinegar or the juice of half a lemon.
- Heat on high until the water boils and the window steams up, usually several minutes. Watch it so the bowl does not boil dry.
- Keep the door closed for five to ten minutes after it stops. The trapped steam does most of the work.
- Wipe the interior with a damp cloth or sponge, paying attention to the ceiling, corners, and the door seal.
- Leave the door open for a while to let the interior dry and air out.
Vinegar and lemon both help cut grease and leave a fresher scent, but neither is chemically required. Plain hot water and steam will loosen residue on their own. The added acid mainly helps with greasy films.
Does Vinegar or Lemon Actually Remove the Smell?
Vinegar and lemon help, but they work mostly by loosening residue and masking odor rather than chemically destroying smoke compounds. The physical removal of burnt material is what actually solves the problem.
White vinegar contains acetic acid, which dissolves some mineral deposits and cuts through grease. Lemon juice adds citric acid and a strong scent that temporarily overrides smoke smell. Neither has been shown in controlled studies to neutralize the specific volatile compounds in burnt food smoke. The steam and the wiping do the heavy lifting.
This is where people go wrong. They steam the microwave with lemon, smell citrus for a day, and assume it is fixed. If residue remains on the ceiling or in the vent holes, the burnt smell returns once the lemon fades.
A word of caution: do not heat vinegar or lemon in a sealed container, and do not combine cleaning chemicals. Never mix vinegar with bleach-based products — that combination releases chlorine gas, which is dangerous. Keep it to vinegar or lemon in water, one at a time.
What About the Vent, Filter, and Door Seal?
The areas outside the main cavity are where stubborn smells hide, and they are the most commonly skipped step. If the smell persists after a good interior cleaning, look here next.
Over-the-range microwaves that recirculate air use a charcoal filter, usually behind the grille on the front or top. Charcoal filters trap odors and grease, and once saturated they can hold a smoky smell and pass it back into the kitchen. Many manufacturers recommend replacing these filters periodically. Check your model’s manual for the specific interval and part, since it varies. Some filters are not user-replaceable and require service.
The door seal is a rubber or plastic gasket that traps crumbs and grease in its folds. Wipe along it with a damp cloth. Do not pull it loose. A damaged seal affects how well the microwave contains heat and can be a safety concern, so if it looks cracked or torn, have it inspected.
Also check the turntable ring and the area beneath the glass tray. Grease pools there and can carry a burnt smell that seems to come from nowhere.
How Do You Get Rid of a Burnt Smell That Won’t Go Away?
When repeated cleaning does not fix it, the residue is somewhere you have not reached, or the microwave itself is the source. Persistent burnt smell after a thorough clean is a signal worth taking seriously.
Work through these possibilities:
- Hidden residue. Recheck the ceiling vent cover, corners, and the seam around the door. Use a soft brush or cotton swab for crevices.
- Saturated filter. Replace the charcoal filter if your model has one.
- Electrical smell versus food smell. A burning plastic or hot wiring smell that appears even with no food inside is not a cleaning problem. Stop using the microwave and have it checked. This can indicate a failing component and is a fire risk.
- Residual air odor. Place a small bowl of baking soda or fresh coffee grounds inside with the door closed overnight. These absorb odors but do not replace cleaning.
Be honest with yourself about the difference between “burnt food” and “something burning inside the appliance.” The first is a cleaning job. The second is a repair or replacement decision.
How Can You Prevent Burnt Smells in the First Place?
Most burnt microwave smells come from splatter and overcooking, and both are easy to reduce. Prevention is far less work than removal.
Cover food with a microwave-safe lid or splatter guard. A paper towel works for short reheats but can scorch if heated too long, so keep an eye on it. Stir food and use shorter intervals rather than one long cook time.
Wipe the interior after any splatter while it is still soft. Dried-on grease is what bakes into a stubborn smell later. A quick weekly wipe keeps residue from building up.
Avoid heating anything with no moisture for long periods — dry foods like nuts, bread, or popcorn are the usual culprits. Popcorn in particular is a common source of burnt microwave smell. Stay nearby and stop the microwave at the first sign of scorching.
Frequently Asked Questions
How long does it take to get burnt smell out of a microwave?
A single steam-and-wipe session takes about 15 to 20 minutes including the sitting time. Stubborn smells may need a second round or a filter replacement.
Can I use bleach to clean a burnt microwave?
No. Never use bleach inside a microwave or mix it with vinegar, because the combination can release dangerous chlorine gas. Stick to water with vinegar or lemon.
Why does my microwave smell burnt even when nothing burned?
A burning plastic or electrical smell with no burnt food suggests an internal problem such as failing wiring or components. Stop using it and have it inspected.
Does baking soda remove microwave odor?
Baking soda can absorb lingering odors when left inside overnight, but it does not remove burnt residue. Clean the interior first, then use baking soda for any remaining smell.