
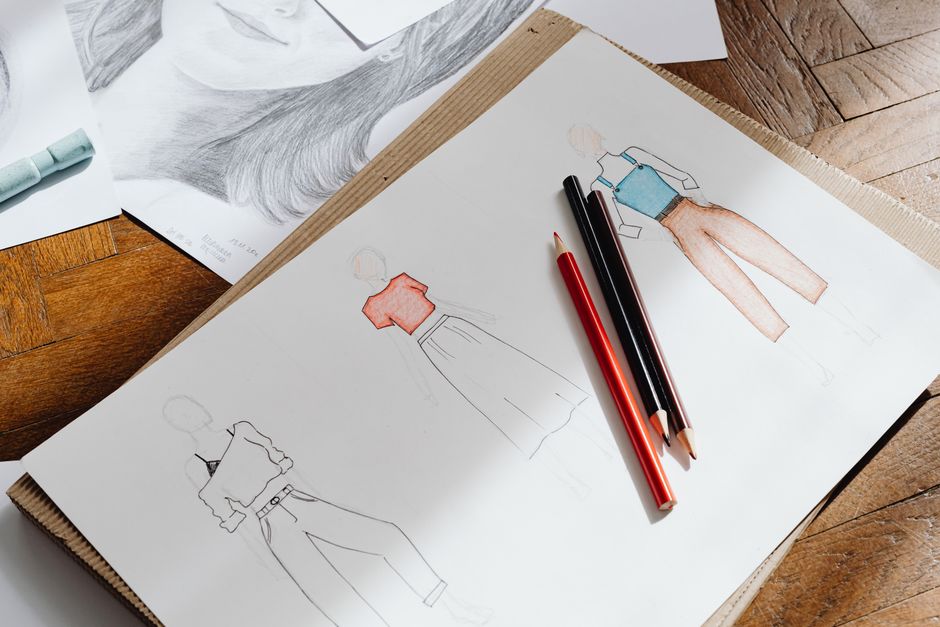
Drawing a fashion model body starts with proportions, not details. The fashion figure is taller than a real human — typically eight to ten heads tall instead of the natural seven and a half. You sketch the pose with simple shapes first, then refine the body, add the face, and finish with clothing and details. This step-by-step guide walks through the whole process from the first line to the finished figure.
What Makes a Fashion Model Body Different From a Real Body?
Fashion illustration uses an exaggerated version of the human form. The legs are the biggest change. In real life, legs make up about half of a person’s height. In fashion drawing, the legs stretch to about half of the figure or slightly more, which creates that long, elegant line you see in fashion sketches.
The waist is also narrower and the neck is longer. The shoulders are usually drawn slightly sloped rather than broad and muscular. The overall effect is a figure that looks graceful and elongated, not realistic. This is a deliberate artistic choice, not an error. Fashion drawings are about showing how clothing drapes and moves, and the stretched proportions make garments read more clearly on the page.
How To Draw A Fashion Model Body Step By Step: The Basic Proportions
Start with a vertical line down the center of your page. This is your balance line. It helps keep the figure upright and gives you a reference for symmetry.
Divide that line into nine equal sections. Each section equals one “head” of height. The top section is the head. The second section marks the chin and the base of the neck. The shoulders sit around the middle of the second section. The waist falls at the fourth section. The hips sit at the fifth section. The knees land around the seventh section, and the ankles finish at the ninth.
These nine heads give you the classic fashion proportion. Some illustrators use ten heads for an even more exaggerated look. Eight heads works too if you want something slightly more grounded. Pick one and stay consistent through the whole drawing.
Sketching the Pose With Simple Shapes
Before you draw any details, block in the pose with basic shapes. Use a light pencil — a 2H or HB works well — and press gently. These lines are guides, not the final drawing.
Draw a small oval for the head. Add a curved line for the neck. For the torso, use a shape that narrows at the waist. Think of an hourglass but softer. The ribcage area is a rounded shape, and the hips are a slightly wider oval below it.
For the arms and legs, use straight or slightly curved lines. These are the “bones” of your sketch. Mark the joints — shoulders, elbows, wrists, hips, knees, ankles — with small circles. This makes it much easier to see if the pose works before you invest time in details.
Fashion poses are usually dynamic. A common one is the model standing with weight on one leg, hip pushed to one side, and the other leg slightly forward. This is called a contrapposto pose, and it creates an S-curve through the body. That curve is what makes fashion figures look alive rather than stiff.





Refining the Torso, Arms, and Legs
Once the basic shapes are in place, start adding volume. The neck is long and slender. The shoulders slope gently. The torso curves in at the waist and out again at the hips. Keep the lines smooth and continuous — fashion figures should feel fluid, not blocky.
Arms are thinner than in realistic drawing. The elbows and wrists are subtle, not bony. Hands are often drawn simply, sometimes just as small ovals or with the fingers suggested by a few light lines. In fashion illustration, hands are rarely the focus. The same goes for feet — they are usually drawn in simple high-heeled shapes or left as basic points.
The legs deserve the most attention. They should be long, straight, and smooth. The thighs taper gently into the knees, and the calves curve slightly before narrowing at the ankles. Draw the legs with confidence. Hesitant, broken lines will make the figure look weak. One continuous stroke per leg segment is better than many small overlapping marks.
Drawing the Face and Hair
Fashion faces are simplified and stylized. The eyes are often drawn larger than realistic, the nose is minimal — sometimes just a small line or shadow — and the lips are defined but not heavily detailed. The face is typically small relative to the body, which reinforces the elongated proportions of the figure.
Start with an oval for the head. Lightly mark the center line and the eye line. The eye line sits roughly halfway down the head. Draw the eyes as almond shapes. Add a small curve for the lips and a tiny stroke for the nose. Keep the features light and delicate. Heavy facial detail can make a fashion figure look like a portrait, which changes the whole mood of the drawing.
Hair can be drawn in large, sweeping shapes rather than individual strands. Think about the overall silhouette of the hairstyle. A sleek ponytail, loose waves, or a sharp bob all read clearly if you draw the shape first and add a few interior lines to suggest texture.
Adding Clothing, Details, and Movement
Clothing in fashion illustration follows the body but also has its own life. Drape the fabric over the figure you have drawn. Let it follow the curves of the torso and legs, but allow it to flare or flow where the garment would naturally move. The goal is to show how the clothing behaves on a moving body, not to copy a static photograph.
Use short, quick strokes to suggest folds and movement. Fabric gathers at the waist, elbows, and knees. It flows outward at the hem of a skirt or the cuff of a sleeve. The more confident your lines, the more energy the drawing will have.
After the clothing is in place, go back and strengthen the key lines. Erase the guide shapes and construction marks. Darken the final contours with a softer pencil or ink. Add shading only where it genuinely helps — a shadow under the chin, a hint of tone along the waist, a soft shadow beneath the hem. Over-shading can make a fashion figure look heavy and dull.
Common Mistakes and How To Fix Them
One of the most common mistakes is drawing the legs too short. If your figure looks squat or disproportionate, check your head count. Measure the figure against your original nine-section line. The knees should sit around the seventh section, not the sixth or fifth.
Another frequent problem is stiffness. If the figure looks like a mannequin, the pose is probably too symmetrical. Shift the weight to one leg. Raise one shoulder slightly. Angle the hips. Even a small change breaks the symmetry and adds life.
Hands and feet are another trouble spot. Resist the urge to draw every finger and toe. Simplified shapes read better in fashion illustration. A hand can be a small oval with a line suggesting the thumb. A foot in a heel can be a triangle with a curve for the arch.
Finally, avoid drawing the head too large. A big head makes the whole figure look childlike. Keep the head small and the features minimal. The body is the star of a fashion drawing, not the face.
Practice Routine for Improving Faster
Skill in fashion illustration comes from repetition. Draw the same pose several times in a row. Each attempt will be slightly better than the last. Focus on one element at a time — spend a session just on legs, another on the S-curve of the torso, another on hands and feet.
Study photographs of models in fashion magazines. Pay attention to where the weight falls, how the hips shift, and how the arms hang. Try to reduce those photos to simple lines and shapes. This exercise trains your eye to see proportion and movement, which is the core skill behind every fashion drawing.
Time yourself. A quick three-minute sketch forces you to commit to your lines and stop erasing. Fast sketches build confidence, and confidence is what makes a fashion figure look effortless.
Frequently Asked Questions
What is the standard height proportion for a fashion figure?
Fashion figures are typically eight to ten heads tall, compared to the natural human proportion of about seven and a half heads. Nine heads is the most common standard in fashion illustration.
Do I need to know anatomy to draw fashion models?
Basic knowledge of the skeleton and major muscle groups helps, but fashion illustration relies more on proportion and line quality than detailed anatomy. Focus on the balance line, joint placement, and the S-curve of the pose.
What tools do I need to start drawing fashion figures?
A pencil, an eraser, and paper are enough to begin. A 2H pencil is good for light construction lines, and a softer pencil like a 2B works well for final lines and darker strokes.
How long does it take to get good at drawing fashion models?
Most people see clear improvement within a few weeks of regular practice, drawing several figures each session. Consistent daily practice of even fifteen minutes builds skill faster than occasional long sessions.
