
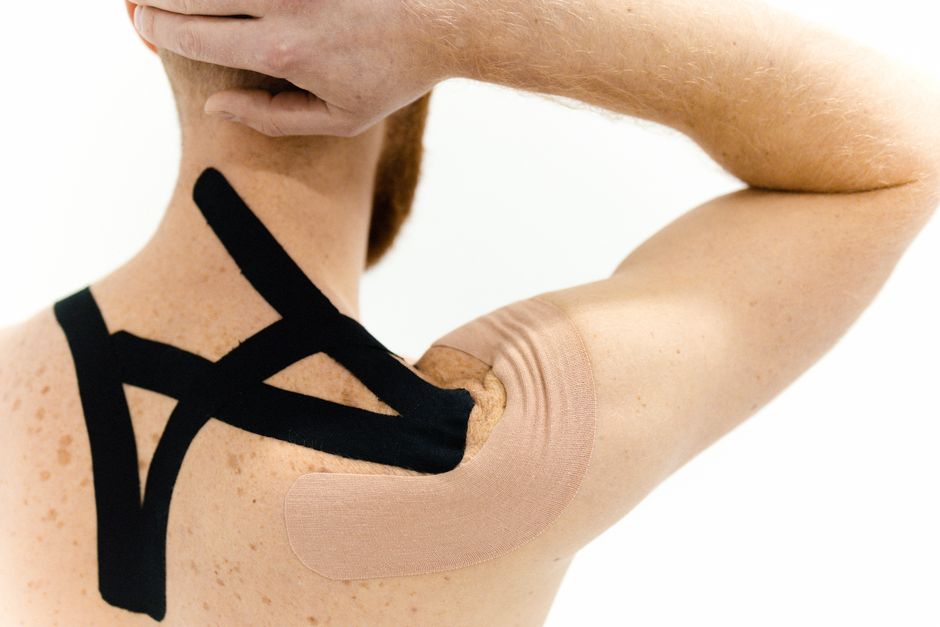
Applying kinesiology tape to the knee starts with clean, dry skin and a tape strip cut long enough to span from mid-thigh to below the kneecap. You anchor the ends without stretch, apply light-to-moderate tension over the area you want to support, and rub the tape firmly so the adhesive activates. The whole process takes about five minutes per knee, and the tape usually stays on for several days.
Kinesiology tape is an elastic cotton strip with a stretchy adhesive backing. It differs from rigid athletic tape in one important way: it stretches. Rigid tape limits joint motion. Kinesiology tape moves with you. That difference shapes both how you apply it and what it can realistically do.
What Is Kinesiology Tape and How Does It Differ From Athletic Tape?
Kinesiology tape is an elastic therapeutic tape designed to stretch along one axis, typically to roughly 140 to 160 percent of its resting length depending on the brand. Standard white athletic tape has almost no stretch. That is the core distinction.
Because kinesiology tape stretches, it can be applied over a moving joint without restricting range of motion. Athletic tape is used to limit or lock down movement, often after injury or during high-risk activity. The two products serve different purposes and are not interchangeable.
The tape was developed in the 1970s by a Japanese chiropractor, Kenzo Kase. It became widely visible during the 2008 Beijing Olympics and again at the 2012 London Games, when many athletes wore brightly colored strips on shoulders, knees, and backs. That visibility drove public interest far ahead of the clinical evidence.
Here is where honesty matters. The proposed mechanisms of kinesiology tape include lifting the skin slightly to improve blood flow, reducing pressure on pain receptors, and providing sensory feedback that may influence muscle activity. Some of these mechanisms have been studied. The clinical benefit for knee pain specifically remains debated. A 2018 review published in the journal Physical Therapy in Sport found that kinesiology tape may reduce pain in the short term for some people with knee osteoarthritis, but the quality of evidence was low and results varied across studies.
In short: the tape is not a treatment for a knee injury. It is a tool some people find helpful for comfort or proprioception during activity. That is a meaningful but limited role.
How To Apply Kinesiology Tape To Knee Step By Step
There are several taping patterns for the knee. The most common for general support is a two-strip configuration that surrounds the kneecap. The following steps describe that approach. Different patterns exist for specific complaints, and a physical therapist can recommend one based on your situation.
Step 1: Prepare the skin. Wash the knee and surrounding area with soap and water. Dry completely. Do not apply lotion, oil, or sunscreen before taping. These block adhesion. If you have significant hair on the area, some clinicians recommend trimming it with clippers rather than shaving, which can irritate skin.
Step 2: Measure and cut. Cut two strips of tape. Each should be long enough to run from roughly the middle of your thigh, past one side of the kneecap, and end a few inches below the knee. A common approach is to measure along the leg before cutting. Round the corners of each strip with scissors. Square corners catch on clothing and peel faster.
Step 3: Position the leg. Bend your knee to about 45 degrees, or whatever position is comfortable. Taping over a fully bent or fully straight knee changes how the tape behaves once you move.
Step 4: Apply the first strip. Peel back a few inches of the paper backing. Anchor one end on the thigh with no stretch. This anchor is important. Tape applied with tension at the ends tends to peel. Smooth the strip down along one side of the kneecap, applying light tension over the area you want to support. Lay the final end below the knee with no stretch.
Step 5: Apply the second strip. Repeat on the other side of the kneecap, mirroring the first strip. The two strips should frame the kneecap rather than cross directly over it.
Step 6: Activate the adhesive. Rub the entire tape surface firmly with your palm for about 10 to 20 seconds. Friction generates heat, which helps the adhesive bond to the skin. Do this before you move or exercise.
Step 7: Check the fit. Bend and straighten your knee several times. The tape should move with your skin without pulling or wrinkling. If it bunches, remove and reapply.
How Tight Should the Tape Be and How Long Does It Last?
Kinesiology tape should never feel tight in a way that restricts circulation or causes numbness, tingling, or a pins-and-needles sensation. If you feel any of those, remove it. That is a sign the tape is too tight or you are reacting to it.
Most people apply tape with light to moderate tension over the target area and no tension at the anchors. Some clinical guides describe tension in percentage terms, but there is no universally agreed standard, and tension varies by condition and practitioner. When in doubt, use less.
Wear time varies. Manufacturer instructions typically state that tape can stay on for several days, often up to three to five, depending on the brand and how well it adheres. Sweat, water, and friction shorten wear time. If the edges start lifting, you can trim them rather than removing the whole strip.
The tape is generally water-resistant. Most people can shower with it on. Some clinicians advise patting it dry rather than rubbing, which can loosen the edges.





When Should You Not Use Kinesiology Tape on the Knee?
Do not apply kinesiology tape over broken skin, open wounds, rashes, infections, or areas of active skin irritation. Do not use it if you have a known allergy to acrylic adhesives, which are common in this type of tape.
People with certain conditions should check with a clinician first. This includes those with compromised circulation, diabetes with peripheral neuropathy, or a history of skin reactions to medical adhesives. The tape itself is generally considered low risk, but skin reactions do occur and are the most commonly reported problem.
Kinesiology tape is not a substitute for medical evaluation. If you have knee pain after an injury, sudden swelling, inability to bear weight, or a knee that locks or gives way, see a healthcare provider. Tape will not fix a torn ligament or a meniscus tear.
Does Kinesiology Tape Actually Help Knee Pain?
The evidence is mixed, and it is worth saying that plainly. Some studies report short-term pain relief with kinesiology tape for knee osteoarthritis and patellofemoral pain syndrome. Other studies find no meaningful difference compared with sham taping or no tape at all.
One recurring finding is that kinesiology tape performs similarly to placebo taping in many trials. That does not mean it does nothing. It means the specific effect of the tape itself, separate from the expectation of relief, is hard to isolate. Pain is influenced by attention, expectation, and touch. Tape delivers all three.
What the evidence does not support is the idea that kinesiology tape heals tissue, corrects alignment permanently, or replaces strengthening and rehabilitation. Those claims appear in marketing far more often than in research.
For some people, the tape provides enough comfort to move more during the day, and moving more is genuinely beneficial for most knee complaints. That indirect benefit is plausible. It is also not the same as a proven direct treatment effect.
Common Application Mistakes to Avoid
Most problems with kinesiology tape come down to application, not the tape itself.
- Stretching the anchors. This causes peeling within hours.
- Applying to damp or lotioned skin. The adhesive will not bond.
- Using too much tension. This causes discomfort and skin irritation.
- Leaving square corners. They catch on fabric and lift.
- Applying over hair without trimming. Adhesion drops and removal hurts.
- Wearing it too long. Skin needs a break between applications.
Removal deserves a mention. Pull the tape off slowly, in the direction of hair growth, while pressing the skin down with your other hand. Warm water or a small amount of oil along the edge can help loosen the adhesive. Ripping it off quickly is the most common cause of skin irritation.
Frequently Asked Questions
Can I shower with kinesiology tape on my knee?
Yes, most kinesiology tape is water-resistant and can stay on in the shower. Pat it dry afterward rather than rubbing, since friction loosens the edges.
How long should I leave kinesiology tape on?
Most manufacturers state the tape can stay on for several days, often up to three to five. Remove it sooner if it peels, itches, or causes any skin irritation.
Does kinesiology tape work better than regular athletic tape for knee pain?
They serve different purposes, so a direct comparison is not straightforward. Kinesiology tape stretches and allows full motion, while athletic tape is rigid and limits movement.
Can kinesiology tape fix a knee injury?
No. Kinesiology tape does not repair torn ligaments, cartilage, or muscle. It may offer short-term comfort for some people, but it is not a treatment for structural injury.
